Introduction
The PowerBook 180 was one of Apple's top of the line notebook computers at around 1993. It was in high demand through all of its life, and had a selling price of about $3900 base model. This computer can run System 7 - 8.1 (through Born Again) and has a 68030 processor running at 33mhz.
Ce dont vous avez besoin
-
-
The PowerBook 180 has a removable Ni-Cad battery on the side. Before we start this repair, we need to make sure the computer does not have any power source - so you don't get shocked and the computer doesn't die.
-
Slide the battery door to the front of the computer, as directed by the arrows.
-
Pull out the battery.
-
-
-
-
Remove the bottom plate by prying up with either a flathead screwdriver or plastic object, such as a credit card.
-
Keep in mind the bottom left and right corners of the PowerBook 180 is very hard to open - you may need to use some extra force to open that side.
-
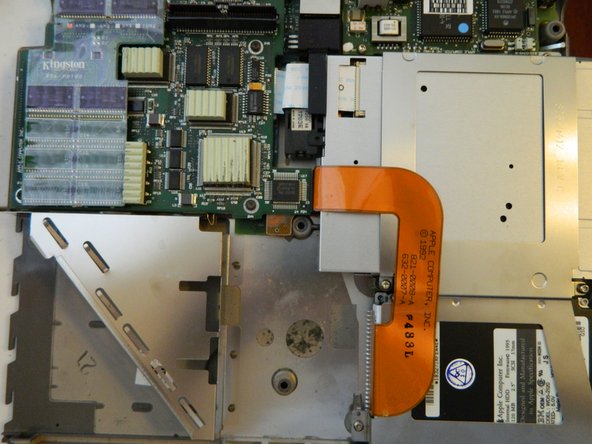
Your PowerBook 180 should look like the two pictures - with separate top and bottom halves.
-


To reassemble your device, follow these instructions in reverse order.
To reassemble your device, follow these instructions in reverse order.
Annulation : je n'ai pas terminé ce tutoriel.
3 autres ont terminé cette réparation.

Équipe
