Cette version peut contenir des modifications incorrectes. Passez au dernier aperçu vérifié.
Ce dont vous avez besoin
-
Cette étape n’est pas traduite. Aidez à la traduire
-
Use your thumbs to push the two battery retaining tabs away from the battery.
-
The battery should pop up enough to rotate it toward yourself and lift it out of the lower case.
-
-
Cette étape n’est pas traduite. Aidez à la traduire
-
Remove the three 2.3 mm Phillips screws securing the memory cover to the lower case.
-
-
-
Cette étape n’est pas traduite. Aidez à la traduire
-
Lift the memory cover slightly and pull it toward yourself to remove it from the lower case.
-
-
Cette étape n’est pas traduite. Aidez à la traduire
-
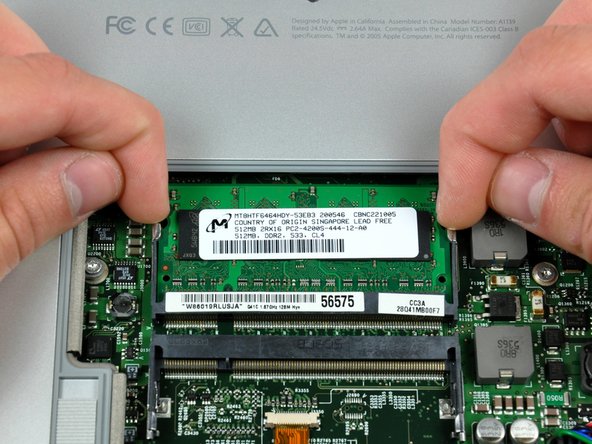
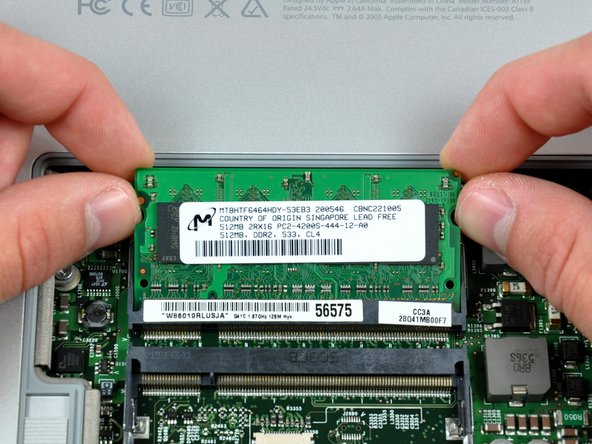
Use your fingertips to pull the two RAM arms away from the sides of the RAM chip. The chip should pop up slightly.
-
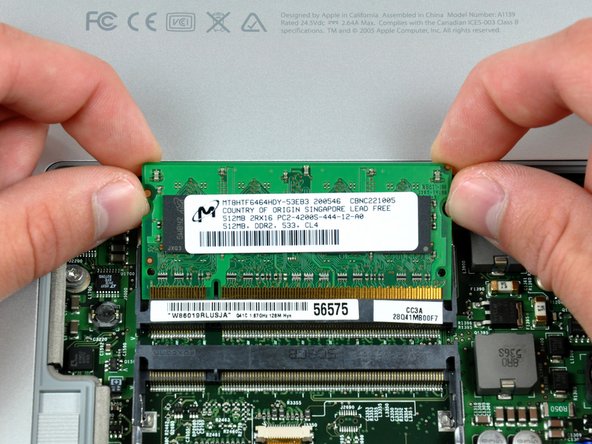
Pull the RAM chip away from its socket and remove it from the logic board.
-


Annulation : je n'ai pas terminé ce tutoriel.
24 autres ont terminé cette réparation.
Pièces jointes

Un commentaire
What is the maximum ram that I can bump up this system to?