Aller au contenu principal

Presto Hot Air Popcorn Popper Blower Disassembly

Ce dont vous avez besoin

  1. Presto Hot Air Popcorn Popper Blower Disassembly, Presto Hot Air Popcorn Popper Blower Disassembly: étape 1, image 1 de 1
    • This is the Hot Air Popper. worked pretty good and has lots of 'miles' on it. We used it often, and it did work well. New one would be about $20 at some major department stores.

    • But hey, I am frugal....

  2. Presto Hot Air Popcorn Popper Blower Disassembly: étape 2, image 1 de 1
    • This is what it looks like for real. Still in good shape.

  3. Presto Hot Air Popcorn Popper Blower Disassembly: étape 3, image 1 de 2 Presto Hot Air Popcorn Popper Blower Disassembly: étape 3, image 2 de 2
    • This is looking toward the top. There are three Phillips screws that need to be removed.

    • Once removed, the black cover that holds the popping chamber can be removed. the popping chamber and the black cover are removed as one piece.

  4. Presto Hot Air Popcorn Popper Blower Disassembly: étape 4, image 1 de 3 Presto Hot Air Popcorn Popper Blower Disassembly: étape 4, image 2 de 3 Presto Hot Air Popcorn Popper Blower Disassembly: étape 4, image 3 de 3
    • The bottom cover is fastened with four screws. Remove those.

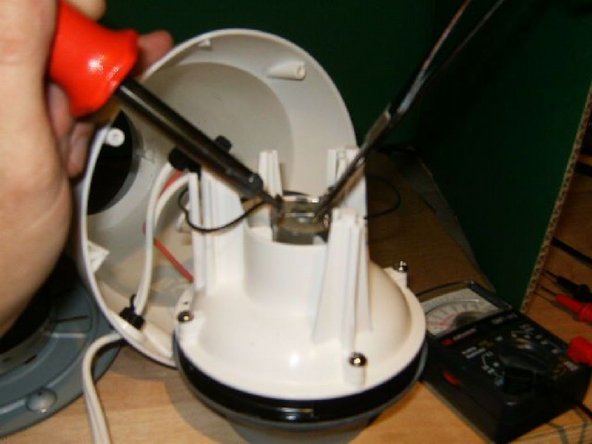
    • Once the bottom cover is removed, the blower motor is clearly visible.

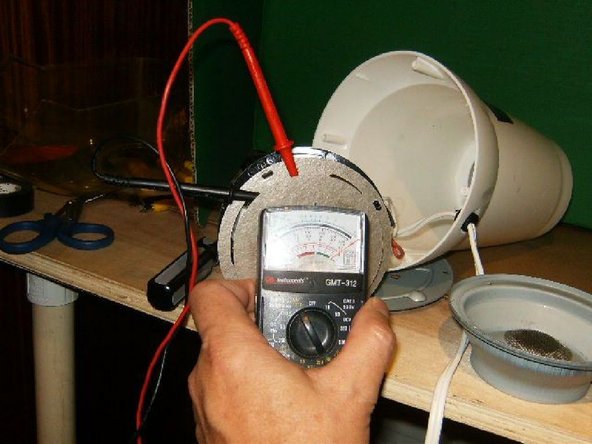
    • Where the power cable attaches to the motor, are four diodes. These diodes only allow half-cycle of a full cycle of positive and negative power cycle to reach the motor.

    • The motor only gets current in one direction,allowing it to spin in one direction. After all, we are dealing with AC current here.

  5. Presto Hot Air Popcorn Popper Blower Disassembly: étape 5, image 1 de 3 Presto Hot Air Popcorn Popper Blower Disassembly: étape 5, image 2 de 3 Presto Hot Air Popcorn Popper Blower Disassembly: étape 5, image 3 de 3
    • With the bottom cover off, the hot air assembly will easily slide out. Power connections and temperature control are clearly visible.

    • Use a multimeter to check the switch for continuity.

    • Check the heating element for continuity.

  6. Presto Hot Air Popcorn Popper Blower Disassembly: étape 6, image 1 de 3 Presto Hot Air Popcorn Popper Blower Disassembly: étape 6, image 2 de 3 Presto Hot Air Popcorn Popper Blower Disassembly: étape 6, image 3 de 3
    • The problem that was visible on close inspections with a magnifying glass, was a charred diode.

    • removed the diode (it was attached by point-to-point soldering to the other ones) by de-soldering.

    • Replace the faulty diode. Description on the diode was V81 N4001.

    Nice. Thanks. Mine ended up being a loose wire nut.

    Zach Rotkin - Réponse

Conclusion

To reassemble your device, follow these instructions in reverse order.

6 autres ont terminé cette réparation.

oldturkey03

Membre depuis le 09/29/10

781 527 Réputation

119 tutoriels rédigés

Équipe

Global Fixers Membre de l'équipe Global Fixers

Community

32 membres

531 tutoriels rédigés

0 commentaires

Ajouter un commentaire

Nombre de vues :

Dernières 24 heures : 0

7 derniers jours : 0

30 derniers jours : 9

Total : 8,137