Cette version peut contenir des modifications incorrectes. Passez au dernier aperçu vérifié.
Ce dont vous avez besoin
-
Cette étape n’est pas traduite. Aidez à la traduire
-
Remove the four 9 mm Phillips #2 screws from the base.
-
Once all four screws are removed, take the base off.
-
-
Cette étape n’est pas traduite. Aidez à la traduire
-
Unscrew the four 13mm Phillips #2 screws but do not remove completely just yet.
-
-
Cette étape n’est pas traduite. Aidez à la traduire
-
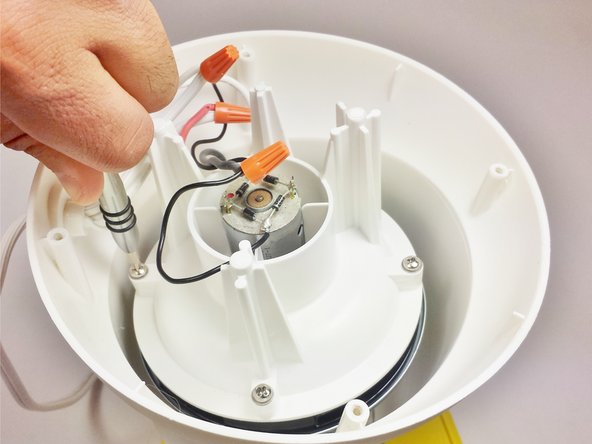
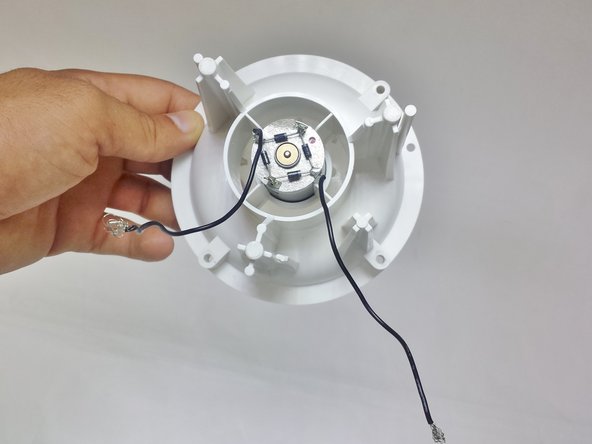
Locate the two twist-on wire connectors.
-
Unscrew the two caps and keep track of the wires that wire up together to make it easier in the end to put back together.
-
-
-
Cette étape n’est pas traduite. Aidez à la traduire
-
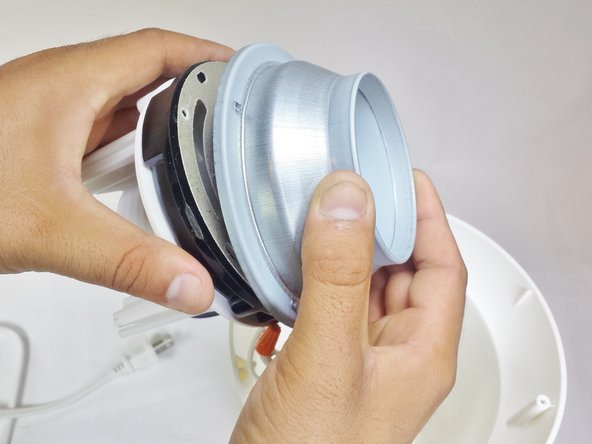
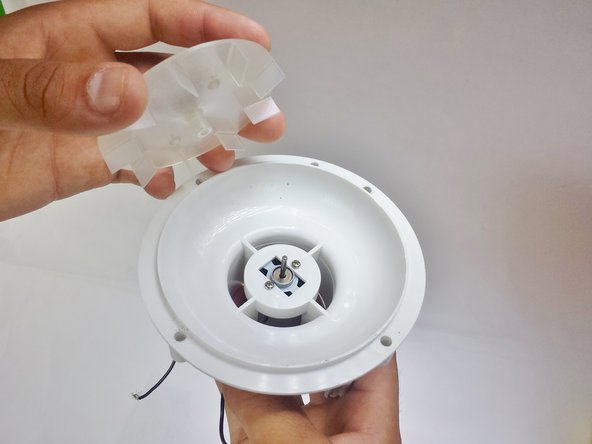
Pull the entire cavity out of the popper that holds the motor.
-
Remove the popping chamber base.
-
-
Cette étape n’est pas traduite. Aidez à la traduire
-
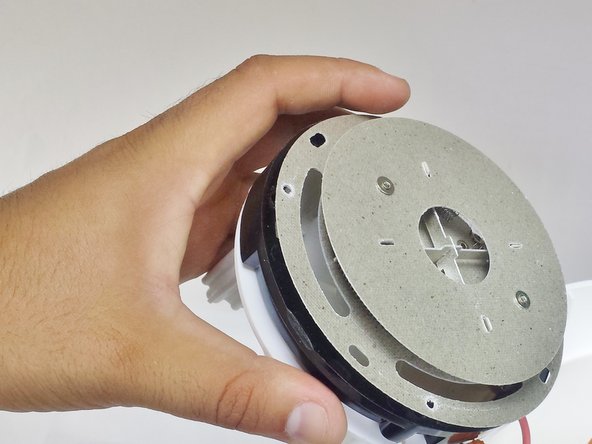
Remove circuit board from the motor base holder.
-
Make sure these 3 wires are securely placed inside grooves when reassembling the motor base holder.
-
-
Cette étape n’est pas traduite. Aidez à la traduire
-
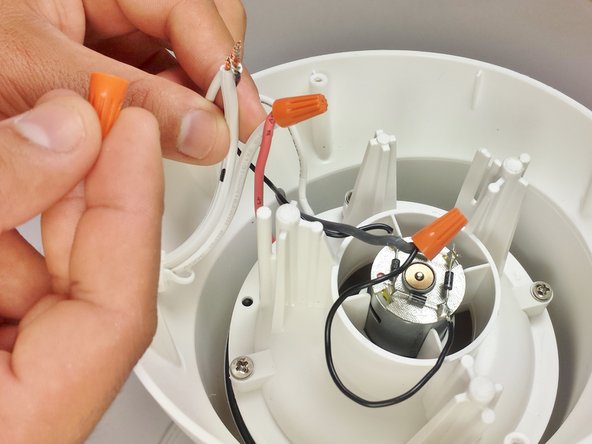
Remove the orange twist-on wire connector connecting the black wire to the grey wire.
-
-
Cette étape n’est pas traduite. Aidez à la traduire
-
Locate the clear plastic motor fan.
-
Grab hold of the motor and pull upwards to pop the motor fan off of the needle that connects to the motor.
-
-
Cette étape n’est pas traduite. Aidez à la traduire
-
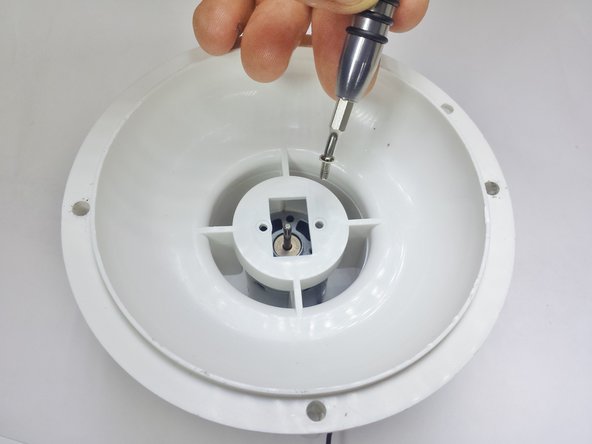
Remove the two 4 mm Phillips #00 screws.
-
Now remove the motor base to expose the motor.
-
-
Cette étape n’est pas traduite. Aidez à la traduire
-
This is the motor.
-
Now replace it with your new one!
-


Annulation : je n'ai pas terminé ce tutoriel.
4 autres ont terminé cette réparation.
Équipe

USF Tampa, Team 2-5, Blackwell Fall 2015 Membre de l'équipe USF Tampa, Team 2-5, Blackwell Fall 2015
USFT-BLACKWELL-F15S2G5
2 membres
6 tutoriels rédigés
Un commentaire
What new motor? Where do we get said motor, and what are the motor specs? What about installing the bridge rectifier on the new motor? A 3rd party supplier is not likely to sell these motors with the rectifier pre-installed.