Aller au contenu principal

ProLine HB25 Disassembly

Ce dont vous avez besoin

  1. ProLine HB25 Disassembly, ProLine HB25 Disassembly: étape 1, image 1 de 1
    • Unscrew the screw on the back of the product.

  2. ProLine HB25 Disassembly: étape 2, image 1 de 2 ProLine HB25 Disassembly: étape 2, image 2 de 2
    • Pull out the backtab of the housing.

    • Push in the snapfits with, for instance, a screwdriver.

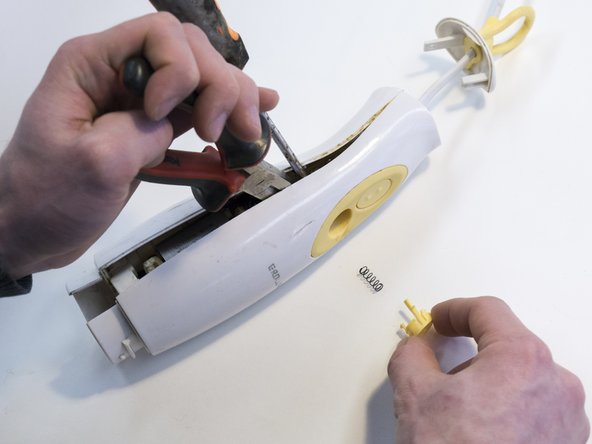
  3. ProLine HB25 Disassembly: étape 3, image 1 de 2 ProLine HB25 Disassembly: étape 3, image 2 de 2
    • Separate the housing with calibrated force.

    • Keep your fingers away from the housing and do not bend or break the housing.

    • Use a flathead screwdriver to push out the lower function button.

    • Remove the separating device.

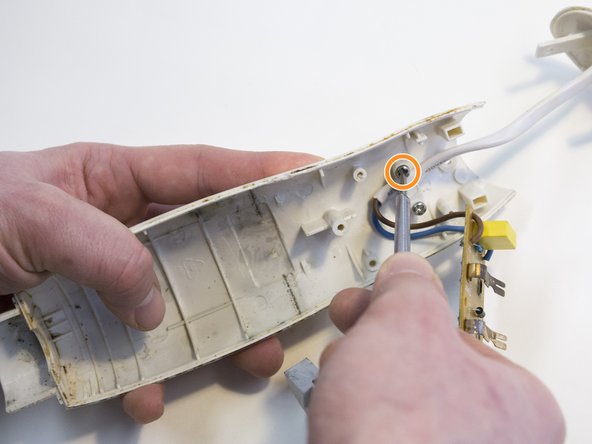
  4. ProLine HB25 Disassembly: étape 4, image 1 de 1
    • Unscrew the hidden screw under the button.

  5. ProLine HB25 Disassembly: étape 5, image 1 de 2 ProLine HB25 Disassembly: étape 5, image 2 de 2
    • Open the housing.

    • Unscrew the circuit board.

    • Unscrew the wire lock.

  6. ProLine HB25 Disassembly: étape 6, image 1 de 2 ProLine HB25 Disassembly: étape 6, image 2 de 2
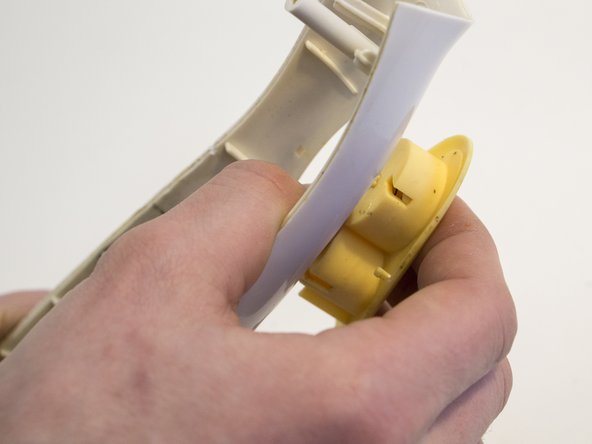
    • Push the housing of the button out of the housing.

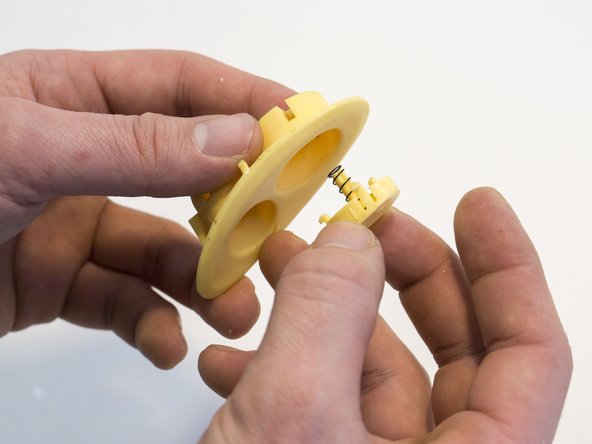
  7. ProLine HB25 Disassembly: étape 7, image 1 de 2 ProLine HB25 Disassembly: étape 7, image 2 de 2
    • Push on the side of the housing of the button to push the button out of the housing.

    • The spring can jump away when you push out the button.

Conclusion

To reassemble your device, follow these instructions in reverse order.

Une autre personne a terminé cette réparation.

Jorma van Dalen

Membre depuis le 03/07/18

175 Réputation

1 tutoriel rédigé

0 commentaires

Ajouter un commentaire

Nombre de vues :

Dernières 24 heures : 0

7 derniers jours : 3

30 derniers jours : 9

Total : 259