Aller au contenu principal

Protocol Dronium III AP Camera Replacement

Ce dont vous avez besoin

  1. Protocol Dronium III AP Camera Replacement, Drone Battery Pack: étape 1, image 1 de 2 Protocol Dronium III AP Camera Replacement, Drone Battery Pack: étape 1, image 2 de 2
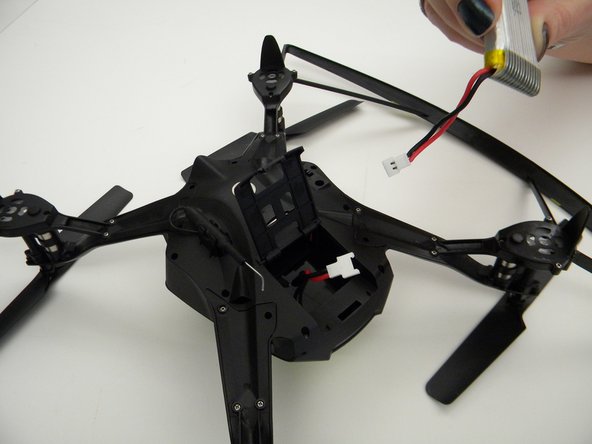
    • Ensure the drone is powered off.

    • Press in and lift battery compartment cover.

    • A soft pry tool may be used for easier access.

  2. Protocol Dronium III AP Camera Replacement: étape 2, image 1 de 1
    • Remove battery pack from body of drone.

  3. Protocol Dronium III AP Camera Replacement: étape 3, image 1 de 2 Protocol Dronium III AP Camera Replacement: étape 3, image 2 de 2
    • Disconnect white connectors between the battery pack and drone.

  4. Protocol Dronium III AP Camera Replacement, Camera: étape 4, image 1 de 1
    • Remove the eight (8) 5mm screws attaching the motor arms to the body using a JIS #00 screwdriver.

  5. Protocol Dronium III AP Camera Replacement: étape 5, image 1 de 2 Protocol Dronium III AP Camera Replacement: étape 5, image 2 de 2
    • Remove the six (6) 5mm screws attaching the Body Cover to the Body of the drone using a JIS #00 screwdriver.

    • Remove the Body Cover.

  6. Protocol Dronium III AP Camera Replacement: étape 6, image 1 de 2 Protocol Dronium III AP Camera Replacement: étape 6, image 2 de 2
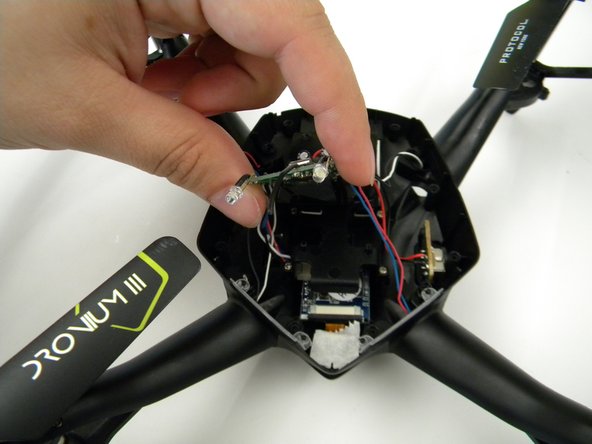
    • Remove the two (2) 5mm screws attaching the Motherboard to the body of the drone using a JIS #00 screwdriver.

    • Lift the Motherboard off the mounting position.

    • Do not pull hard on the Motherboard as solder connections are fragile.

  7. Protocol Dronium III AP Camera Replacement: étape 7, image 1 de 1
    Outil utilisé dans cette étape :
    Tweezers
    $4.99
    J'achète
    • Remove the tape covering the camera with the tweezers.

  8. Protocol Dronium III AP Camera Replacement: étape 8, image 1 de 2 Protocol Dronium III AP Camera Replacement: étape 8, image 2 de 2
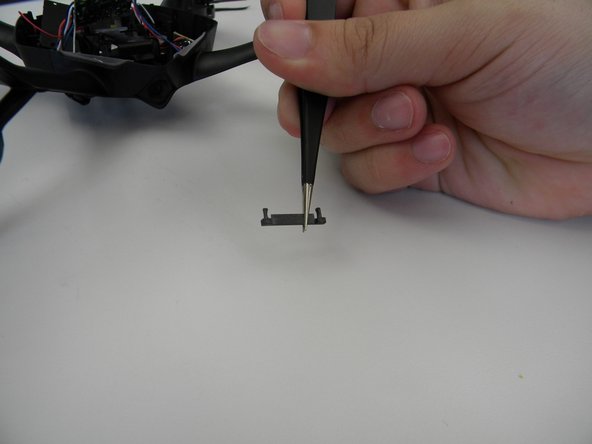
    • Remove the plastic holding the ribbon cable connector with the tweezers.

    • Be careful with the ribbon cable, it is easy to damage.

  9. Protocol Dronium III AP Camera Replacement: étape 9, image 1 de 1
    • Move the ribbon cable out of the way with the Spuger.

  10. Protocol Dronium III AP Camera Replacement: étape 10, image 1 de 2 Protocol Dronium III AP Camera Replacement: étape 10, image 2 de 2
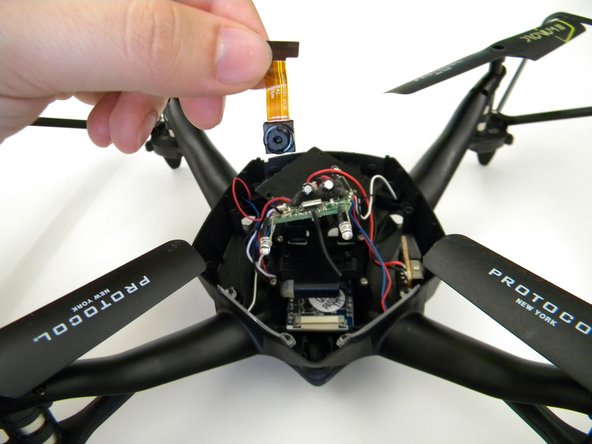
    • Remove the camera by gently prying it out of the bracket with the spudger.

Conclusion

To reassemble your device, follow these instructions in reverse order.

Steven Mooers

Membre depuis le 10/18/17

401 Réputation

4 tutoriels rédigés

Équipe

UW Tacoma, Team S1-G1, Rose Fall 2017 Membre de l'équipe UW Tacoma, Team S1-G1, Rose Fall 2017

UWT-ROSE-F17S1G1

4 membres

4 tutoriels rédigés

0 commentaires

Ajouter un commentaire

Nombre de vues :

Dernières 24 heures : 1

7 derniers jours : 2

30 derniers jours : 5

Total : 288