Cette version peut contenir des modifications incorrectes. Passez au dernier aperçu vérifié.
Ce dont vous avez besoin
-
Cette étape n’est pas traduite. Aidez à la traduire
-
Locate the large button on the top of the device.
-
Push down on the button and slide the cover away from the button.
-
-
Cette étape n’est pas traduite. Aidez à la traduire
-
Grab the red pull tab and pull down to unlock the latch.
-
Pull the battery out.
-
-
Cette étape n’est pas traduite. Aidez à la traduire
-
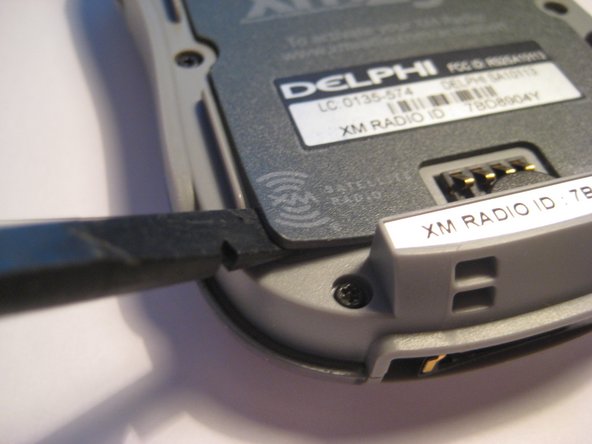
Under the battery is a magnetic mat, shown in red, that shields battery interference with the reception of the XM Satellite antenna.
-
This mat is stuck to the back of the device like a sticker and can be removed.
-
-
-
Cette étape n’est pas traduite. Aidez à la traduire
-
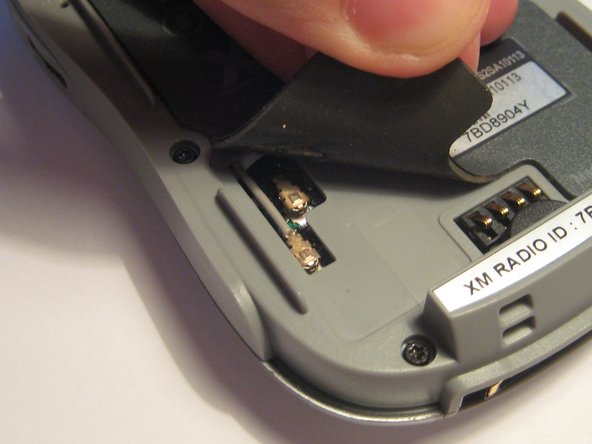
On the bottom left side of the magnetic mat, the corner can be lifted up to reveal the U.FL antenna connector. A spudger or your fingernails can be used to pry up the corners.
-
These U.FL antenna connections are standard for most portable devices and WiFi cards. They may become detached through use and may be checked if no reception is present.
-
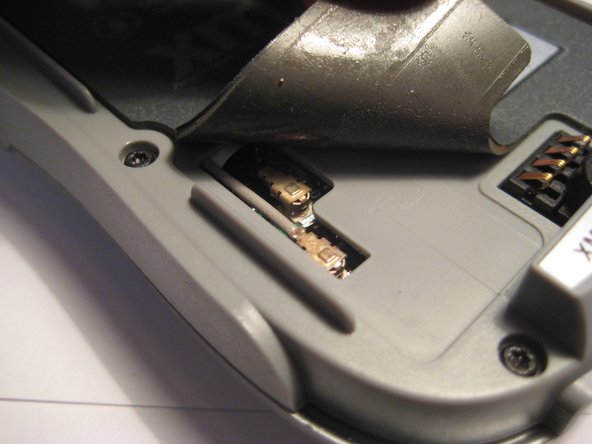
Lift up the corner and notice the two connectors going to the PCB.
-
-
Cette étape n’est pas traduite. Aidez à la traduire
-
Both of these connectors must be firmly attached to the PCB. Try pressing them firmly to make sure they are making full contact.
-
-
Cette étape n’est pas traduite. Aidez à la traduire
-
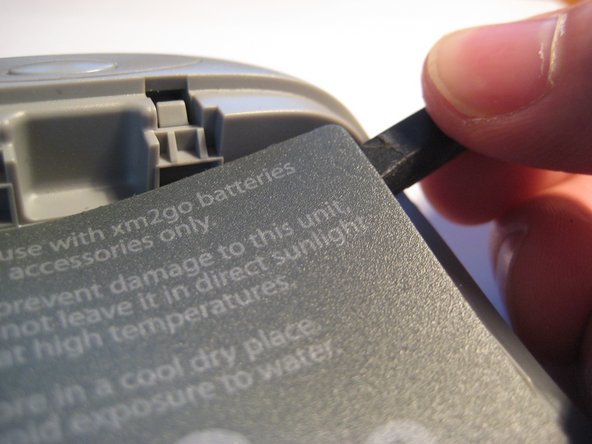
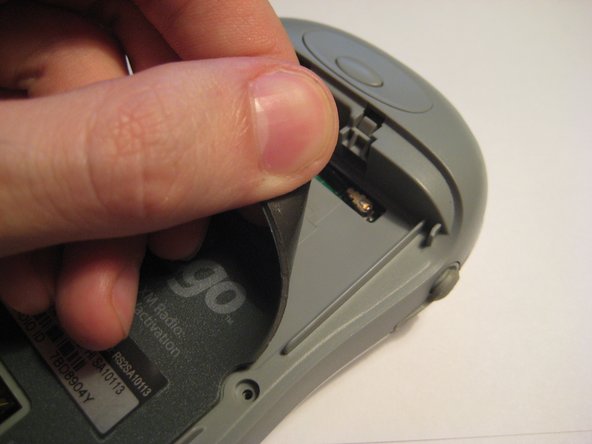
On the top right corner, the magnetic mat can be lifted up to check another U.FL connector as with the 3rd step.
-
This mat can be pressed down again to secure after checking the connector.
-
-
Cette étape n’est pas traduite. Aidez à la traduire
-
Try pressing down on the U.FL connector, as seen in this picture, to ensure a secure connection.
-


