Cette version peut contenir des modifications incorrectes. Passez au dernier aperçu vérifié.
Ce dont vous avez besoin
-
Cette étape n’est pas traduite. Aidez à la traduire
-
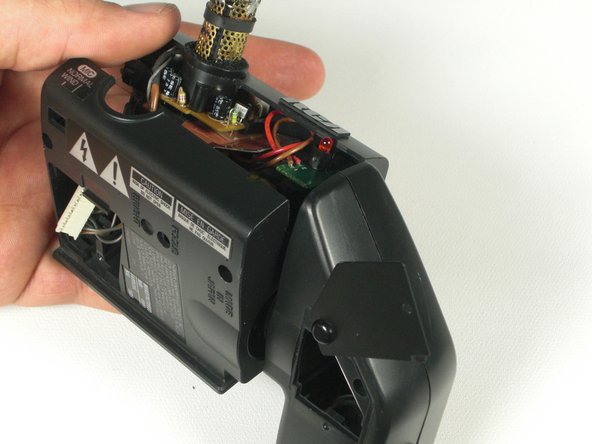
Slide a spudger between the plastic rail and the metal tab on the left side of the rail. Push away from the camcorder to release the flap.
-
Slide the lifted flap towards the viewfinder assembly until the viewfinder is free from the rail.
-
-
Cette étape n’est pas traduite. Aidez à la traduire
-
Unscrew the 7mm ph#0 screw on the underside where the cable connects.
-
Lift the plastic where the cable connects off of the viewfinder assembly.
-
Disconnect the cable inside by pulling it apart.
-
-
Cette étape n’est pas traduite. Aidez à la traduire
-
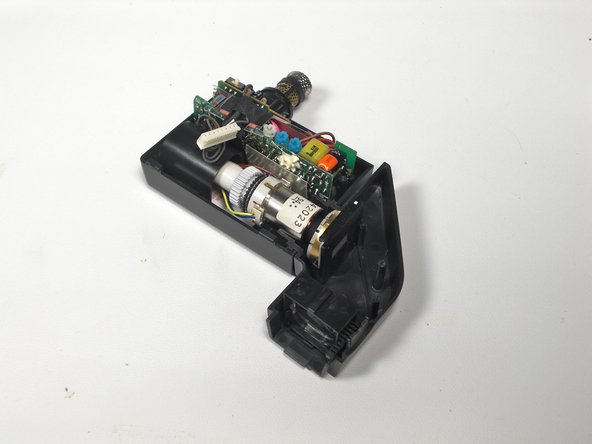
Unscrew two 7.0mm ph#0 screws on the underside of the viewfinder assembly.
-
Lift the viewfinder plastic assembly up and remove.
-
-
-
Cette étape n’est pas traduite. Aidez à la traduire
-
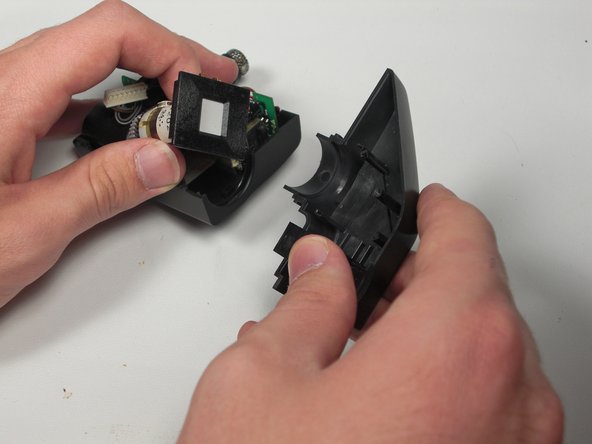
Flip back the viewfinder access tab.
-
Unscrew the 7.0mm ph #0 screw next to the mirror.
-
-
Cette étape n’est pas traduite. Aidez à la traduire
-
Lift the microphone circuit board straight up.
-
Unclip the cable connected to the circuit board.
-
-
Cette étape n’est pas traduite. Aidez à la traduire
-
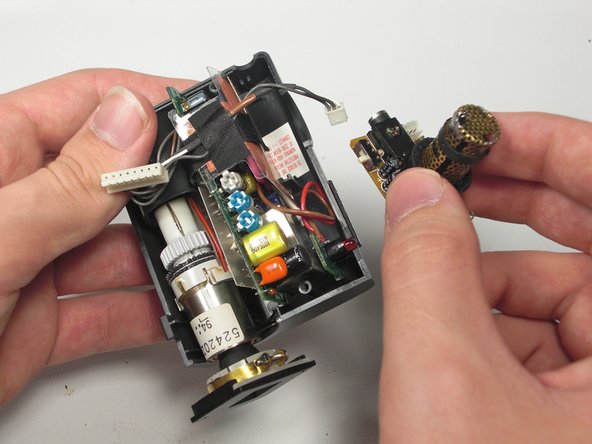
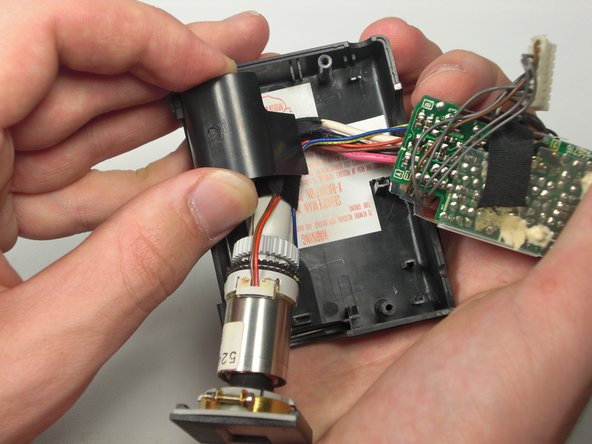
Lift plastic housing and guide the wires from underneath.
-
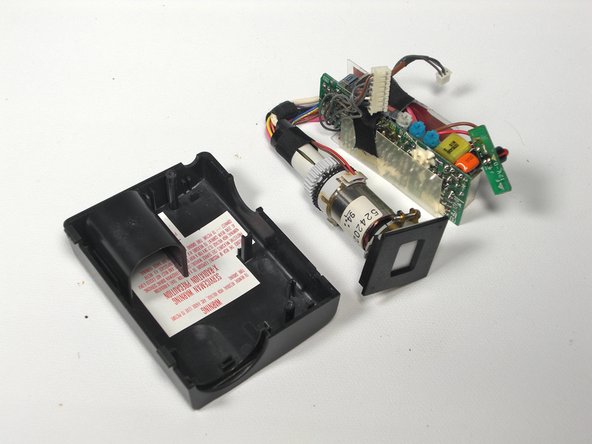
Lift out the entire circuit board and viewfinder.
-
Replace entire circuit board and viewfinder assembly.
-


Équipe

Cal Poly, Team 5-20, Amido Winter 2011 Membre de l'équipe Cal Poly, Team 5-20, Amido Winter 2011
CPSU-AMIDO-W11S5G20
4 membres
7 tutoriels rédigés