Aller au contenu principal

RCA RP3715A Speaker Replacement

Ce dont vous avez besoin

  1. RCA RP3715A Speaker Replacement, Reaching the battery terminal.: étape 1, image 1 de 2 RCA RP3715A Speaker Replacement, Reaching the battery terminal.: étape 1, image 2 de 2
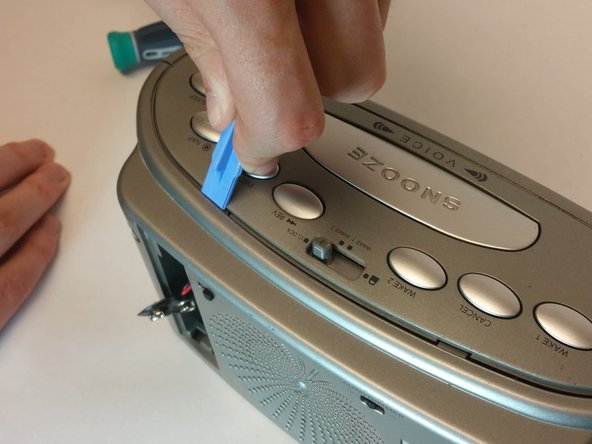
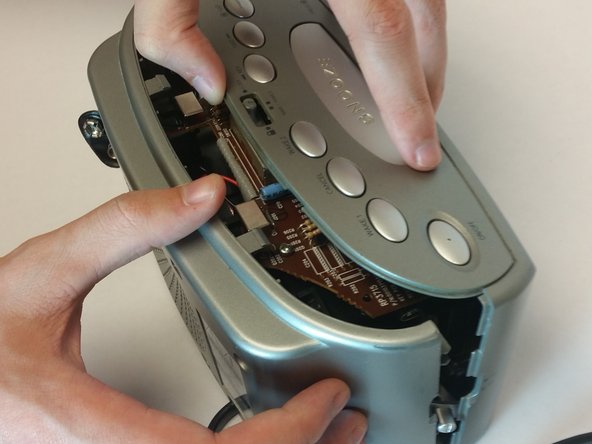
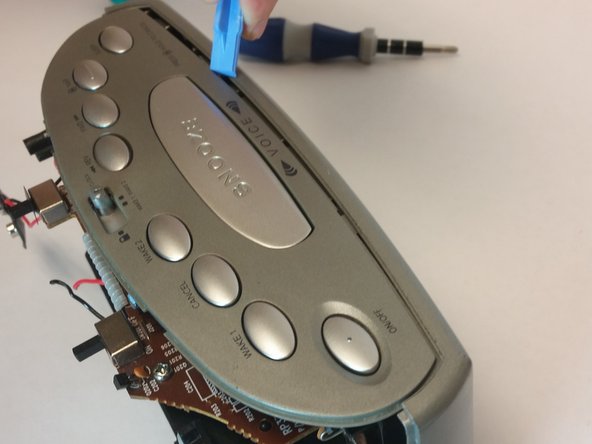
    • Push down on the clip to release pressure. The pull off the plastic cover.

  2. RCA RP3715A Speaker Replacement, Replacing the battery: étape 2, image 1 de 1
    • Remove the 9-volt battery from the battery terminal.

  3. RCA RP3715A Speaker Replacement, Getting inside the device.: étape 3, image 1 de 1
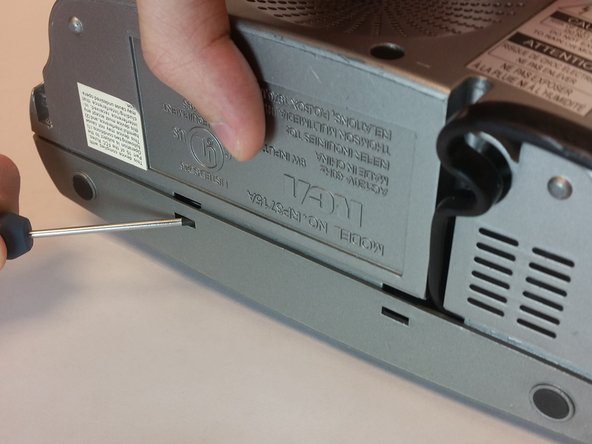
    • Take out the six screws located on the back of the device.

    • The red screws are 10 mm Phillip's #1. The orange screws are 13 mm Phillips #1.

    • Three screws are located on the back panel. One is located inside the battery carriage.

    • Two screws are located on the on the back panel on the bottom left and right side.

  4. RCA RP3715A Speaker Replacement, Relieve extension cord tension.: étape 4, image 1 de 3 RCA RP3715A Speaker Replacement, Relieve extension cord tension.: étape 4, image 2 de 3 RCA RP3715A Speaker Replacement, Relieve extension cord tension.: étape 4, image 3 de 3
    • Remove the 10 mm Phillip's #1 screw.

    • Then remove the metal reinforcement.

  5. RCA RP3715A Speaker Replacement: étape 5, image 1 de 2 RCA RP3715A Speaker Replacement: étape 5, image 2 de 2
    • Using flathead screwdriver undo the release tabs.

  6. RCA RP3715A Speaker Replacement: étape 6, image 1 de 3 RCA RP3715A Speaker Replacement: étape 6, image 2 de 3 RCA RP3715A Speaker Replacement: étape 6, image 3 de 3
    • Pry the release tabs with a spudger.

    • Start with back of the device on the topside.

  7. RCA RP3715A Speaker Replacement: étape 7, image 1 de 2 RCA RP3715A Speaker Replacement: étape 7, image 2 de 2
    • Pry open both tabs to remove the topside of the clock.

  8. RCA RP3715A Speaker Replacement, Speaker Replacement: étape 8, image 1 de 1
    • Remove the two 10mm Phillip's #1 screws. Also remove the two reinforcements holding the speaker in place.

Conclusion

To reassemble your device, follow these instructions in reverse order.

Une autre personne a terminé cette réparation.

Myles Waiters

Membre depuis le 09/22/14

370 Réputation

3 tutoriels rédigés

Équipe

USF Tampa, Team 10-5, Brown Fall 2014 Membre de l'équipe USF Tampa, Team 10-5, Brown Fall 2014

USFT-BROWN-F14S10G5

3 membres

5 tutoriels rédigés

0 commentaires

Ajouter un commentaire

Nombre de vues :

Dernières 24 heures : 0

7 derniers jours : 0

30 derniers jours : 0

Total : 209