Cette version peut contenir des modifications incorrectes. Passez au dernier aperçu vérifié.
Ce dont vous avez besoin
-
Cette étape n’est pas traduite. Aidez à la traduire
-
Remove the small black screws along the edges of the control panel on the top of the device.
-
Pry off the top control panel using the plastic wedge tool.
-
Remove the screw from the front, gray panel located beneath the "Scene Select AE" label.
-
Remove the two small black screws on the top of the front, gray panel of the device, above the red AUTOFOCUS letters.
-
-
-
Cette étape n’est pas traduite. Aidez à la traduire
-
Turn the device over and remove the two screws securing the front panel of the device.
-
Remove the screw securing the primary viewfinder, along the front of the camera.
-
Using a flat plastic tool, pry the entire front panel away from the device.
-
-
Cette étape n’est pas traduite. Aidez à la traduire
-
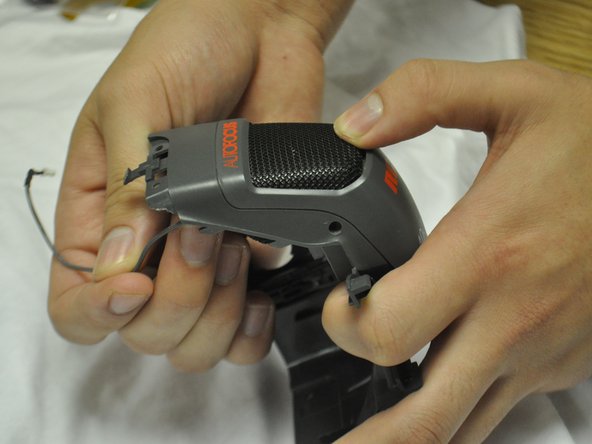
Gently unplug the grey cord, located underneath the panel, disconnecting the speaker from the inner component of the device.
-
Remove the speaker from the device.
-


