Aller au contenu principal

RX 480 Disassembly, cleaning and thermal paste replacement

Ce dont vous avez besoin

  1. RX 480 Disassembly, cleaning and thermal paste replacement, Large view of the RX480: étape 1, image 1 de 1
    • This graphic card is really dirty, so this tutorial will show you how you can clean it and change the thermal paste

    • WARM UP THE CARD BEFORE THE TEARDOWN. IF THE CARD IS COLD THE THERMAL PADS MAY BREAK AND YOU WILL HAVE TO REPLACE THEM

    • Simply launch a game for a while or run a graphics benchmark to heat up the card.

  2. RX 480 Disassembly, cleaning and thermal paste replacement, Remove the fans: étape 2, image 1 de 3 RX 480 Disassembly, cleaning and thermal paste replacement, Remove the fans: étape 2, image 2 de 3 RX 480 Disassembly, cleaning and thermal paste replacement, Remove the fans: étape 2, image 3 de 3
    • Standard philips screw

    • Once the screws are removed, simply pull the fan up, they have no cables.

  3. RX 480 Disassembly, cleaning and thermal paste replacement, Remove the backplate / front plate screws: étape 3, image 1 de 2 RX 480 Disassembly, cleaning and thermal paste replacement, Remove the backplate / front plate screws: étape 3, image 2 de 2
    • Standard Philips screw, be careful as they are not the same length.

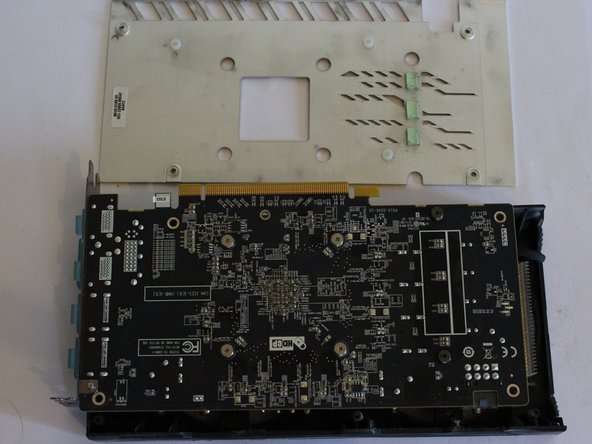
  4. RX 480 Disassembly, cleaning and thermal paste replacement, Remove the plastic panel: étape 4, image 1 de 1
    • Be very gentle, you don't want to break the fan power system. You can use your nails if you're not getting it out with a tool, some twist left/right make the job DO NOT PULL FROM THE CABLE ITSELF!

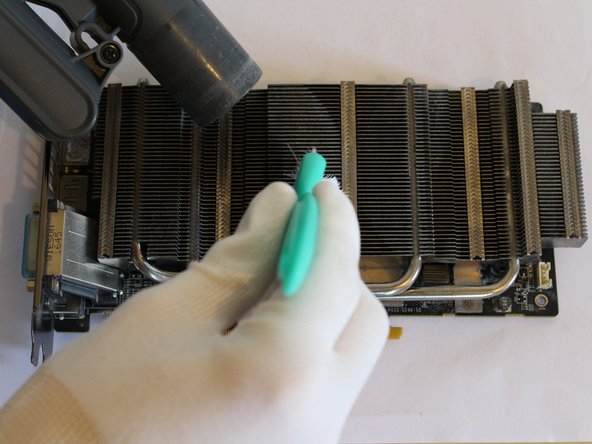
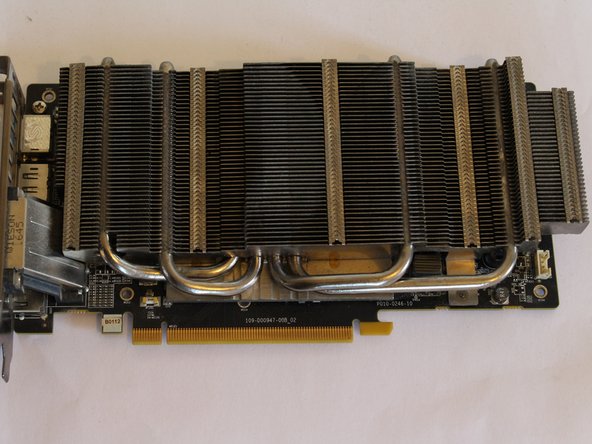
  5. RX 480 Disassembly, cleaning and thermal paste replacement, Clean the radiator: étape 5, image 1 de 3 RX 480 Disassembly, cleaning and thermal paste replacement, Clean the radiator: étape 5, image 2 de 3 RX 480 Disassembly, cleaning and thermal paste replacement, Clean the radiator: étape 5, image 3 de 3
    • I personally clean the radiator using my vacuum cleaner, but you can just use a brush if you want.

  6. RX 480 Disassembly, cleaning and thermal paste replacement, Remove the radiator: étape 6, image 1 de 2 RX 480 Disassembly, cleaning and thermal paste replacement, Remove the radiator: étape 6, image 2 de 2
    • Standard philips screw.

    • The radiator can feel "glued" to the card, don't hesitate to use a bit of muscle to separate them.

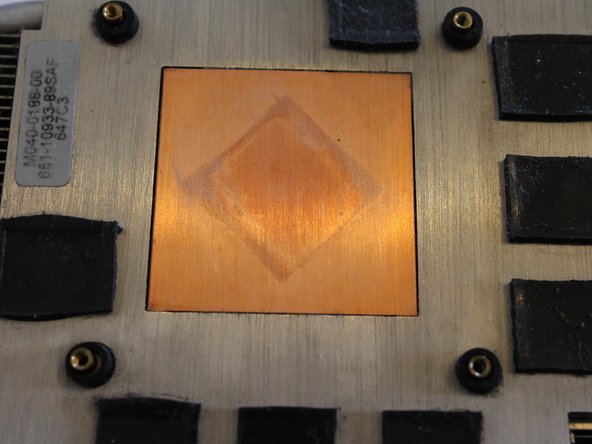
  7. RX 480 Disassembly, cleaning and thermal paste replacement, Clean the radiator: étape 7, image 1 de 3 RX 480 Disassembly, cleaning and thermal paste replacement, Clean the radiator: étape 7, image 2 de 3 RX 480 Disassembly, cleaning and thermal paste replacement, Clean the radiator: étape 7, image 3 de 3
    • Put some 70-90% alcohol, wait a bit for the thermal paste to get wet, then clean with a piece of makeup cotton, repeat until you get a proper result like in the third pic.

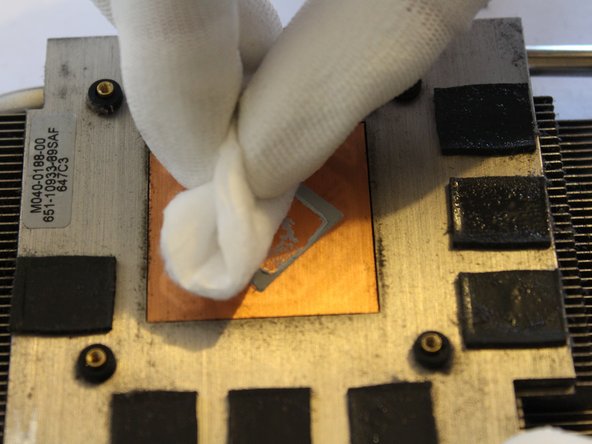
  8. RX 480 Disassembly, cleaning and thermal paste replacement, Clean the GPU: étape 8, image 1 de 1
    • Clean with a Q-tip filled with alcohol

    • Put some alcohol on the gray chip, wait for the paste to get wet and clean with cotton.

    • Don't worry, alcohol is non conductible and will not damage your card.

  9. RX 480 Disassembly, cleaning and thermal paste replacement, Apply fresh thermal paste: étape 9, image 1 de 1
    • Do not hesitate to apply a bit more than me.

  10. RX 480 Disassembly, cleaning and thermal paste replacement, All the components before remounting: étape 10, image 1 de 1
    • You're done! Time to reassemble.

Conclusion

To reassemble your device, follow these instructions in reverse order.

4 autres ont terminé cette réparation.

Zeiko

Membre depuis le 01/01/20

274 Réputation

1 tutoriel rédigé

Un commentaire

Would have loved to see a reassebmly after. But still exelent guide! 👏👏

koki michev - Réponse

Ajouter un commentaire

Nombre de vues :

Dernières 24 heures : 4

7 derniers jours : 31

30 derniers jours : 116

Total : 5,006