This simple guide will show you how to change the cable in a Rapoo N1600 mouse. This guide does require disassembling, so try not to lose any parts! One thing to note in Step 2 is that the screw may be difficult to remove, so there's a chance you might have to pry it open. Don't worry; you won't need to screw it back since the mouse runs smoothly without the screw.
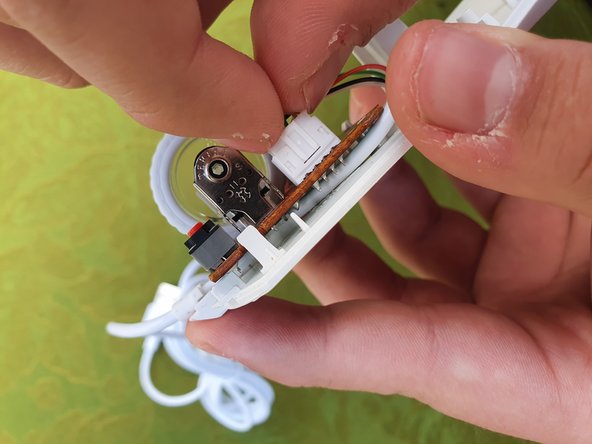
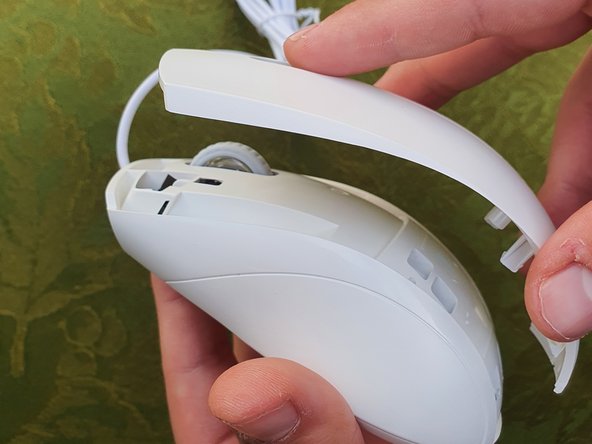
Use the iFixit opening tool to lift the cable connector plug slowly.
Use gentle pressure as pulling with force may damage the scroll wheel connector.
Using two fingers, slowly wiggle the connector plug out.
Do not pull from the wires.
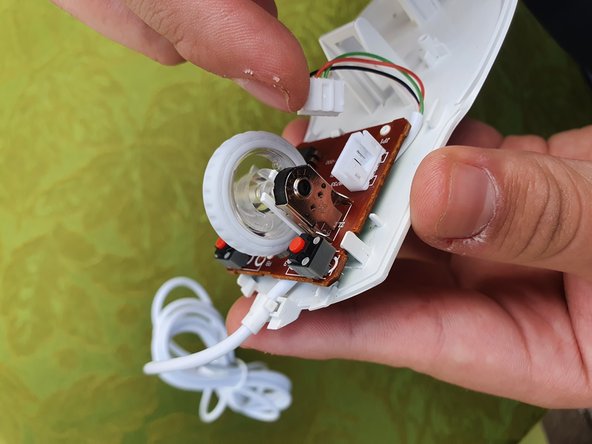
Remove the old mouse cable.
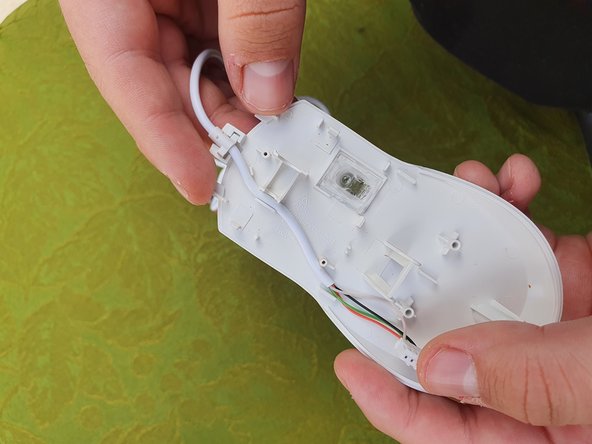
Place the matching cross from the new mouse cable on the cross outline.
Keep the cable away from the scroll wheel area. Make sure the cable stays to the side.
Make sure the mouse sensor stays in place. If it falls out, set it back in place.
To replace the motherboard, match the circle from the motherboard and mouse and press down.
It will make a clicking sound.
Add the mouse cable plug to the socket. Press down so it connects.
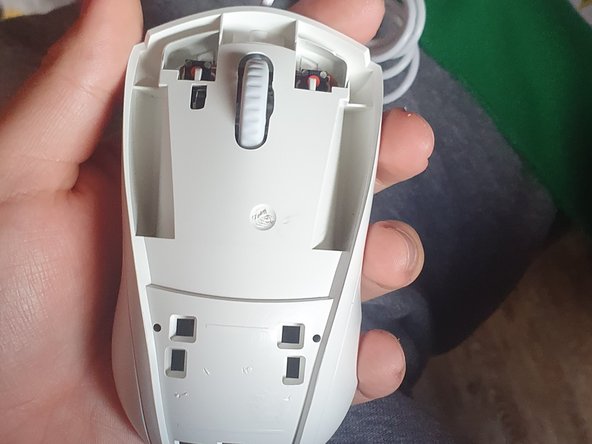
Match the middle part of the mouse with the bottom and slide it from top to bottom.
Once the middle part is attached, add the top shell of the mouse. Follow the pattern of the holes as they will help you.
Intégrer ce tutoriel
Choisissez une taille et copiez le code ci-dessous pour intégrer ce tutoriel sous la forme d'un petit widget sur votre site / forum.
Étape unique
Tutoriel complet
Petit - 600 px
Moyen - 800 px
Grand - 1200 px
Aperçu