Introduction
Instructions for how to disassemble the top assembly of the Razer Naga Epic mouse.
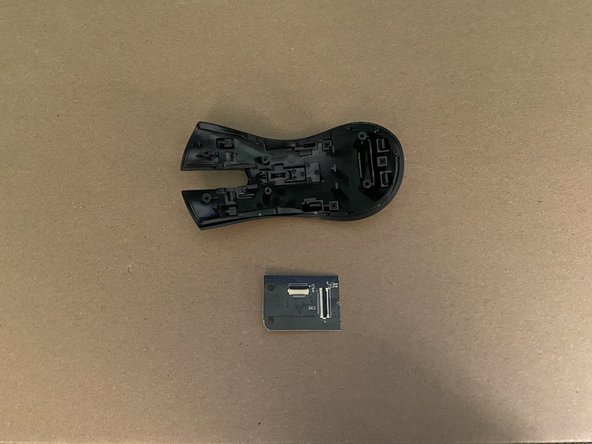
This is a relatively simple part of the device that houses the middle two buttons of the device as well as being responsible for bridging connections from the numpad to the mainboard.
Ce dont vous avez besoin
-
-
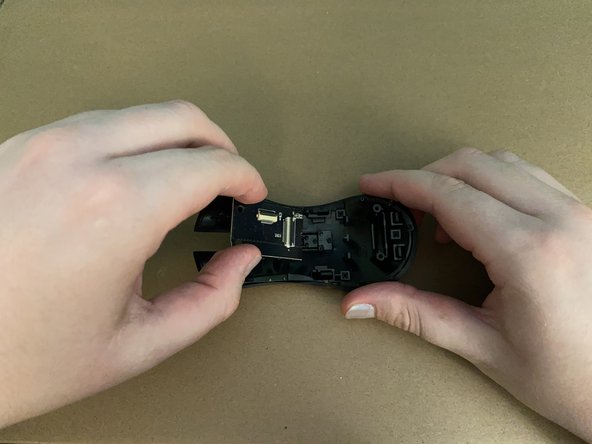
The PCB is held to the top panel by...
-
2 x 6mm Phillips #0 screws towards the front
-
2 grooves on the top panel holding it in towards the rear
-
-
-
-
Carefully slide the PCB horizontally away from the grooves on the rear end of the top panel.
-


Presque terminé !
To reassemble your device, follow these instructions in reverse order.
Conclusion
To reassemble your device, follow these instructions in reverse order.