Aller au contenu principal

Razor A Handle Grips Replacement

Ce dont vous avez besoin

  1. Razor A Handle Grips Replacement, Handle Grips: étape 1, image 1 de 2 Razor A Handle Grips Replacement, Handle Grips: étape 1, image 2 de 2
    • If the scooter does not already have handle grips, skip to step 2.

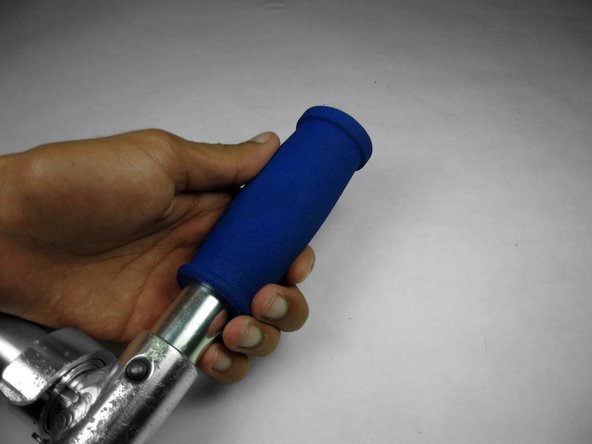
    • Locate the handle grips at the upper ends of the T-tube.

    • Be careful to keep the scissors away from your other hand while cutting the handle grips.

    • Wedge one end of a pair of scissors between the metal T-tube and a handle grip, with the cutting edge toward the handle grip. Cut the handle grip off.

    • Repeat for the other handle grip.

  2. Razor A Handle Grips Replacement: étape 2, image 1 de 2 Razor A Handle Grips Replacement: étape 2, image 2 de 2
    • Soak the replacement handle grips in warm water for 2-3 minutes.

    • The longer you soak the handle grips in water, the larger they get. Soaking the handle grips for a long time will not damage them.

  3. Razor A Handle Grips Replacement: étape 3, image 1 de 2 Razor A Handle Grips Replacement: étape 3, image 2 de 2
    • Each handle grip should now slide onto the T-tube with ease. If not, soak the handle grip(s) in warm water for another 1-3 minutes.

    • Holding the T-tube with one hand, slide a handle grip completely onto the T-tube.

    • Repeat for the other handle grip if installing both.

    • Let the handle grips dry for 24 hours before use.

Ligne d'arrivée

Une autre personne a terminé cette réparation.

Jordyn

Membre depuis le 10/09/12

544 Réputation

5 tutoriels rédigés

Équipe

Cal Poly, Team 9-13, Amido Fall 2012 Membre de l'équipe Cal Poly, Team 9-13, Amido Fall 2012

CPSU-AMIDO-F12S9G13

4 membres

10 tutoriels rédigés

Un commentaire

I have found the Razor A5 Lux Scooter the best kick scooter for daily commuting.

Mathew Sam - Réponse

Ajouter un commentaire

Nombre de vues :

Dernières 24 heures : 0

7 derniers jours : 4

30 derniers jours : 23

Total : 4,808