Cette version peut contenir des modifications incorrectes. Passez au dernier aperçu vérifié.
Ce dont vous avez besoin
-
Cette étape n’est pas traduite. Aidez à la traduire
-
Remove the strap by pulling it off of the mounts located on the body and neck.
-
-
Cette étape n’est pas traduite. Aidez à la traduire
-
Remove the nine 12mm Phillips #1 screws around the perimeter of the case with a screwdriver.
-
Remove the two 15mm Phillips #1 screws connecting the body panel to the neck panel with a screwdriver.
-
Pull off the rear case.
-
-
-
Cette étape n’est pas traduite. Aidez à la traduire
-
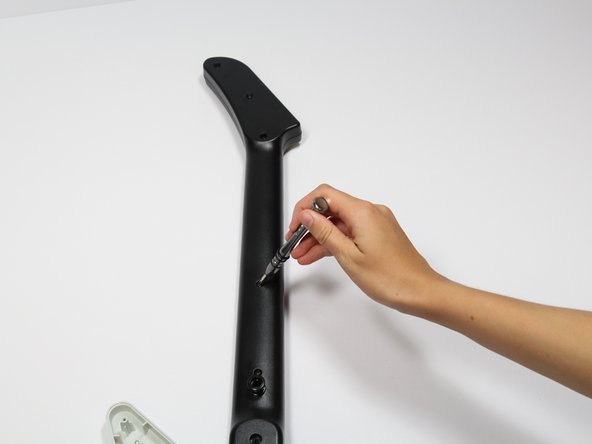
Remove the five 12mm Phillips #1 screws along the neck with a screwdriver.
-
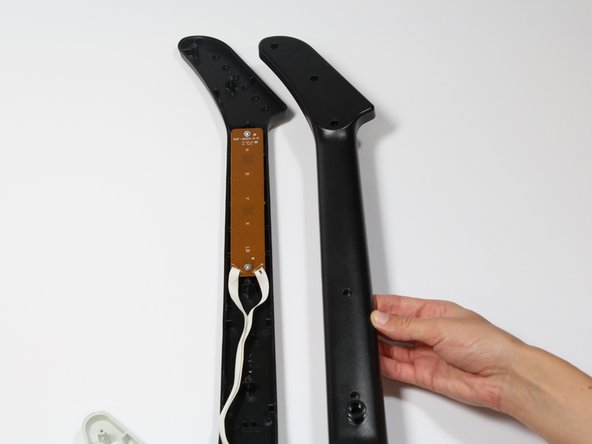
Pull off the top shell of the neck to expose the internal features.
-
-
Cette étape n’est pas traduite. Aidez à la traduire
-
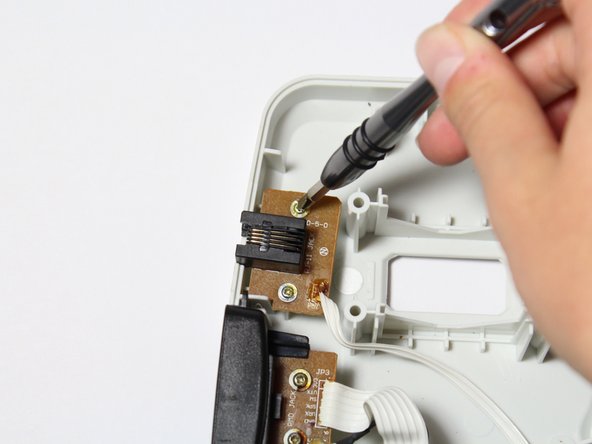
Remove the two 10mm Phillips #1 screws from the RJ-14 connector board.
-
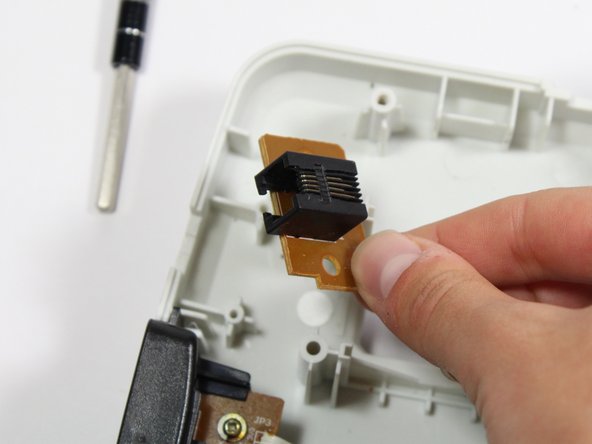
Lift the RJ-14 connector to remove it from the case.
-


Équipe

Cal Poly, Team S17-G1, Livingston Spring 2018 Membre de l'équipe Cal Poly, Team S17-G1, Livingston Spring 2018
CPSU-LIVINGSTON-S18S17G1
3 membres
9 tutoriels rédigés