Aller au contenu principal

Refrigerator Handle with No Drills Installation

Tutoriel Archivé
Ce tutoriel est conservé uniquement à des fins de suivis historiques. Utilisez la version actuelle du tutoriel pour effectuer votre réparation.

Ce dont vous avez besoin

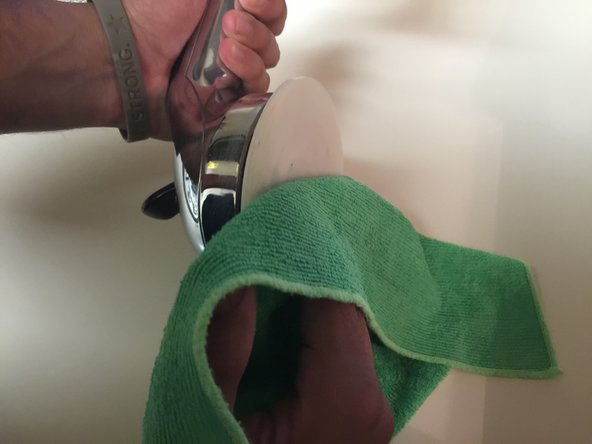
  1. Refrigerator Handle with No Drills Installation, Refrigerator Handle with No Drills Installation: étape 1, image 1 de 3 Refrigerator Handle with No Drills Installation, Refrigerator Handle with No Drills Installation: étape 1, image 2 de 3 Refrigerator Handle with No Drills Installation, Refrigerator Handle with No Drills Installation: étape 1, image 3 de 3
    • Use a clean sponge or damp lint free cloth to apply the handle to the surface.

    • Soapy water or other mild cleansers may be used to clean the surface from all grease or grime.

    • Preferably use cold or luke warm water.

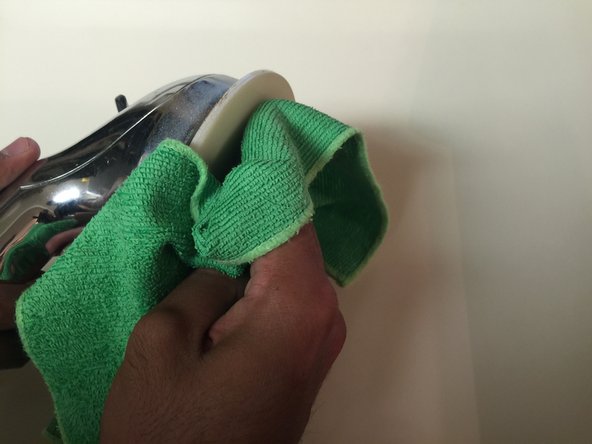
  2. Refrigerator Handle with No Drills Installation: étape 2, image 1 de 3 Refrigerator Handle with No Drills Installation: étape 2, image 2 de 3 Refrigerator Handle with No Drills Installation: étape 2, image 3 de 3
    • Gently clean the surface of refrigerator where handle will be applied.

    • Ensure the surface is completely dry before application.

  3. Refrigerator Handle with No Drills Installation: étape 3, image 1 de 3 Refrigerator Handle with No Drills Installation: étape 3, image 2 de 3 Refrigerator Handle with No Drills Installation: étape 3, image 3 de 3
    • Clean the bottom of the handle's suction cups with a damp sponge or lint-free towel.

    • Ensure the surface is completely dry up before application.

  4. Refrigerator Handle with No Drills Installation: étape 4, image 1 de 1
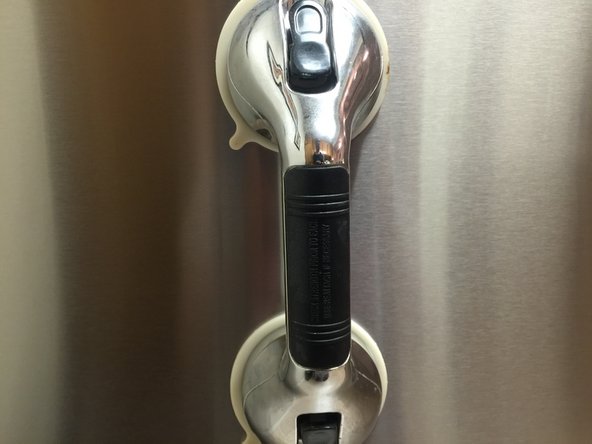
    • Once both surfaces are dry, place the handle with suction cups facing the refrigerator.

    • Position the handle on the side you would open the refrigerator.

  5. Refrigerator Handle with No Drills Installation: étape 5, image 1 de 1
    • Position the handle vertically and at an appropriate height.

    • The height is up to your own personal preference.

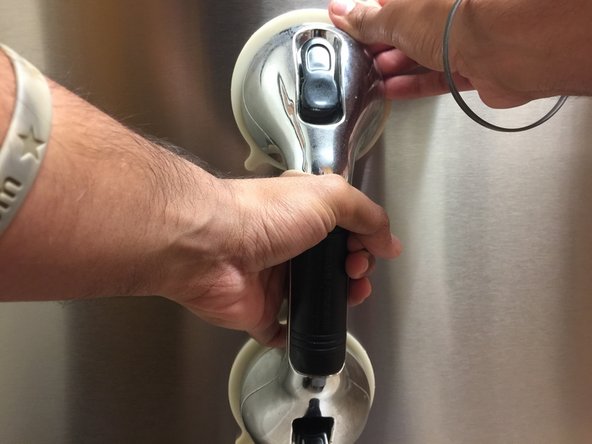
  6. Refrigerator Handle with No Drills Installation: étape 6, image 1 de 2 Refrigerator Handle with No Drills Installation: étape 6, image 2 de 2
    • Apply pressure to both ends of the handle for approximately 15 seconds.

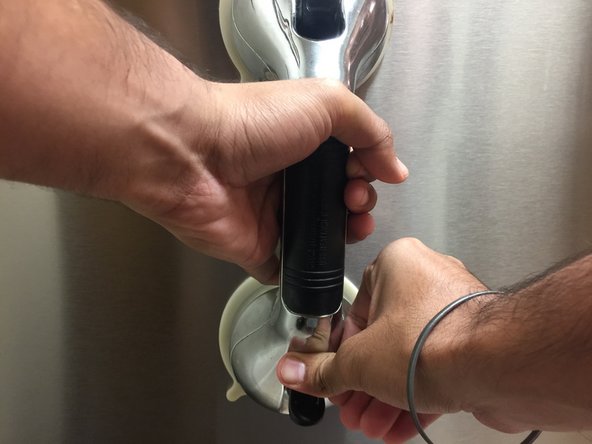
  7. Refrigerator Handle with No Drills Installation: étape 7, image 1 de 3 Refrigerator Handle with No Drills Installation: étape 7, image 2 de 3 Refrigerator Handle with No Drills Installation: étape 7, image 3 de 3
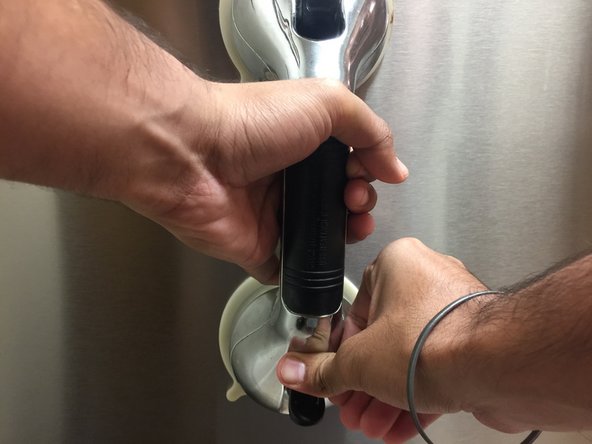
    • Lock the suction cups in place by pushing down on the hatches.

    • Depending on manufacturer, locking the suction handles may differ in method.

  8. Refrigerator Handle with No Drills Installation: étape 8, image 1 de 2 Refrigerator Handle with No Drills Installation: étape 8, image 2 de 2
    • Slowly release the handle.

    • If handle detaches, repeat steps 4-8 until successful.

Conclusion

To reassemble your device, follow these instructions in reverse order.

Jaskaran Buttar

Membre depuis le 09/29/15

125 Réputation

1 tutoriel rédigé

Équipe

Cal Poly, Team 10-7, Green Fall 2015 Membre de l'équipe Cal Poly, Team 10-7, Green Fall 2015

CPSU-GREEN-F15S10G7

3 membres

3 tutoriels rédigés

Un commentaire

Help to fix a big hole where the door is holding on door falling off

Joya Hall - Réponse

Ajouter un commentaire

Nombre de vues :

Dernières 24 heures : 0

7 derniers jours : 1

30 derniers jours : 1

Total : 260