Aller au contenu principal

Ce tutoriel a des changements plus récents. Passer à la dernière version non vérifiée.

Removing PowerMac G4 M5183 DVD-ROM Drive Tray

Ce dont vous avez besoin

  1. Removing PowerMac G4 M5183 DVD-ROM Drive Tray, Opening PowerMac G4 M5183 Case: étape 1, image 1 de 2 Removing PowerMac G4 M5183 DVD-ROM Drive Tray, Opening PowerMac G4 M5183 Case: étape 1, image 2 de 2
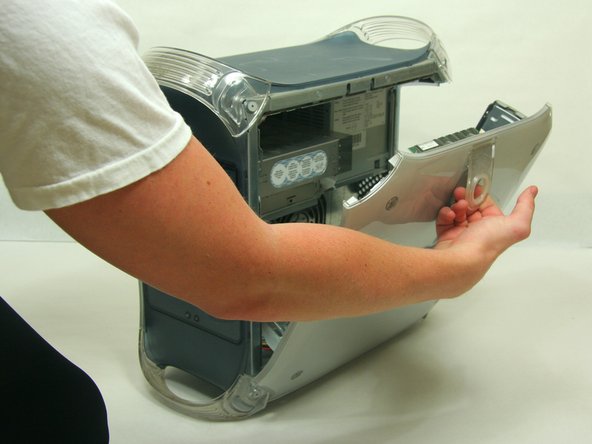
    • Pull on outer latch.

    • Lower door until it is level with your work surface.

    • Before working on the computer make sure it is not plugged into a power supply, then touch a metal object. This discharges static electricity, which could damage the computer.

  2. Removing PowerMac G4 M5183 DVD-ROM Drive Tray, DVD-ROM Drive: étape 2, image 1 de 2 Removing PowerMac G4 M5183 DVD-ROM Drive Tray, DVD-ROM Drive: étape 2, image 2 de 2
    • Removing the faceplate.

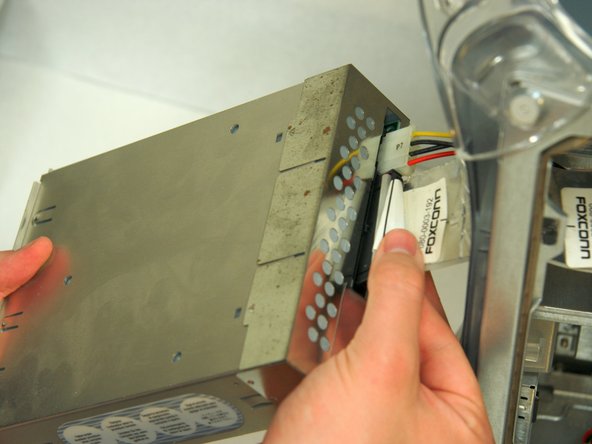
    • On the inside of the case, find the two plastic tabs.

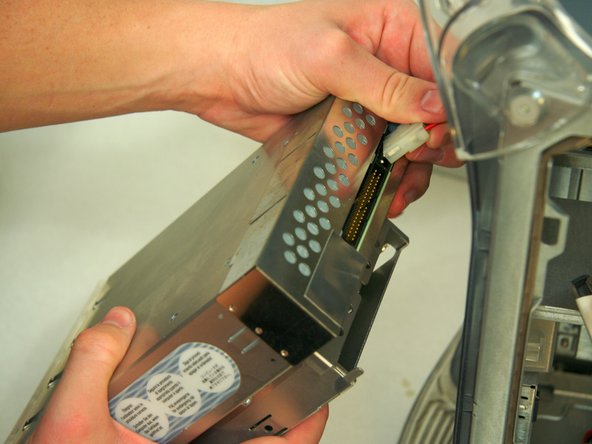
    • While depressing the tabs, remove the faceplate by pulling and rotating outward.

  3. Removing PowerMac G4 M5183 DVD-ROM Drive Tray: étape 3, image 1 de 1
    • Remove the two screws on the front of the drive with the Phillips #1 screwdriver.

  4. Removing PowerMac G4 M5183 DVD-ROM Drive Tray: étape 4, image 1 de 3 Removing PowerMac G4 M5183 DVD-ROM Drive Tray: étape 4, image 2 de 3 Removing PowerMac G4 M5183 DVD-ROM Drive Tray: étape 4, image 3 de 3
    • Pull the drive out to allow access to the power and ribbon cables. Do not fully remove.

    • Remove both the power and ribbon cable.

Ligne d'arrivée

26 autres ont terminé cette réparation.

Justin Petrilli

Membre depuis le 01/21/10

3 114 Réputation

11 tutoriels rédigés

Équipe

Cal Poly, Team 13-24, Maness Winter 2010 Membre de l'équipe Cal Poly, Team 13-24, Maness Winter 2010

CPSU-MANESS-W10S13G24

4 membres

25 tutoriels rédigés

0 commentaires

Ajouter un commentaire

Nombre de vues :

Dernières 24 heures : 3

7 derniers jours : 8

30 derniers jours : 25

Total : 10,506