Aller au contenu principal

Removing the Cover From the Printer

Conditions préalables uniquement
Ce tutoriel est uniquement destiné à être utilisé comme prérequis d'autres tutoriels. Il ne se suffit pas à lui-même.

Ce dont vous avez besoin

  1. Removing the Cover From the Printer, Top Cover: étape 1, image 1 de 1
    • Remove the back two 14.0 mm Torx #10 screws.

  2. Removing the Cover From the Printer: étape 2, image 1 de 1
    • Lay the printer on its back.

    • Grab the paper tray by its right side and pull it to the left and up.

  3. Removing the Cover From the Printer: étape 3, image 1 de 1
    • Open the frontal access panel by lifting it from the top.

    • Similar to the paper tray, grab it from the right side and pull it to the left and up.

  4. Removing the Cover From the Printer: étape 4, image 1 de 3 Removing the Cover From the Printer: étape 4, image 2 de 3 Removing the Cover From the Printer: étape 4, image 3 de 3
    • Take out the two frontal 14.0 mm Torx #10 screws.

    • Carefully lift the frontal cover.

    • Don't lift it up aggressively. A strip will be attached to it.

Conclusion

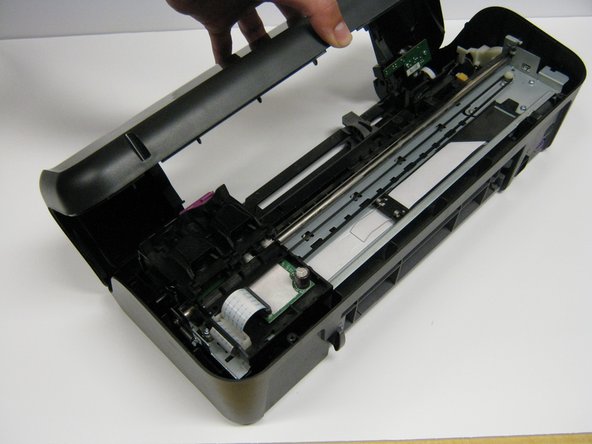
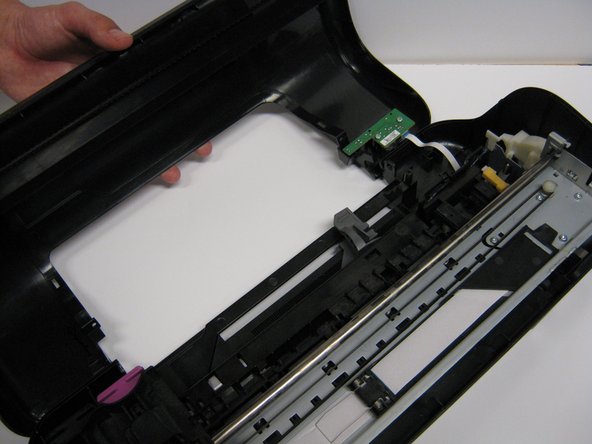
To reassemble your device, follow these instructions in reverse order.

Justin Taiki Fukada

Membre depuis le 01/25/14

891 Réputation

7 tutoriels rédigés

Équipe

Cal Poly, Team 1-41, Maness Winter 2014 Membre de l'équipe Cal Poly, Team 1-41, Maness Winter 2014

CPSU-MANESS-W14S1G41

4 membres

14 tutoriels rédigés

0 commentaires

Ajouter un commentaire

Nombre de vues :

Dernières 24 heures : 0

7 derniers jours : 0

30 derniers jours : 0

Total : 29