Introduction
Ces étapes vous guideront pour remplacer simplement l'écran de votre appareil photo.
Ce dont vous avez besoin
-
-
Ouvrez les quatre vis de 3,40 mm des côtés droit et gauche de votre appareil photo Panasonic Lumix.
-
Retirez les deux vis de 2,60 mm situées à côté de la batterie.
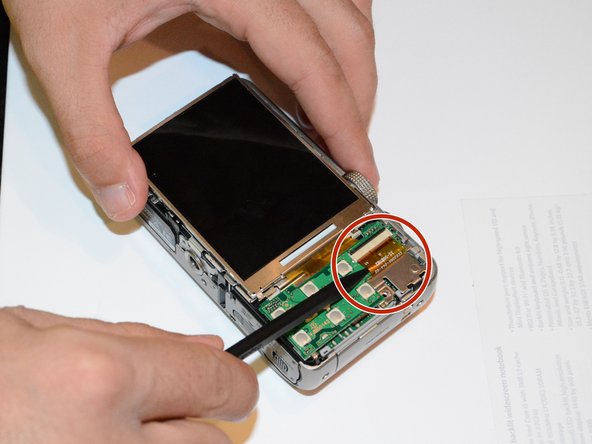
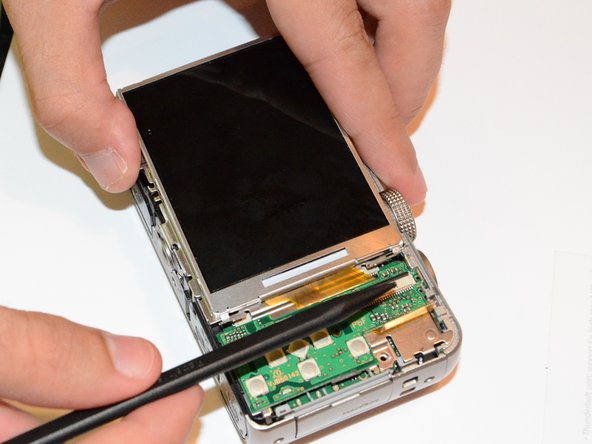
-
-


Pour remonter votre appareil, suivez ces instructions dans l'ordre inverse.
Pour remonter votre appareil, suivez ces instructions dans l'ordre inverse.
Annulation : je n'ai pas terminé ce tutoriel.
3 autres ont terminé cette réparation.
Merci à ces traducteurs :
100%
[deleted] nous aide à réparer le monde ! Vous voulez contribuer ?
Commencez à traduire ›
Équipe

USF Tampa, Team 9-5, Brown Winter 2015 Membre de l'équipe USF Tampa, Team 9-5, Brown Winter 2015
USFT-BROWN-W15S9G5
3 membres
7 tutoriels rédigés
Un commentaire
- Of the two 2.60 mm screws on the bottom of the camera, only the one closest to the back needs to be removed.
- The correct screwdriver is JIS Type S #00. A Phillips driver can ruin the screws.
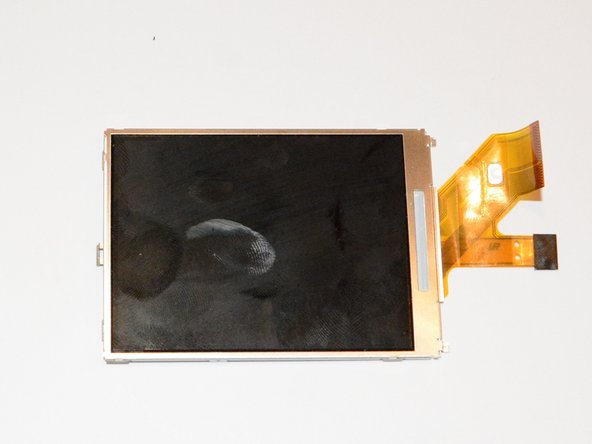
- The screen shown in step 5 consists of two parts: the LCD and a frame. The replacement LCD that I ordered came without the frame, so a little more disassembly was required, including a bit of delicate soldering: the narrow ribbon cable is really two cables, soldered together. The solder joints are hidden under the piece of black electric tape at the end.