Introduction
Ceci est un guide étape par étape sur la façon de retirer la carte PCB de l'ensemble de lentille dans un Netgear Arlo. Retirez les piles avant de commencer ce guide.
Ce dont vous avez besoin
-
-
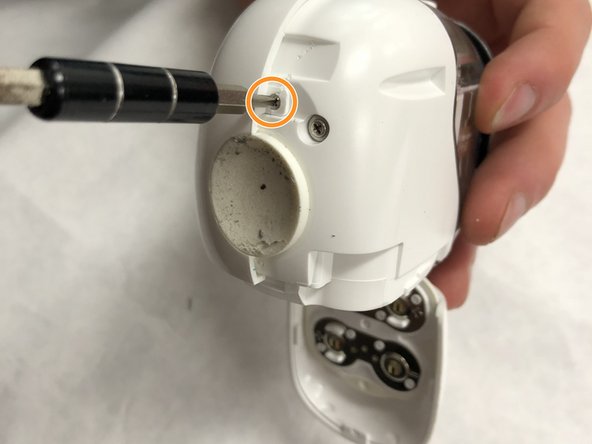
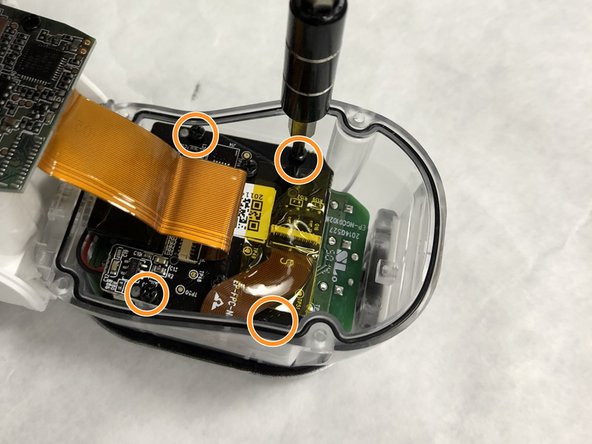
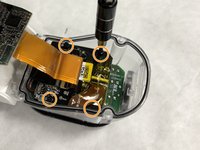
Retirez les 2 vis du boîtier (3,5 mm) à l'aide d'un tournevis J0.
-
-
-
-
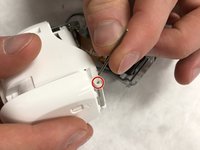
Retirez la vis (3,5 mm) près du bouton de synchronisation qui maintient le côté opposé de la caméra allumé.
-
Retirez la deuxième vis (3,5 mm) à l'arrière de la caméra pour retirer le deuxième boîtier.
-
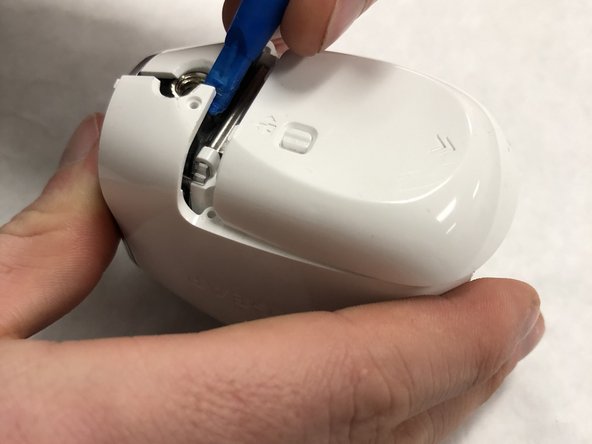
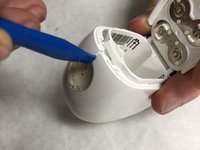
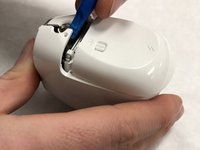
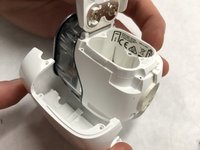
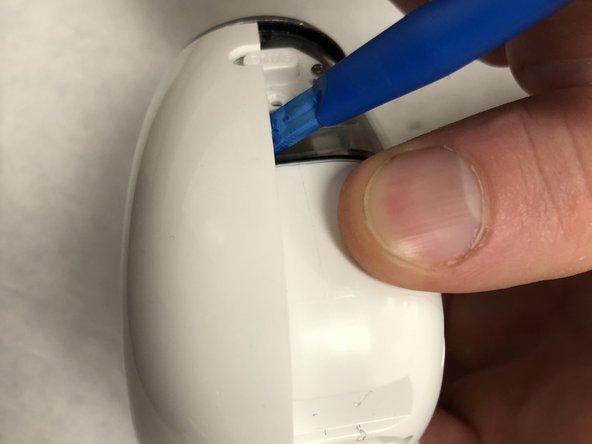
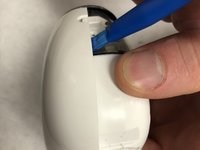
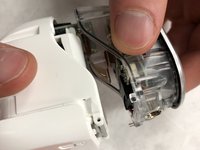
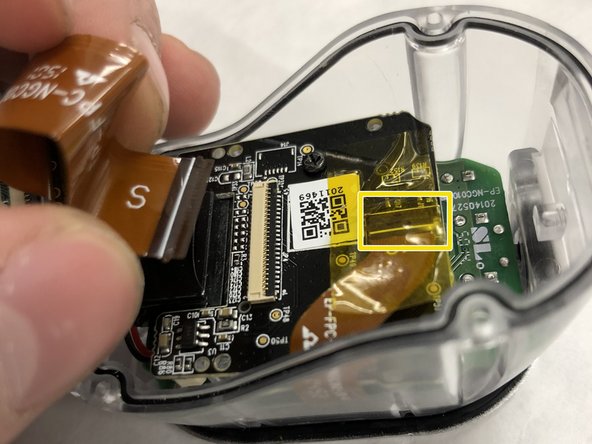
Une fois les vis retirées, utilisez un outil d'ouverture pour faire levier sur le deuxième support en plastique.
-
Pour remonter votre appareil, suivez ces instructions dans l'ordre inverse.
Pour remonter votre appareil, suivez ces instructions dans l'ordre inverse.
Merci à ces traducteurs :
100%
[deleted] nous aide à réparer le monde ! Vous voulez contribuer ?
Commencez à traduire ›
8 commentaires
hi I took out the battery befor it was finished downloading new firmware, now there is no connection, no blue light. Can you help or is the camer garbage?
I struggled a bit with the ribbon cable connections, they need to be lifted up from the side the cable enters. They are sort of hinged like a door but lying on its side. Once it is stood up vertically, the cable will pull out. For the longer one I found it was important to lift as much of it up at once otherwise it will break if you lift one end and not the other. Once the cable is reinserted, they can just be pushed back down, same as before, supporting the full length when you do. If one comes off it is possible to push it back onto the hinge but it is very very tricky and took a while.


