Introduction
Comment démonter et changer l'unité laser.
Ce dont vous avez besoin
Vidéo d'introduction
-
-
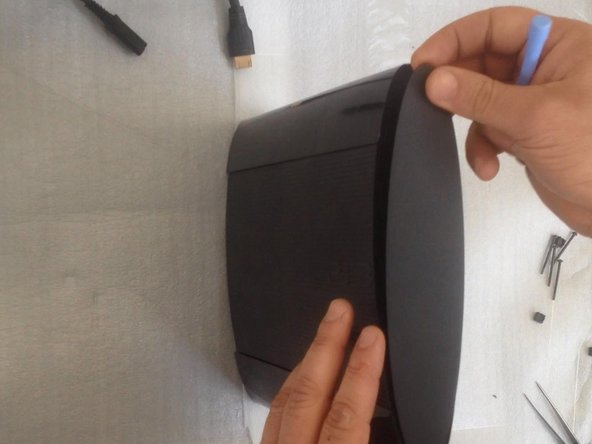
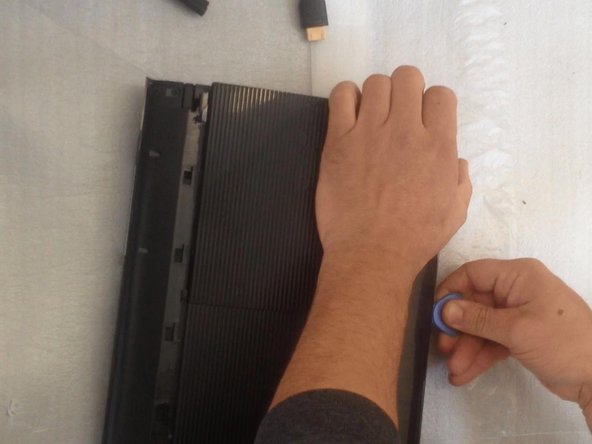
Éteignez la console et déconnectez tous les câbles.
-
-
-
-
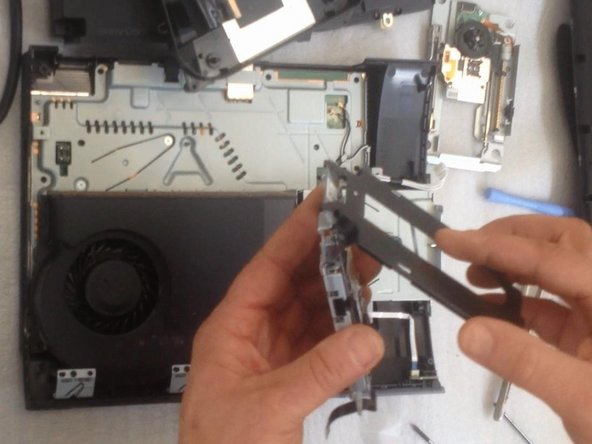
Pour libérer l'unité laser, déconnectez ce câble flexible.
-


Pour remonter votre appareil, suivez ces instructions dans l'ordre inverse.
Pour remonter votre appareil, suivez ces instructions dans l'ordre inverse.
Annulation : je n'ai pas terminé ce tutoriel.
10 autres ont terminé cette réparation.
Merci à ces traducteurs :
100%
[deleted] nous aide à réparer le monde ! Vous voulez contribuer ?
Commencez à traduire ›

Équipe

5 commentaires
Very good job, kudos!
I have found that there are to types of lasers do you sell the second one that does not have the black screws on top but are silver. I have found the one with the silver screws has a smaller laser flex cable and plug. its for the cech-43xx
My only problem now is how to purchase the right Laser unit? Any specs for the right Laser unit? Thanks
I’ve done this but my ps3 still doesn’t read disks it spins it up 4 odd times but doesn’t read them and it sounds like the disk skims the top of the laser unit but it hasn't done any damage and it does it with both units, I’m so lost on what to do.
I am replacing the optical drive in my console. But didn't note where the drive ribbon was positioned!? Every video I have found, they just pop right in...my original and replacement drives, have larger receptacles than the ribbon it self. There are at least 5 pins, that don't have (potentially) anything connecting them, to the ribbon. I don't want to randomly place the ribbon in one of the possible (7?) positions and fry something in the process...so where do I connect the smaller ribbon?!