Introduction
Comment démonter le Nokia Lumia 625 et changer la vitre tactile cassée.
Ce dont vous avez besoin
-
-
Éteignez le téléphone et retirez la coque arrière.
-
Retirez toute carte SIM ou carte mémoire installée.
-
Utilisez un tournevis Torx T5 pour dévisser les 8 vis noires.
-
-
-
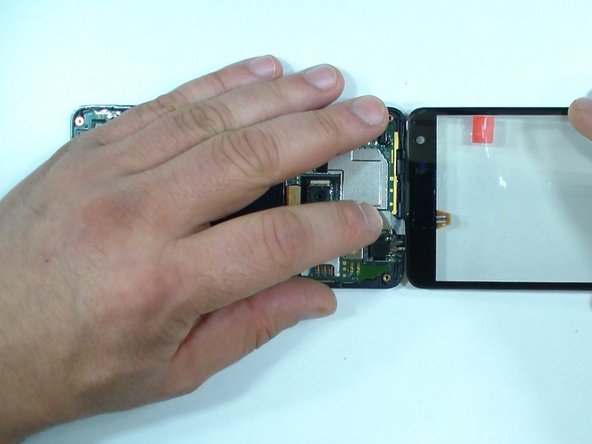
Déconnectez la batterie et les nappes de l'écran tactile.
-
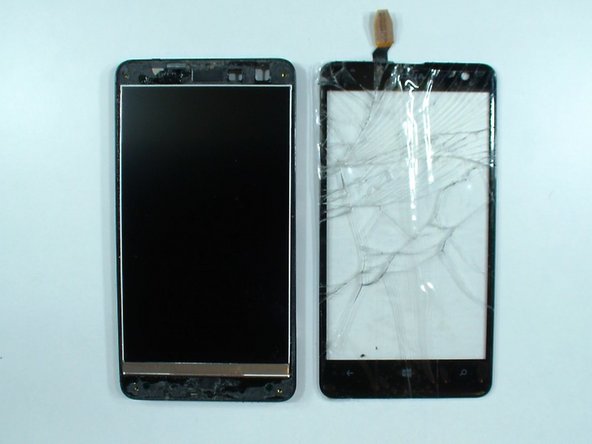
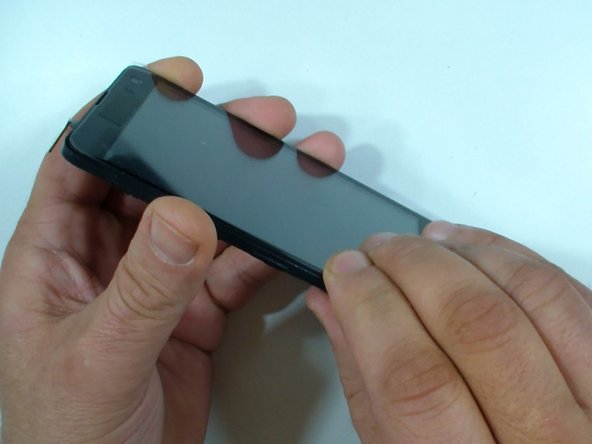
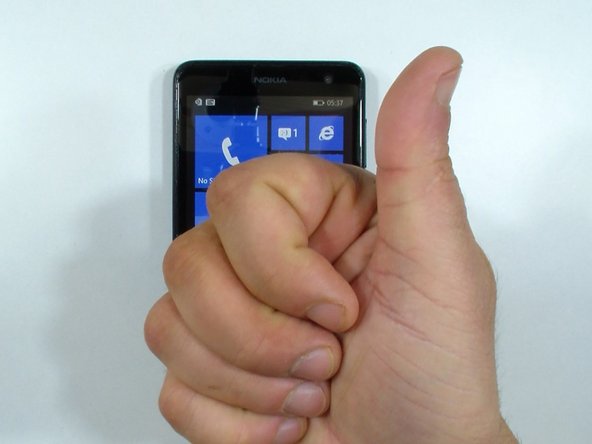
C'est maintenant le moment de tester la nouvelle pièce de rechange.
-
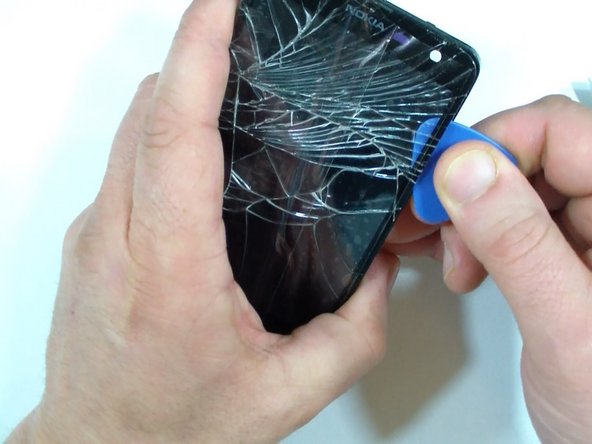
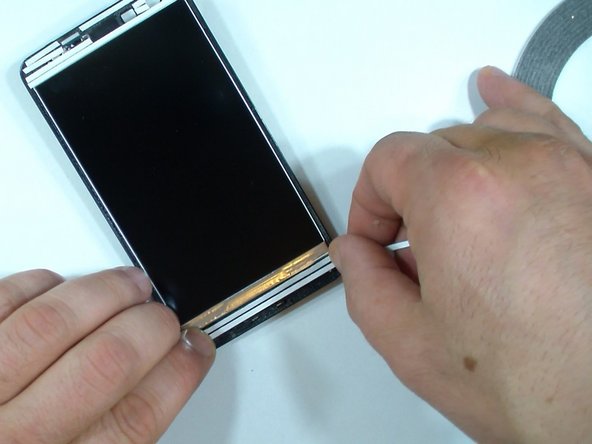
Enfin, débranchez à nouveau la batterie et retirez la nouvelle vitre tactile.
-
-


Pour remonter votre appareil, suivez ces instructions dans l'ordre inverse.
Pour remonter votre appareil, suivez ces instructions dans l'ordre inverse.
Annulation : je n'ai pas terminé ce tutoriel.
20 autres ont terminé cette réparation.
Merci à ces traducteurs :
100%
[deleted] nous aide à réparer le monde ! Vous voulez contribuer ?
Commencez à traduire ›

Équipe

4 commentaires
Thanks for this guide!
However, the phone uses T5 screws. The T4 screwdriver would simply damage the screws. Just that advice.
Thanks again for such detailed guide.
Another comment: I was attempting to do this guide and the LCD is glued to the digitizer! It's very important to disclose this at the beginning of the guide. You could end up with a broken LCD!
Do not try this if the original glass broke, because it's glued to the LCD and removing the broken glass could damage it.
That is not true carlitossuper1, the LCD and the digitizer are not fised together. Glue is only around the frame.
I managed to replace the original digitizer as well. This was my first digitizer replacement and it took me 1 h 45 min the starting point being: this guide open, tools available, replacement part and the smart phone in hand. The operation itself took me some 35 min.
About the screws: I used T4 (I read the comments only afterwards), didn't slip a bit, but T5 fits better now that I tried it.
What a great feeling! I achieved something very concrete today - thanks to you!