Cette version peut contenir des modifications incorrectes. Passez au dernier aperçu vérifié.
Ce dont vous avez besoin
-
Cette étape n’est pas traduite. Aidez à la traduire
-
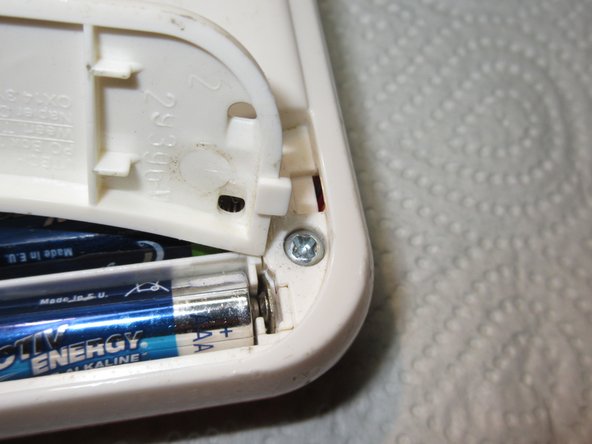
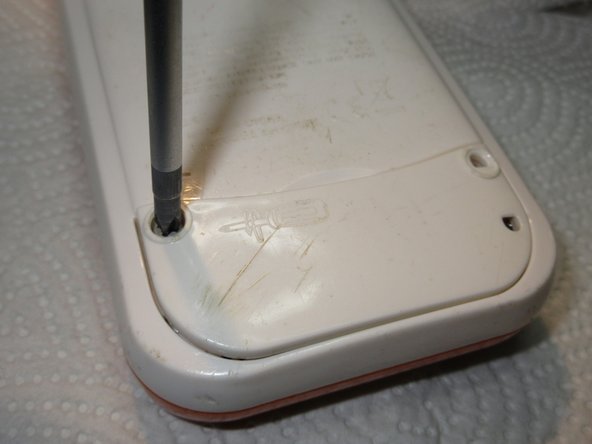
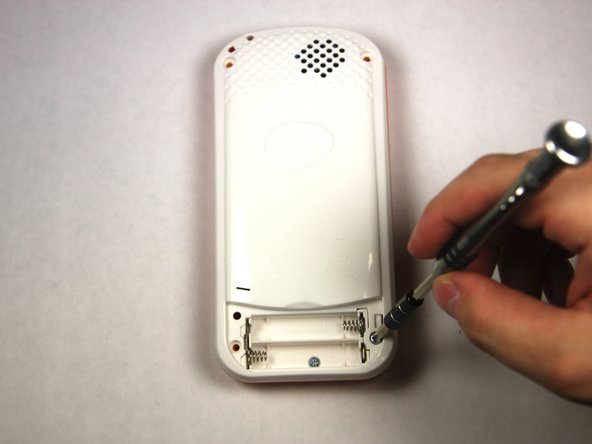
Using a Phillips #1 screwdriver, remove the 4.8mm screw on the battery cover by twisting the screwdriver counter-clockwise.
-
-
Cette étape n’est pas traduite. Aidez à la traduire
-
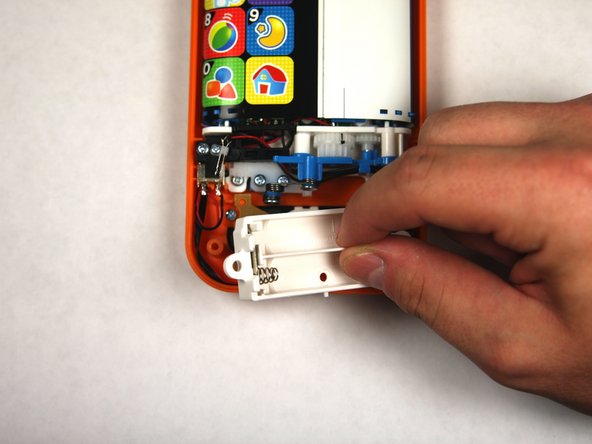
Remove the two AAA batteries by pulling on one end of the battery and lifting it straight out.
-
-
Cette étape n’est pas traduite. Aidez à la traduire
-
Remove four 13.8mm screws from the back of the device using a Phillips #1 screwdriver.
-
-
-
Cette étape n’est pas traduite. Aidez à la traduire
-
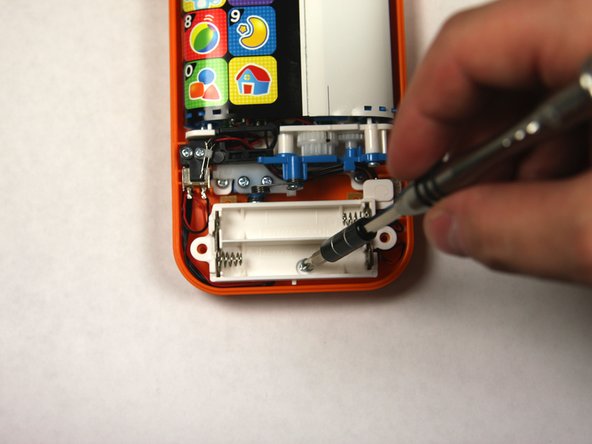
Remove a single 4.8 mm screw with a Phillips #0 screwdriver and lift away the battery pack being careful of the wires.
-
-
Cette étape n’est pas traduite. Aidez à la traduire
-
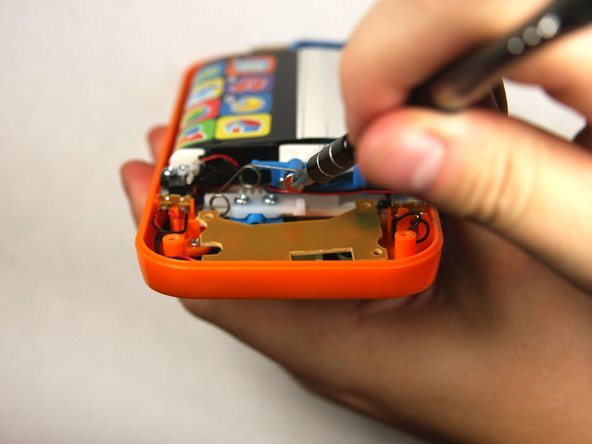
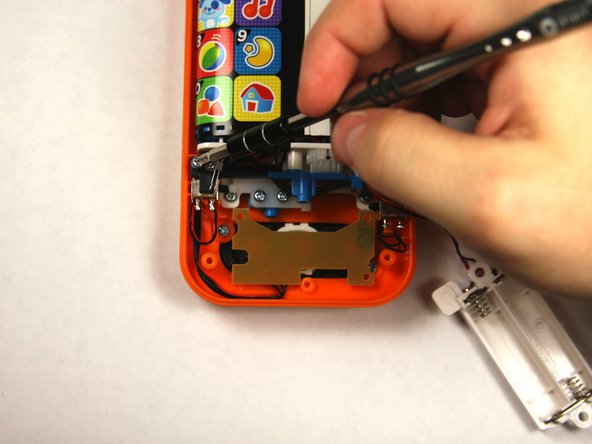
Remove two 7.2 mm screws with a Phillips #0 screwdriver.
-
Slide off the spring.
-
-
Cette étape n’est pas traduite. Aidez à la traduire
-
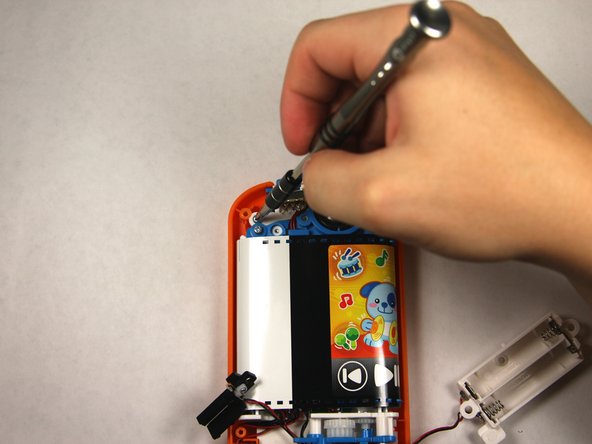
Remove the single 7.5mm screw with a Phillips #0 screwdriver.
-
Lift up the black plastic piece.
-
-
Cette étape n’est pas traduite. Aidez à la traduire
-
Remove four 7.5mm screws with a Phillips #0 screwdriver.
-
-
Cette étape n’est pas traduite. Aidez à la traduire
-
Remove the two buttons, noting how wires are placed for reassembly.
-
-
Cette étape n’est pas traduite. Aidez à la traduire
-
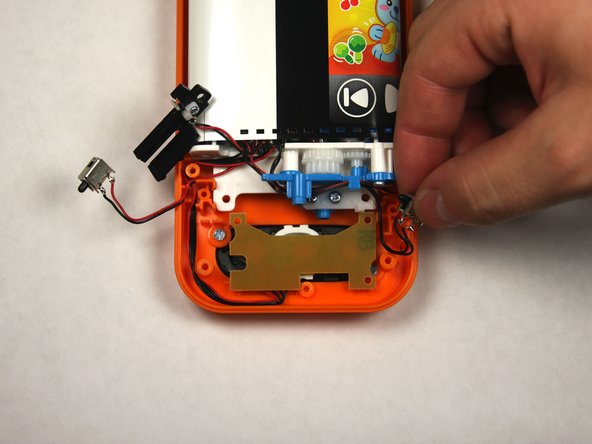
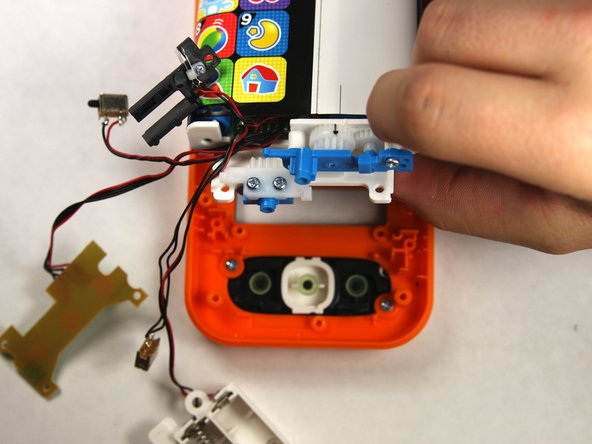
Lift the button board up and away to clear room for lifting the motherboard.
-
Tilt the assembly up but being wary that it is still attached to the front panel.
-
-
Cette étape n’est pas traduite. Aidez à la traduire
-
To reassemble, align the two black lines together by moving the belt back and forth.
-
Once aligned reinsert the toothed slider at the exact point shown.
-
Annulation : je n'ai pas terminé ce tutoriel.
Une autre personne a terminé cette réparation.
Un commentaire
Good work !
Nice.
I did not see the black line in mine,
i opened the foil and glued it new together . Not so nice. :D
But it works.


