Aller au contenu principal

Repairing a Damaged Apple USB Cable

Ce dont vous avez besoin

  1. Repairing a Damaged Apple USB Cable, Wire: étape 1, image 1 de 1
    • Identify the short in the wire and cut the damaged portion of the USB cable with the help of scissors.

    • Using scissors, remove the outer insulation of wire, unwrap and separate the core wiring from the shielding.

    • Hold the scissors close and roll the wire between the scissors to prevent damage of core wiring.

  2. Repairing a Damaged Apple USB Cable: étape 3, image 1 de 1
    • Separate the red, green, black and white wires.

    • Repeat the same procedure on the other half of the USB cable.

  3. Repairing a Damaged Apple USB Cable: étape 4, image 1 de 3 Repairing a Damaged Apple USB Cable: étape 4, image 2 de 3 Repairing a Damaged Apple USB Cable: étape 4, image 3 de 3
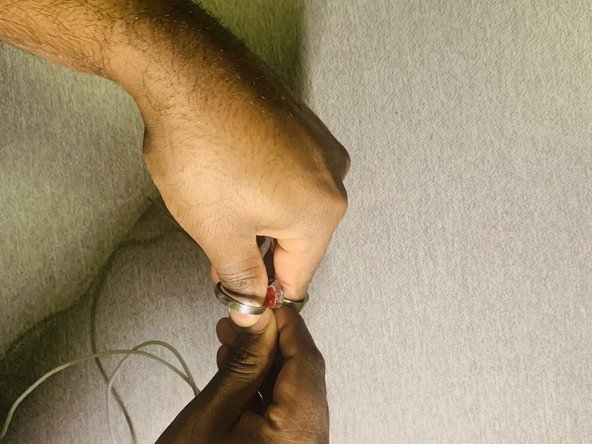
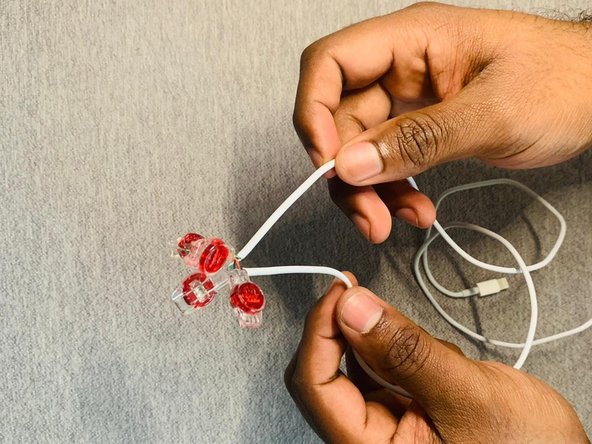
    • Once the wires are separated, insert each set of wires deep into four different 3M scotchloks.

    • Thread them through the metal portion.

    • Lock the wires by popping the button.

    • Popping the button might seem tedious. To make it easy, place the button between scissors handle to apply pressure at a focussed point to lock it.

    • Do a slide test to see if the wires are locked and if your guide is successful.

Conclusion

The best way to repair your USB cable, without any complicated soldering technique and this procedure is very economical.

Une autre personne a terminé cette réparation.

Vinay Rasamsetti

Membre depuis le 02/02/21

145 Réputation

1 tutoriel rédigé

Équipe

York University, Team S2-G21, O'Regan Winter 2021 Membre de l'équipe York University, Team S2-G21, O'Regan Winter 2021

YORK-O'REGAN-W21S2G21

1 membre

2 tutoriels rédigés

0 commentaires

Ajouter un commentaire

Nombre de vues :

Dernières 24 heures : 9

7 derniers jours : 65

30 derniers jours : 314

Total : 7,304