Aller au contenu principal

Repairing a plastic drill bit for a toy drill

Ce dont vous avez besoin

  1. Repairing a plastic drill bit for a toy drill, Repairing a plastic drill bit for a toy drill: étape 1, image 1 de 1
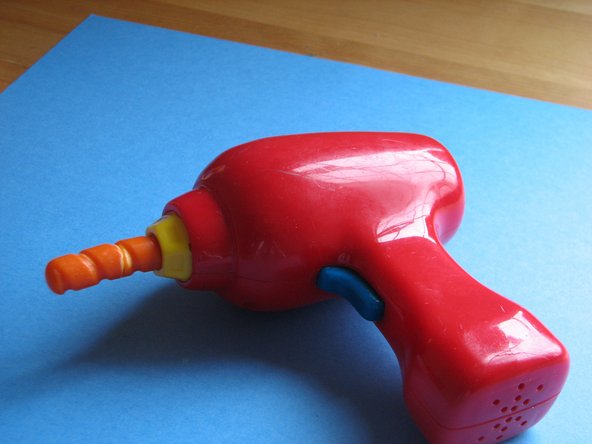
    • Match up the broken plastic part and check that the pieces align.

    • The plastic part was hollow and had space to insert the wood support.

  2. Repairing a plastic drill bit for a toy drill: étape 2, image 1 de 1
    • Tools needed:

    • - Glue (Super glue, Wood Glue or Tacky glue)

    • - A bamboo chopstick from your favorite chinese restaurant

  3. Repairing a plastic drill bit for a toy drill: étape 3, image 1 de 1
    • Cut the chopstick to the required size using a sharp knife.

    • Some trimming and shaving may be needed depending on the plastic part and the wooden dowel with the objective of to get a tight fit.

  4. Repairing a plastic drill bit for a toy drill: étape 4, image 1 de 1
    • Apply a drop of glue to the ends of the wooden dowel.

  5. Repairing a plastic drill bit for a toy drill: étape 5, image 1 de 1
    • Insert the wooden dowel into one part of the broken plastic part.

  6. Repairing a plastic drill bit for a toy drill: étape 6, image 1 de 2 Repairing a plastic drill bit for a toy drill: étape 6, image 2 de 2
    • Insert the other end of the wooden dowel into the other end of the plastic toy.

    • Push the ends together to get a tight and clean fit.

Conclusion

To reassemble your device, follow these instructions in reverse order.

claudius

Membre depuis le 12/12/10

29 Réputation

2 tutoriels rédigés

0 commentaires

Ajouter un commentaire

Nombre de vues :

Dernières 24 heures : 0

7 derniers jours : 0

30 derniers jours : 9

Total : 3,379