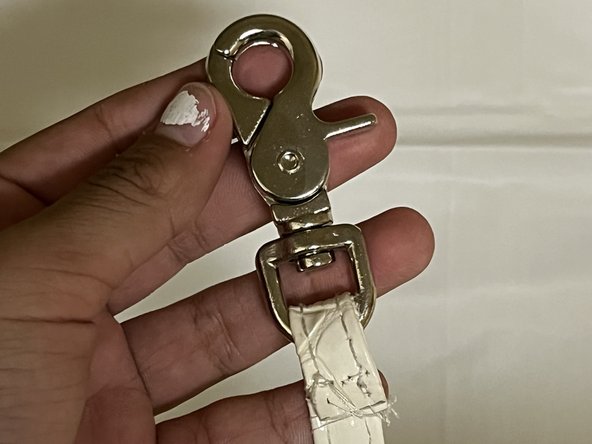
Aller au contenu principal

Replacement of Hardware on a Crossbody bag

Ce dont vous avez besoin

  1. Replacement of Hardware on a Crossbody bag, Hardware on a Crossbody bag: étape 1, image 1 de 2 Replacement of Hardware on a Crossbody bag, Hardware on a Crossbody bag: étape 1, image 2 de 2
    • Remove the old stitching with the seam ripper blade.

    • Use the seam ripper blade carefully as it is very sharp.

  2. Replacement of Hardware on a Crossbody bag: étape 2, image 1 de 2 Replacement of Hardware on a Crossbody bag: étape 2, image 2 de 2
    • Remove the previous hardware from the strap.

  3. Replacement of Hardware on a Crossbody bag: étape 3, image 1 de 1
    • Measure, and ensure the new hardware fits.

    • Place the new hardware through the strap.

  4. Replacement of Hardware on a Crossbody bag: étape 4, image 1 de 2 Replacement of Hardware on a Crossbody bag: étape 4, image 2 de 2
    • Use the needle and thread to stitch the new hardware into place.

    • Using the adequate needle for the material you need is essential, as some materials may be thicker and need a larger needle.

    • Use needle and thread carefully, as the needle can be sharp.

  5. Replacement of Hardware on a Crossbody bag: étape 5, image 1 de 1
    • Verify the stitching is secure by hanging the crossbody bag.

Ligne d'arrivée

Une autre personne a terminé cette réparation.

joanna

Membre depuis le 02/20/24

122 Réputation

1 tutoriel rédigé

Équipe

University of Arizona, Team 3-9, Cools Stephens Spring 2024 Membre de l'équipe University of Arizona, Team 3-9, Cools Stephens Spring 2024

ARIZONA-COOLS STEPHENS-S24S3G9

2 membres

1 tutoriel rédigé

0 commentaires

Ajouter un commentaire

Nombre de vues :

Dernières 24 heures : 0

7 derniers jours : 2

30 derniers jours : 7

Total : 57