Aller au contenu principal

Replacing Jammed Lead in a Mechanical Pencil

Ce dont vous avez besoin

  1. Replacing Jammed Lead in a Mechanical Pencil, Lead: étape 1, image 1 de 2 Replacing Jammed Lead in a Mechanical Pencil, Lead: étape 1, image 2 de 2
    • Twist the cone of the mechanical pencil counterclockwise to remove it.

  2. Replacing Jammed Lead in a Mechanical Pencil: étape 2, image 1 de 2 Replacing Jammed Lead in a Mechanical Pencil: étape 2, image 2 de 2
    • Twist and pop out the eraser shaft.

    • It should come out with the long tube.

    • Be cautious as the spring could also come out. Make sure to not misplace it, as it is quite tiny.

  3. Replacing Jammed Lead in a Mechanical Pencil: étape 3, image 1 de 1
    • Remove any excess lead from the eraser shaft hole that may be causing the jam.

    • Gently tap it against the table if it doesn't come out.

  4. Replacing Jammed Lead in a Mechanical Pencil: étape 4, image 1 de 2 Replacing Jammed Lead in a Mechanical Pencil: étape 4, image 2 de 2
    • Gently pull out the lead dispenser from the sleeve.

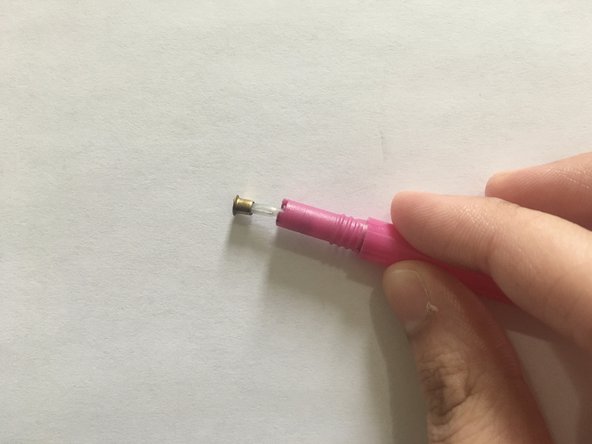
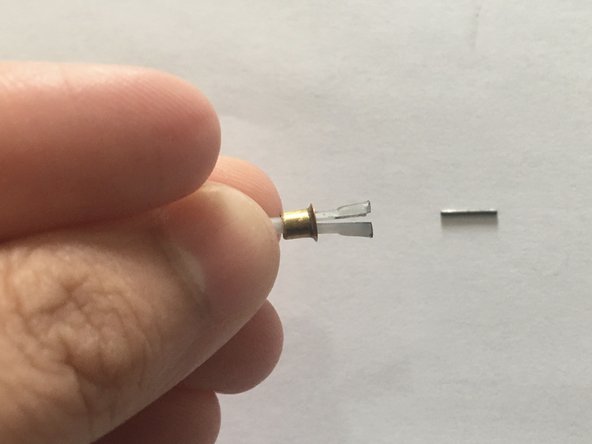
  5. Replacing Jammed Lead in a Mechanical Pencil: étape 5, image 1 de 3 Replacing Jammed Lead in a Mechanical Pencil: étape 5, image 2 de 3 Replacing Jammed Lead in a Mechanical Pencil: étape 5, image 3 de 3
    • Push the gold cover down from the dispenser to release the jammed lead.

  6. Replacing Jammed Lead in a Mechanical Pencil: étape 6, image 1 de 1
    • Insert the eraser shaft into the pencil sleeve and hold it down.

  7. Replacing Jammed Lead in a Mechanical Pencil: étape 7, image 1 de 2 Replacing Jammed Lead in a Mechanical Pencil: étape 7, image 2 de 2
    • Gently insert the lead dispenser into the other side of the pencil sleeve until you hear a "click."

    • Screw the nose cone clockwise to reattach it to the pencil.

  8. Replacing Jammed Lead in a Mechanical Pencil: étape 8, image 1 de 3 Replacing Jammed Lead in a Mechanical Pencil: étape 8, image 2 de 3 Replacing Jammed Lead in a Mechanical Pencil: étape 8, image 3 de 3
    • Take another lead and gently insert it through the cone of the pencil.

Conclusion

To reassemble your device, follow these instructions in reverse order.

Iqra Inam

Membre depuis le 01/10/24

157 Réputation

1 tutoriel rédigé

Équipe

York University, Team 2-14, O'Regan Winter 2024 Membre de l'équipe York University, Team 2-14, O'Regan Winter 2024

YORK-O'REGAN-W24S2G14

1 membre

1 tutoriel rédigé

0 commentaires

Ajouter un commentaire

Nombre de vues :

Dernières 24 heures : 1

7 derniers jours : 3

30 derniers jours : 27

Total : 334