Aller au contenu principal

Replacing the Hard Drive

Ce dont vous avez besoin

  1. Replacing the Hard Drive, Upper Case: étape 1, image 1 de 1
    • Remove the 7 mm Phillips #0 screws.

    • Remove the 10 mm Phillips #0 screws.

    • Remove the 14 mm Phillips #0 screw.

  2. Replacing the Hard Drive: étape 2, image 1 de 2 Replacing the Hard Drive: étape 2, image 2 de 2
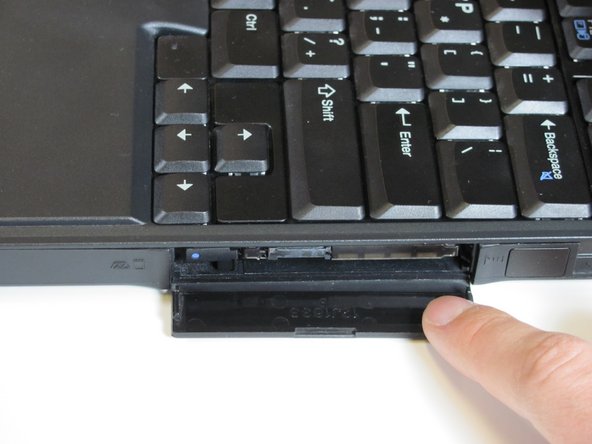
    • Open the flap on the left hand side.

  3. Replacing the Hard Drive: étape 3, image 1 de 2 Replacing the Hard Drive: étape 3, image 2 de 2
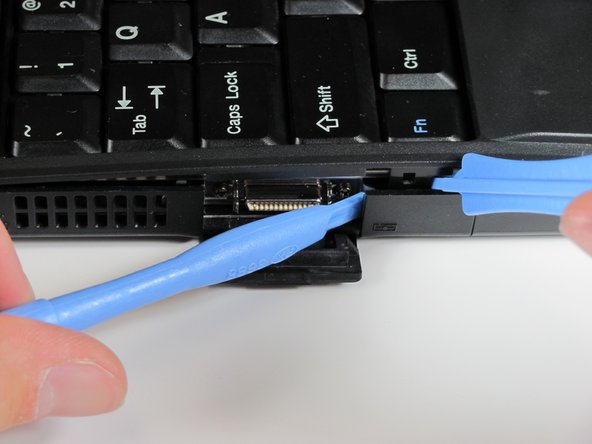
    • Insert the plastic opening tools between the right and left sides of the latch.

    • Pry the right side of the latch, and then pry the left side to detach the laptop's cover.

  4. Replacing the Hard Drive: étape 4, image 1 de 2 Replacing the Hard Drive: étape 4, image 2 de 2
    • Open the flap on the right side.

  5. Replacing the Hard Drive: étape 5, image 1 de 1
    • Insert the plastic opening tools towards the right side of the latch.

    • Gently pry the right side out to release the top cover.

  6. Replacing the Hard Drive: étape 6, image 1 de 2 Replacing the Hard Drive: étape 6, image 2 de 2
    • Lift the keyboard slowly.

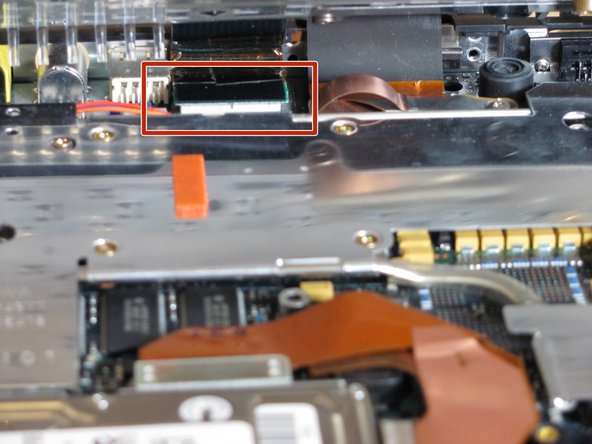
    • A cable connects the keyboard to the motherboard. If you are not careful, you will damage the cable.

  7. Replacing the Hard Drive: étape 7, image 1 de 1
    • Use your fingers or a spudger to detach the connector.

  8. Replacing the Hard Drive: étape 8, image 1 de 2 Replacing the Hard Drive: étape 8, image 2 de 2
    • Carefully lift and remove the keyboard.

  9. Replacing the Hard Drive, Hard Disk Drive: étape 9, image 1 de 1
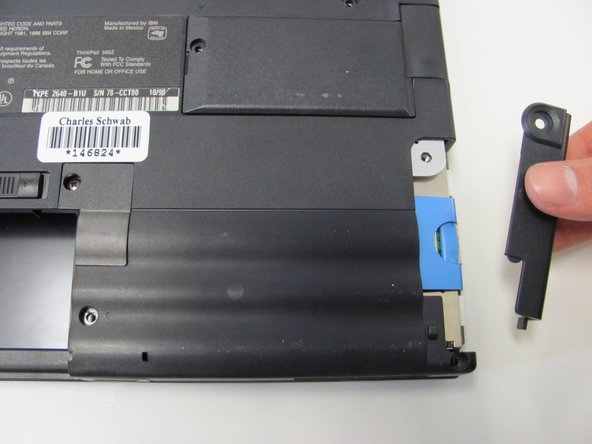
    • On the back of the computer, use a Flathead screwdriver to remove this lone screw.

  10. Replacing the Hard Drive: étape 10, image 1 de 2 Replacing the Hard Drive: étape 10, image 2 de 2
    • After the screw is out, gently remove the cover.

  11. Replacing the Hard Drive: étape 11, image 1 de 3 Replacing the Hard Drive: étape 11, image 2 de 3 Replacing the Hard Drive: étape 11, image 3 de 3
    • Turn the computer back over so the hard drive faces up. Remove the shown screw with a Phillips screwdriver.

  12. Replacing the Hard Drive: étape 12, image 1 de 1
    • Make sure you are grounded and detach the IDA cable connecting the hard disk to the motherboard.

  13. Replacing the Hard Drive: étape 13, image 1 de 2 Replacing the Hard Drive: étape 13, image 2 de 2
    • Remove the final two screws (shown) and slide out the hard drive.

Conclusion

To reassemble your device, follow these instructions in reverse order.

2 autres ont terminé cette réparation.

Derek Driscoll

Membre depuis le 04/15/10

119 Réputation

8 tutoriels rédigés

Équipe

Cal Poly, Team 26-27, Regan Spring 2010 Membre de l'équipe Cal Poly, Team 26-27, Regan Spring 2010

CPSU-REGAN-S10S26G27

3 membres

18 tutoriels rédigés

Un commentaire

You don't have to go to this length to remove the hard drive on a 560Z. Only do steps 0 (remove battery), 9 (remove screw) and 10 (remove cover). Then simply grab the blue tab of the hard drive caddy and pull the drive out of the bay. Complete directions on maintenance of the IBM Thinkpad 560Z can be found here:

http://www.thinkpads.com/support/hmm/hmm...

The Hardware Maintenance Manual has all of the information you need to take a 560Z apart and put it back together.

The procedure outlined here is similar to what the 560, 560E and 560X systems required; the 560Z is totally different when removing the hard drive.

Raymond - Réponse

Ajouter un commentaire

Nombre de vues :

Dernières 24 heures : 1

7 derniers jours : 3

30 derniers jours : 8

Total : 3,826