Aller au contenu principal

ResMed VPAP Auto 25 Circuit Board Replacement

Ce dont vous avez besoin

  1. ResMed VPAP Auto 25 Circuit Board Replacement, Circuit Board: étape 1, image 1 de 3 ResMed VPAP Auto 25 Circuit Board Replacement, Circuit Board: étape 1, image 2 de 3 ResMed VPAP Auto 25 Circuit Board Replacement, Circuit Board: étape 1, image 3 de 3
    • Remove the four 26.7 mm T3 Torx screws from the bottom side of the ResMed VPAP Auto 25.

  2. ResMed VPAP Auto 25 Circuit Board Replacement: étape 2, image 1 de 3 ResMed VPAP Auto 25 Circuit Board Replacement: étape 2, image 2 de 3 ResMed VPAP Auto 25 Circuit Board Replacement: étape 2, image 3 de 3
    • Flip the device over.

    • Pry the outermost plastic cover off with the metal spudger until the cover is loose and able to be removed.

  3. ResMed VPAP Auto 25 Circuit Board Replacement: étape 3, image 1 de 2 ResMed VPAP Auto 25 Circuit Board Replacement: étape 3, image 2 de 2
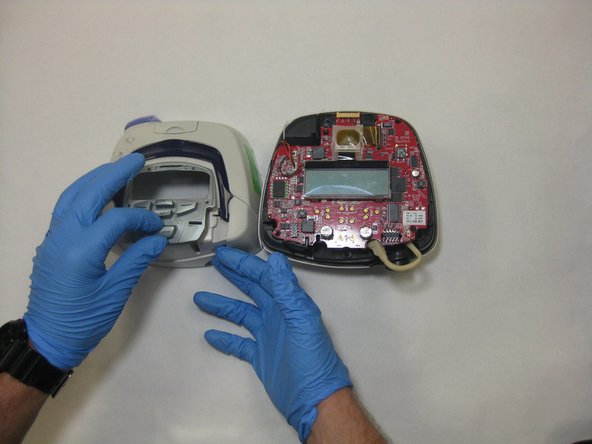
    • Pull off the front cover to reveal the internal components.

  4. ResMed VPAP Auto 25 Circuit Board Replacement: étape 4, image 1 de 3 ResMed VPAP Auto 25 Circuit Board Replacement: étape 4, image 2 de 3 ResMed VPAP Auto 25 Circuit Board Replacement: étape 4, image 3 de 3
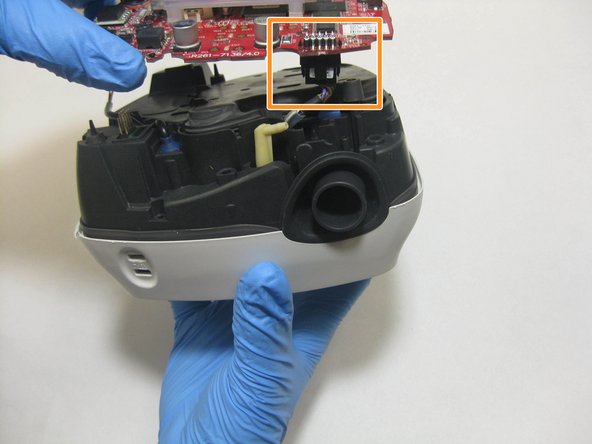
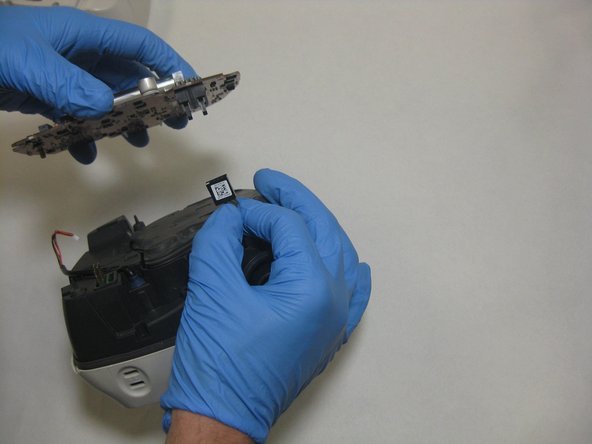
    • Loosen the motherboard from the rubber dowels holding it in place and unplug the screen components.

  5. ResMed VPAP Auto 25 Circuit Board Replacement: étape 5, image 1 de 3 ResMed VPAP Auto 25 Circuit Board Replacement: étape 5, image 2 de 3 ResMed VPAP Auto 25 Circuit Board Replacement: étape 5, image 3 de 3
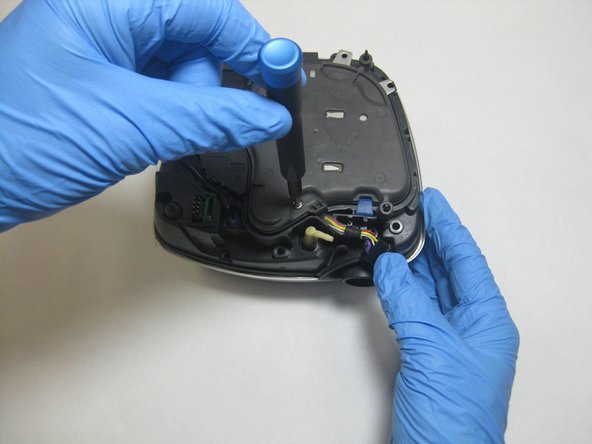
    • Remove the three 26.7 mm T3 Torx screws from the now visible rubber fan motor cover.

    • Lift off the rubber fan motor cover, revealing the fan motor.

  6. ResMed VPAP Auto 25 Circuit Board Replacement: étape 6, image 1 de 3 ResMed VPAP Auto 25 Circuit Board Replacement: étape 6, image 2 de 3 ResMed VPAP Auto 25 Circuit Board Replacement: étape 6, image 3 de 3
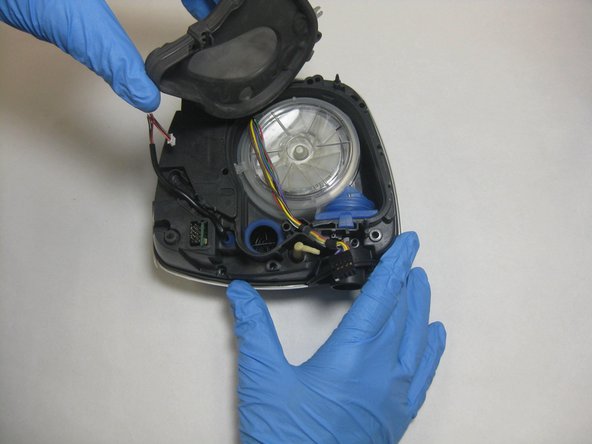
    • Remove the fan motor unit from its housing.

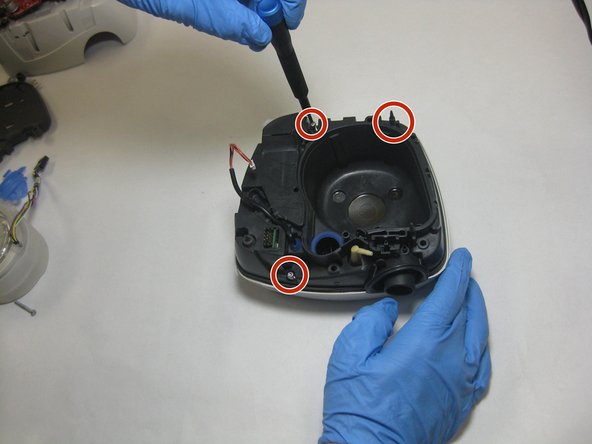
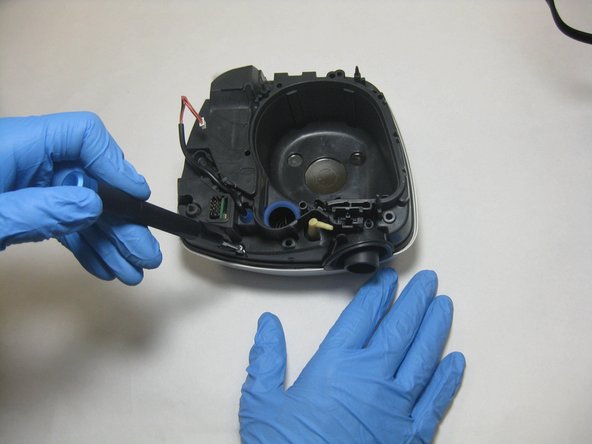
    • Remove the three 26.7 mm screws securing the motor housing to the bottom piece with a T3 Torx screwdriver.

  7. ResMed VPAP Auto 25 Circuit Board Replacement: étape 7, image 1 de 3 ResMed VPAP Auto 25 Circuit Board Replacement: étape 7, image 2 de 3 ResMed VPAP Auto 25 Circuit Board Replacement: étape 7, image 3 de 3
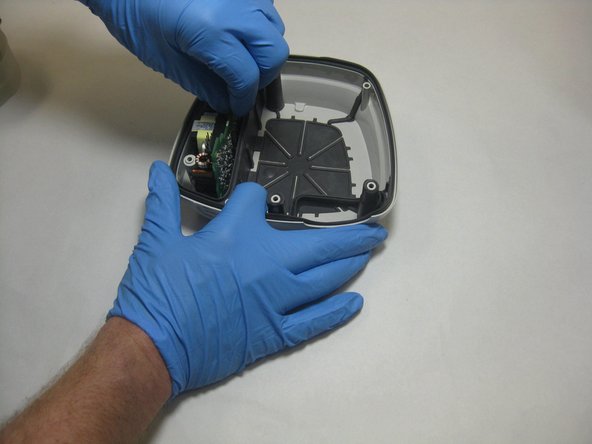
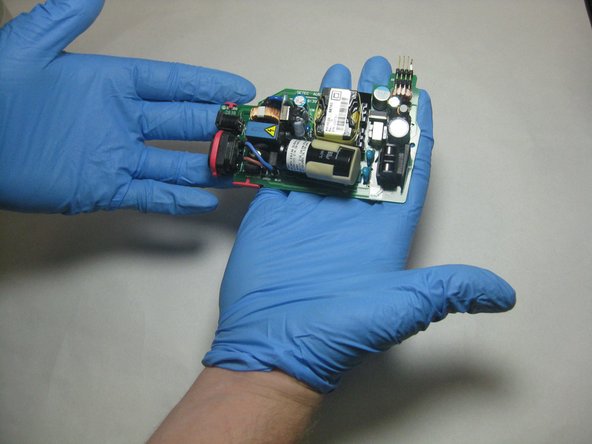
    • Pull out the fan motor housing from the bottom cover, revealing a foam insulation pad and the circuit board.

    • Slide the circuit board out of its plastic grooves in the bottom cover to retrieve the desired component.

Conclusion

To reassemble your device, follow these instructions in reverse order.

0 commentaires

Ajouter un commentaire

Nombre de vues :

Dernières 24 heures : 0

7 derniers jours : 0

30 derniers jours : 2

Total : 230