Aller au contenu principal

Ridgid Circular Saw R3205 Switch Replacement

Ce dont vous avez besoin

  1. Ridgid Circular Saw R3205 Switch Replacement, Motor Housing with Handle Assembly: étape 1, image 1 de 3 Ridgid Circular Saw R3205 Switch Replacement, Motor Housing with Handle Assembly: étape 1, image 2 de 3 Ridgid Circular Saw R3205 Switch Replacement, Motor Housing with Handle Assembly: étape 1, image 3 de 3
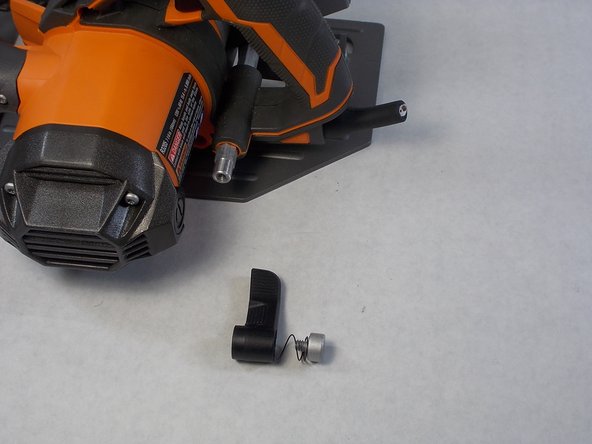
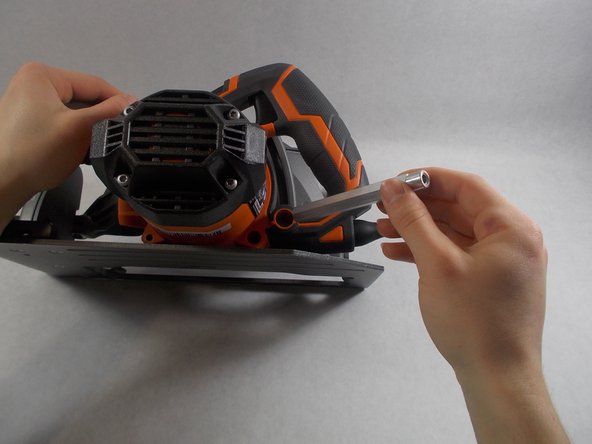
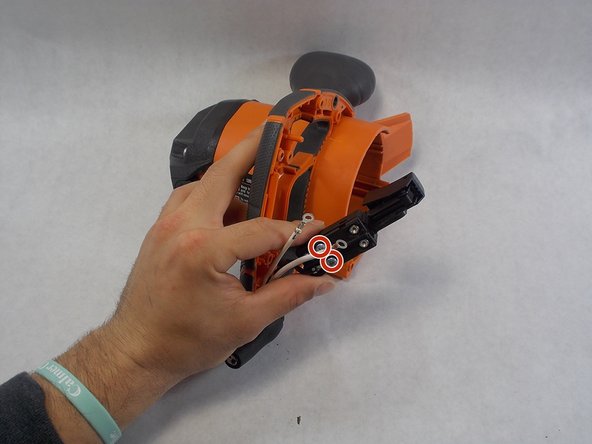
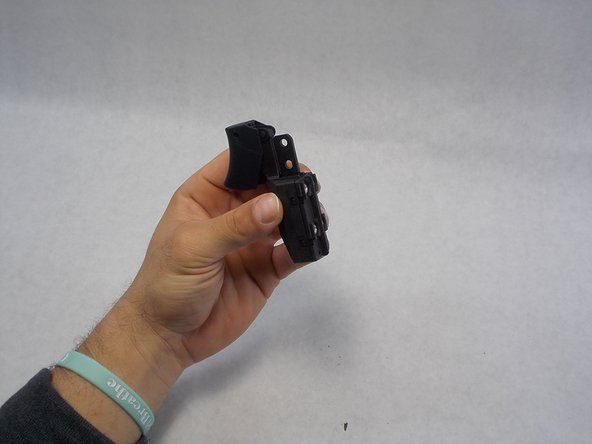
    • Remove the brush assembly with a flat head screwdriver.

  2. Ridgid Circular Saw R3205 Switch Replacement: étape 2, image 1 de 3 Ridgid Circular Saw R3205 Switch Replacement: étape 2, image 2 de 3 Ridgid Circular Saw R3205 Switch Replacement: étape 2, image 3 de 3
    • Use a T25 Torx screwdriver to remove 3 (M5 x 58 mm) screws.

  3. Ridgid Circular Saw R3205 Switch Replacement: étape 3, image 1 de 3 Ridgid Circular Saw R3205 Switch Replacement: étape 3, image 2 de 3 Ridgid Circular Saw R3205 Switch Replacement: étape 3, image 3 de 3
    • Use a T20 Torx screwdriver to remove the (1/4-20 x 0.66 in.) screw.

    • After removing the (1/4-20 x 0.66 in.) screw the lever assembly can be unscrewed from the (1/4-20 x 0.66 in.) screw.

  4. Ridgid Circular Saw R3205 Switch Replacement: étape 4, image 1 de 2 Ridgid Circular Saw R3205 Switch Replacement: étape 4, image 2 de 2
    • The motor housing assembly can now be removed from the rest of the saw.

  5. Ridgid Circular Saw R3205 Switch Replacement, Switch: étape 5, image 1 de 1
    • Remove 5 Torx 20 (#8-16 x 5/8 in.) screws from the outer handle.

  6. Ridgid Circular Saw R3205 Switch Replacement: étape 6, image 1 de 3 Ridgid Circular Saw R3205 Switch Replacement: étape 6, image 2 de 3 Ridgid Circular Saw R3205 Switch Replacement: étape 6, image 3 de 3
    • Remove the outer handle.

  7. Ridgid Circular Saw R3205 Switch Replacement: étape 7, image 1 de 1
    • Using a phillips head screwdriver remove the (M4 x 12 mm) screw holding the switch in place.

  8. Ridgid Circular Saw R3205 Switch Replacement: étape 8, image 1 de 3 Ridgid Circular Saw R3205 Switch Replacement: étape 8, image 2 de 3 Ridgid Circular Saw R3205 Switch Replacement: étape 8, image 3 de 3
    • Remove the wires that attach to the power cord.

Conclusion

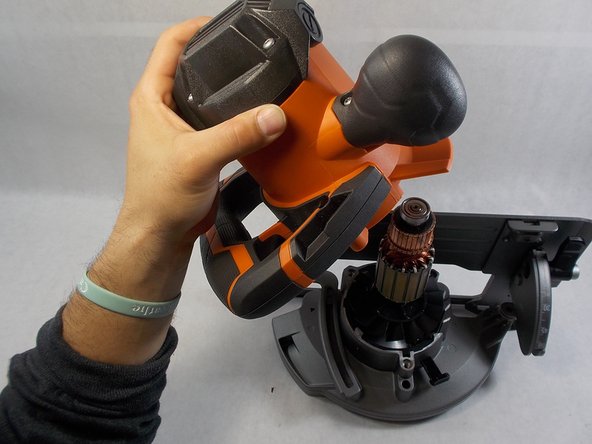
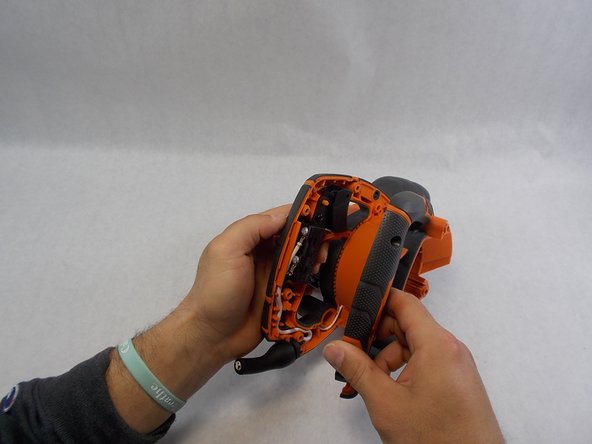
To reassemble your device, follow these instructions in reverse order.

Joshua Caron

Membre depuis le 04/05/19

792 Réputation

5 tutoriels rédigés

Équipe

UMass Dartmouth, Team S5-G2, Julie Spring 2019 Membre de l'équipe UMass Dartmouth, Team S5-G2, Julie Spring 2019

UMASSD-JULIE-S19S5G2

5 membres

5 tutoriels rédigés

0 commentaires

Ajouter un commentaire

Nombre de vues :

Dernières 24 heures : 0

7 derniers jours : 5

30 derniers jours : 9

Total : 734