Aller au contenu principal

Rival CM4015 Power Button Replacement

Ce dont vous avez besoin

  1. Rival CM4015 Power Button Replacement, Base Plate: étape 1, image 1 de 2 Rival CM4015 Power Button Replacement, Base Plate: étape 1, image 2 de 2
    • Remove the three 16 mm tri-point screws from the base plate.

  2. Rival CM4015 Power Button Replacement: étape 2, image 1 de 2 Rival CM4015 Power Button Replacement: étape 2, image 2 de 2
    • Remove the base plate by pressing the plastic body away from the metal plate with your thumbs.

  3. Rival CM4015 Power Button Replacement, Power Button: étape 3, image 1 de 1
    • Remove the 8mm Phillips screw that attaches the power button to the inside of the coffee maker.

  4. Rival CM4015 Power Button Replacement: étape 4, image 1 de 2 Rival CM4015 Power Button Replacement: étape 4, image 2 de 2
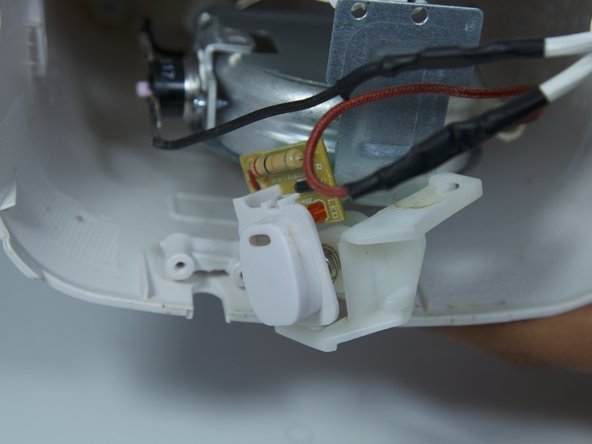
    • Use a flat head screwdriver to pry the power button from its slot in the body of the device.

    • Make sure the tool is pressed securely under the plastic clip, in order to not break it.

  5. Rival CM4015 Power Button Replacement: étape 5, image 1 de 2 Rival CM4015 Power Button Replacement: étape 5, image 2 de 2
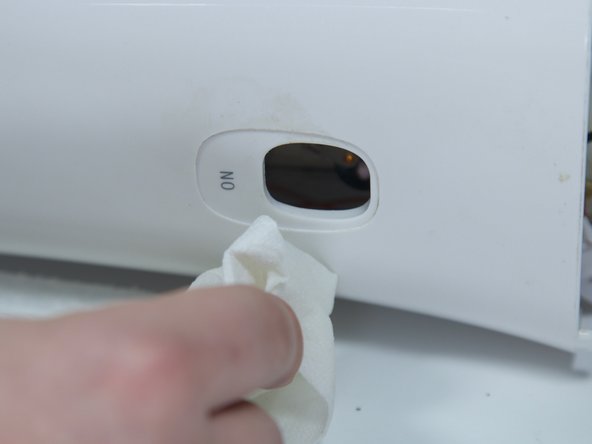
    • Clean both the button and its slot before replacing the power button.

Conclusion

To reassemble your device, follow these instructions in reverse order.

Une autre personne a terminé cette réparation.

Connor Tustin

Membre depuis le 10/06/16

222 Réputation

2 tutoriels rédigés

Équipe

Cal Poly, Team 10-6, Livingston Fall 2016 Membre de l'équipe Cal Poly, Team 10-6, Livingston Fall 2016

CPSU-LIVINGSTON-F16S10G6

5 membres

6 tutoriels rédigés

0 commentaires

Ajouter un commentaire

Nombre de vues :

Dernières 24 heures : 0

7 derniers jours : 0

30 derniers jours : 2

Total : 656