Aller au contenu principal

Roku XD 2050X Ethernet Port Replacement

Ce dont vous avez besoin

  1. Roku XD 2050X Ethernet Port Replacement, Case: étape 1, image 1 de 3 Roku XD 2050X Ethernet Port Replacement, Case: étape 1, image 2 de 3 Roku XD 2050X Ethernet Port Replacement, Case: étape 1, image 3 de 3
    • Ensure the Roku XDis unplugged.

    • Take care when handling components. Circuit boards, soldering points, and other areas may have sharp points.

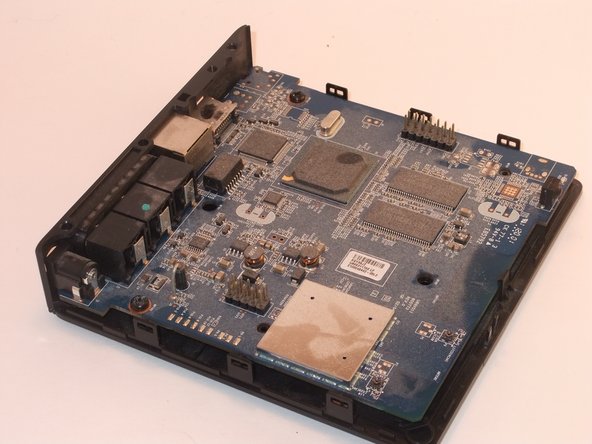
    • Turn the device upside down.

    • Remove the two rubber pads using a plastic spudger.

  2. Roku XD 2050X Ethernet Port Replacement: étape 2, image 1 de 2 Roku XD 2050X Ethernet Port Replacement: étape 2, image 2 de 2
    • Remove the two Phillips #1 9mm pan-head screws.

  3. Roku XD 2050X Ethernet Port Replacement: étape 3, image 1 de 3 Roku XD 2050X Ethernet Port Replacement: étape 3, image 2 de 3 Roku XD 2050X Ethernet Port Replacement: étape 3, image 3 de 3
    • Insert spudger between upper and lower frame underneath the port access.

    • Guide spudger around to loosen upper and lower frame to pry frame apart.

    • Gently remove upper frame.

  4. Roku XD 2050X Ethernet Port Replacement: étape 4, image 1 de 2 Roku XD 2050X Ethernet Port Replacement: étape 4, image 2 de 2
    • Remove the two Phillips #1 8mm pan-head screws.

  5. Roku XD 2050X Ethernet Port Replacement: étape 5, image 1 de 1
    • On the side of the board opposite the ports, find and tilt back the tab securing the board in place.

    • Lift the motherboard out of the lower frame.

  6. Roku XD 2050X Ethernet Port Replacement, Ethernet Port: étape 6, image 1 de 1
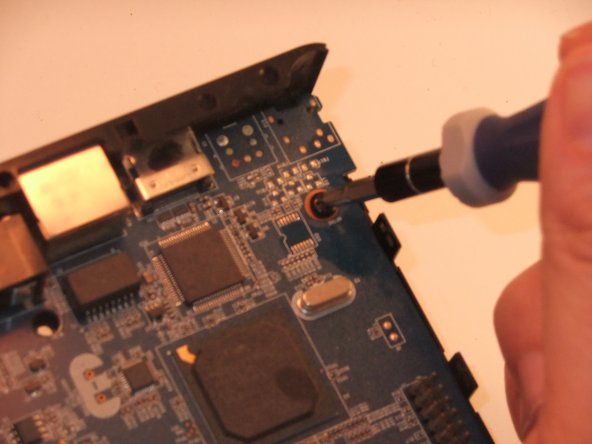
    • Desolder the 8 contact points.

    • For help with soldering view the iFixit soldering guide.

  7. Roku XD 2050X Ethernet Port Replacement: étape 7, image 1 de 1
    • Use pliers to pinch the two anchor points and gently press them through the board to separate ethernet port.

    • Remove the Ethernet port from board.

Conclusion

To reassemble your device, follow these instructions in reverse order.

Une autre personne a terminé cette réparation.

William

Membre depuis le 01/30/15

1 603 Réputation

10 tutoriels rédigés

Équipe

0 commentaires

Ajouter un commentaire

Nombre de vues :

Dernières 24 heures : 0

7 derniers jours : 0

30 derniers jours : 11

Total : 1,108