Aller au contenu principal

Roland TR-505 LCD Display Replacement

  1. Roland TR-505 LCD Display Replacement, Removing the dial cap: étape 1, image 1 de 1
    • Simply firmly hold the cap and carefully pull up and the cap should pop up.

  2. Roland TR-505 LCD Display Replacement, Potential Cleaning: étape 2, image 1 de 1
    • Bonus Step!

    • While the cap is off it can be worth cleaning under the cap to prevent dirt from getting inside.

    • This whole guide applies for both dials as they both come off the same way.

  3. Roland TR-505 LCD Display Replacement, Removing the bottom screws: étape 3, image 1 de 1
    • Remove these Philips PH1 screws

    • Not all screws are the same,make sure to keep them organised:-)

  4. Roland TR-505 LCD Display Replacement, Opening the Device: étape 4, image 1 de 2 Roland TR-505 LCD Display Replacement, Opening the Device: étape 4, image 2 de 2
    • Carefully separate the 2 half’s

    • If it’s not coming apart you may need a plastic pry tool to assist you

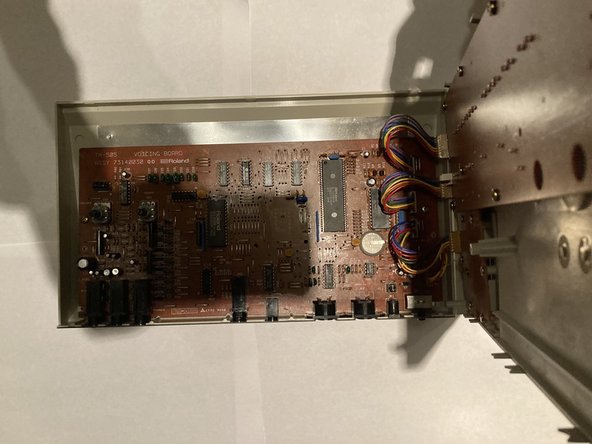
    • Once separated:with the ports facing you open the device like a book with the top panel lifted up slightly,make sure to open it to the right

  5. Roland TR-505 LCD Display Replacement, Unplugging the connectors: étape 5, image 1 de 1
    • Carefully unplug the connectors from their sockets by pulling on the tabs that stick out from the cable

    • Do not pull on the cable itself as you risk pulling the cables out of the connector

  6. Roland TR-505 LCD Display Replacement, Disassembling the top half: étape 6, image 1 de 1
    • with the connectors disconnected you can lift the top half away.

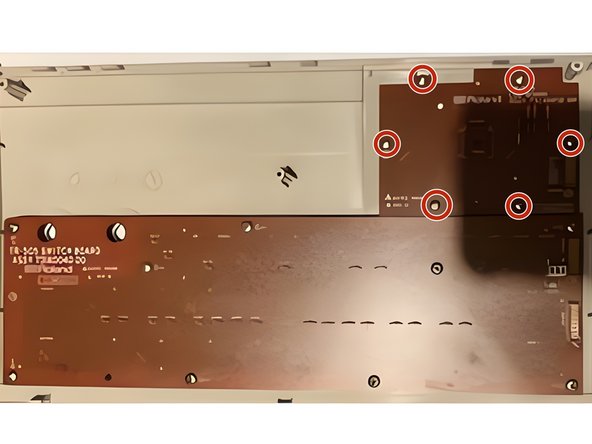
    • to take the LCD out, take out these PH 1 Philips screws

  7. Roland TR-505 LCD Display Replacement, Removing the LCD: étape 7, image 1 de 1
    • You can now carefully remove the LCD

    • try not to touch the front for the LCD as that will put finder prints onto it, these can be hard to remove and can scratch the LCD(same apples for the plastic lens on the front

Conclusion

To reassemble your device, follow these instructions in reverse order.

Une autre personne a terminé cette réparation.

HelloMacOS

Membre depuis le 01/24/22

25 908 Réputation

11 tutoriels rédigés

Équipe

Repair is War on Entropy Membre de l'équipe Repair is War on Entropy

Community

25 membres

1 111 tutoriels rédigés

0 commentaires

Ajouter un commentaire

Nombre de vues :

Dernières 24 heures : 0

7 derniers jours : 4

30 derniers jours : 22

Total : 278