Aller au contenu principal

Samsung Brightside Speaker Module Replacement

Ce dont vous avez besoin

  1. Samsung Brightside Speaker Module Replacement, Speaker Module: étape 1, image 1 de 3 Samsung Brightside Speaker Module Replacement, Speaker Module: étape 1, image 2 de 3 Samsung Brightside Speaker Module Replacement, Speaker Module: étape 1, image 3 de 3
    • Here is the Samsung SCH-U380 Brightside

    • Turn it over to gain access to the battery.

    • Remove the backcover by simply pulling it off the phone from the top down

  2. Samsung Brightside Speaker Module Replacement: étape 2, image 1 de 3 Samsung Brightside Speaker Module Replacement: étape 2, image 2 de 3 Samsung Brightside Speaker Module Replacement: étape 2, image 3 de 3
    • Remove the battery

    • Remove the six Phillips screws from the back frame

    • All six screws are identical M1.5X3

  3. Samsung Brightside Speaker Module Replacement: étape 3, image 1 de 3 Samsung Brightside Speaker Module Replacement: étape 3, image 2 de 3 Samsung Brightside Speaker Module Replacement: étape 3, image 3 de 3
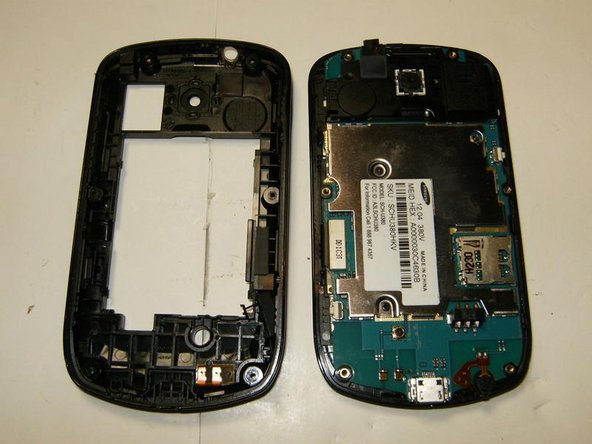
    • Use a plastic opening tool or similar tool to separate the top from the bottom frame. Applying slight pressure in a downwards direction will disengage the plastic clips

    • Continue to slide the tool along the slot until you feel the plastic locks disengage

    • Once all locks have released, the bottom frame can simply be removed.

  4. Samsung Brightside Speaker Module Replacement: étape 4, image 1 de 3 Samsung Brightside Speaker Module Replacement: étape 4, image 2 de 3 Samsung Brightside Speaker Module Replacement: étape 4, image 3 de 3
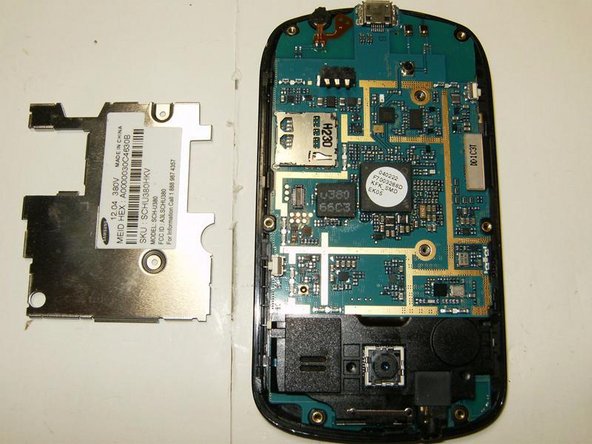
    • Remove the two Phillips screws from the EMI shield.

    • Both screws are identical M1.5X2

    • Remove the EMI shield

  5. Samsung Brightside Speaker Module Replacement: étape 5, image 1 de 3 Samsung Brightside Speaker Module Replacement: étape 5, image 2 de 3 Samsung Brightside Speaker Module Replacement: étape 5, image 3 de 3
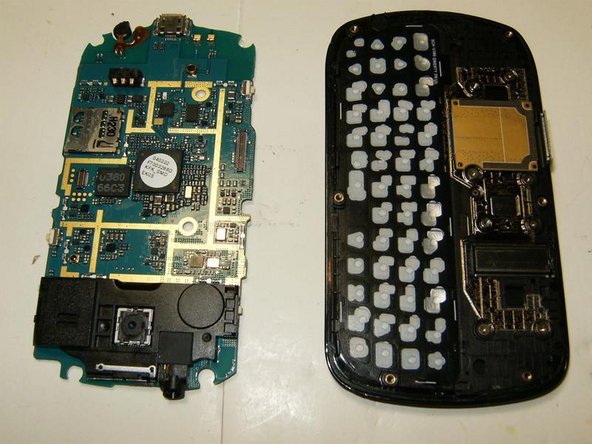
    • Detach the LCD connector.

    • Remove the logic board

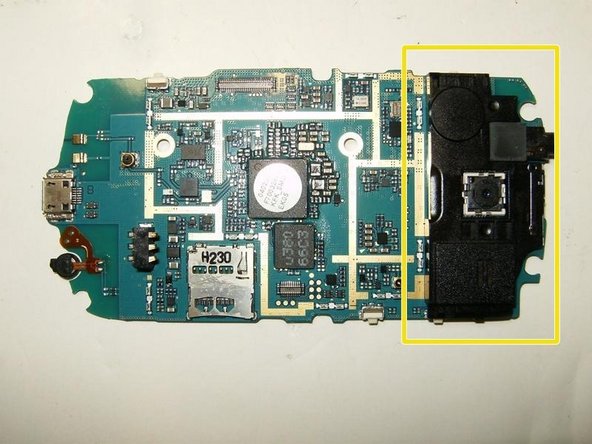
    • This is the speaker module. In the center is the camera, but it is not part of the module.

  6. Samsung Brightside Speaker Module Replacement: étape 6, image 1 de 3 Samsung Brightside Speaker Module Replacement: étape 6, image 2 de 3 Samsung Brightside Speaker Module Replacement: étape 6, image 3 de 3
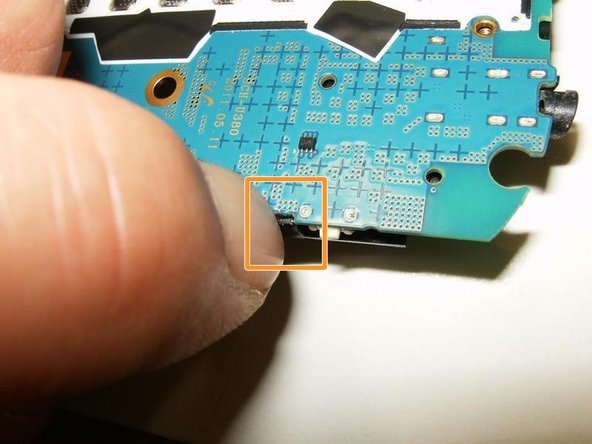
    • turn the logic board over. The speaker module is held in place

    • by one Phillips screw

    • and two clips

    • Remove the Phillips screw.

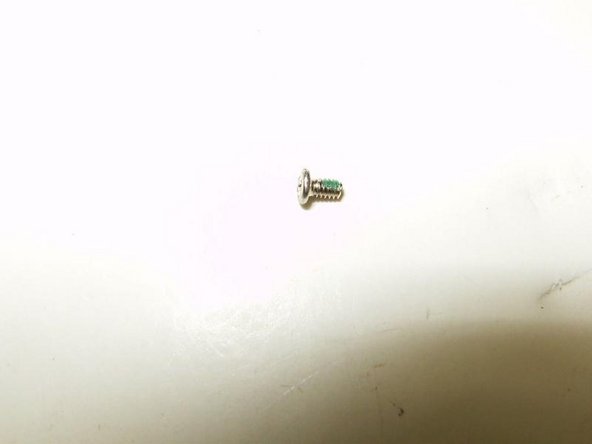
    • It is a M1X2 Phillips screw

    • Next disengage one of the clips by simply applying some sideways pressure with your fingernail. This will loosen the module.

  7. Samsung Brightside Speaker Module Replacement: étape 7, image 1 de 2 Samsung Brightside Speaker Module Replacement: étape 7, image 2 de 2
    • Turn the logic board around. With the speaker module loose, simply lift it off the board.

    • Speaker module removed.

    • Camera

    • and audio jack

    • are not part of this module and will remain on the board.

Conclusion

To reassemble your device, follow these instructions in reverse order.

oldturkey03

Membre depuis le 09/29/10

781 380 Réputation

119 tutoriels rédigés

Équipe

Global Fixers Membre de l'équipe Global Fixers

Community

32 membres

531 tutoriels rédigés

0 commentaires

Ajouter un commentaire

Nombre de vues :

Dernières 24 heures : 1

7 derniers jours : 2

30 derniers jours : 3

Total : 962