Aller au contenu principal

Samsung Chromebook Series 3 Charging Port Replacement

Ce dont vous avez besoin

  1. Samsung Chromebook Series 3 Charging Port Replacement, Bottom Cover: étape 1, image 1 de 3 Samsung Chromebook Series 3 Charging Port Replacement, Bottom Cover: étape 1, image 2 de 3 Samsung Chromebook Series 3 Charging Port Replacement, Bottom Cover: étape 1, image 3 de 3
    • Lay the Chromebook down so that the bottom cover is facing up.

    • Remove the rubber feet on the four corners of the Chromebook in order to get to the screws underneath. They are stuck on with an adhesive.

  2. Samsung Chromebook Series 3 Charging Port Replacement: étape 2, image 1 de 3 Samsung Chromebook Series 3 Charging Port Replacement: étape 2, image 2 de 3 Samsung Chromebook Series 3 Charging Port Replacement: étape 2, image 3 de 3
    • Remove the nine 4.7 mm screws on the bottom cover using a Phillips #00 screwdriver.

  3. Samsung Chromebook Series 3 Charging Port Replacement: étape 3, image 1 de 3 Samsung Chromebook Series 3 Charging Port Replacement: étape 3, image 2 de 3 Samsung Chromebook Series 3 Charging Port Replacement: étape 3, image 3 de 3
    • Pry up the plastic strip on the back of the Chromebook using a plastic opening tool.

    • It is not necessary to remove it completely. It just needs to be separated from the bottom cover.

  4. Samsung Chromebook Series 3 Charging Port Replacement: étape 4, image 1 de 3 Samsung Chromebook Series 3 Charging Port Replacement: étape 4, image 2 de 3 Samsung Chromebook Series 3 Charging Port Replacement: étape 4, image 3 de 3
    • Pry off the bottom cover using a plastic opening tool.

  5. Samsung Chromebook Series 3 Charging Port Replacement, Charging Port: étape 5, image 1 de 3 Samsung Chromebook Series 3 Charging Port Replacement, Charging Port: étape 5, image 2 de 3 Samsung Chromebook Series 3 Charging Port Replacement, Charging Port: étape 5, image 3 de 3
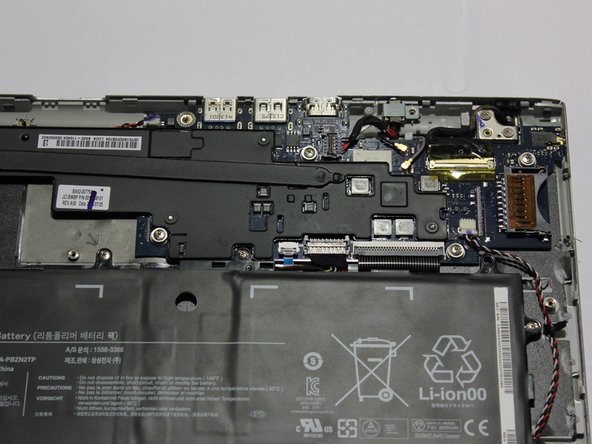
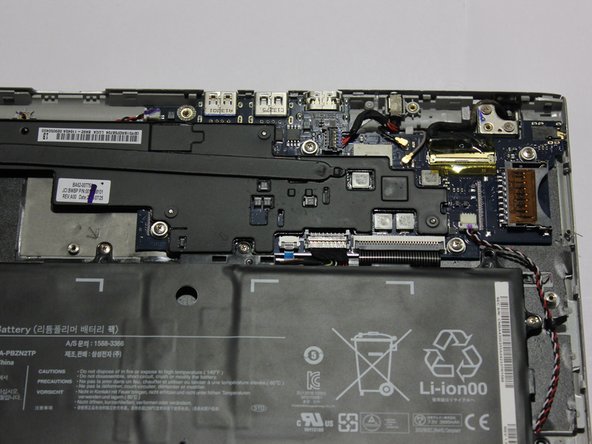
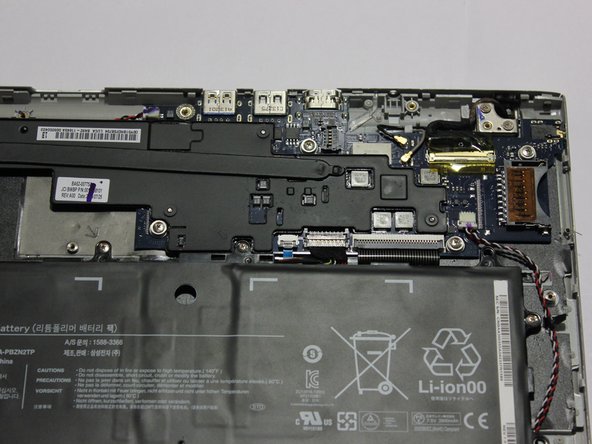
    • Unscrew the 3.4 mm screw holding down the charging port module using a Phillips #00 screwdriver.

  6. Samsung Chromebook Series 3 Charging Port Replacement: étape 6, image 1 de 2 Samsung Chromebook Series 3 Charging Port Replacement: étape 6, image 2 de 2
    • Remove the metal cover above the charging port module by pulling up and moving it slightly left.

  7. Samsung Chromebook Series 3 Charging Port Replacement: étape 7, image 1 de 3 Samsung Chromebook Series 3 Charging Port Replacement: étape 7, image 2 de 3 Samsung Chromebook Series 3 Charging Port Replacement: étape 7, image 3 de 3
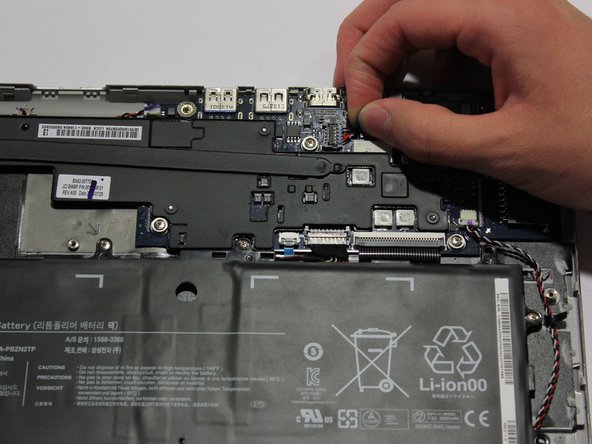
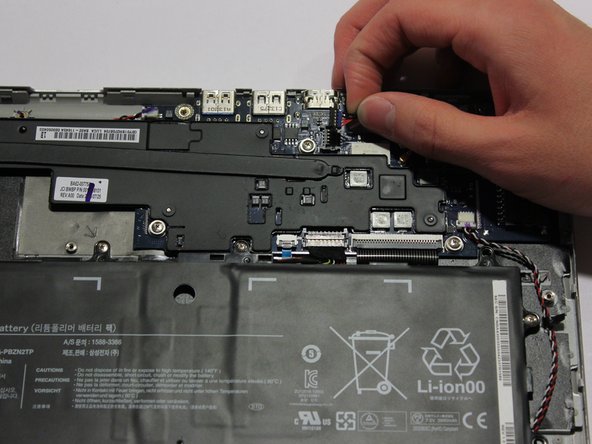
    • Pull out the charging port module connector by pulling directly up on it.

    • When reassembling, reconnect by positioning the connector directly above its original position and pushing down.

  8. Samsung Chromebook Series 3 Charging Port Replacement: étape 8, image 1 de 2 Samsung Chromebook Series 3 Charging Port Replacement: étape 8, image 2 de 2
    • You can now pull out the charging port module.

Conclusion

To reassemble your device, follow these instructions in reverse order.

10 autres ont terminé cette réparation.

Andrey Radchishin

Membre depuis le 01/21/15

1 833 Réputation

4 tutoriels rédigés

Équipe

UWT Liner: Group 1 Membre de l'équipe UWT Liner: Group 1

Community

5 membres

8 tutoriels rédigés

2 commentaires

What is the reference number for this charging port?

How to find it on ebay/other?

rafal - Réponse

If you search "Samsung Chromebook XE303C12" together with "Charge Port" or "Charging Port" or "DC Jack" you should be able to find it! :)

Andrey Radchishin -

Ajouter un commentaire

Nombre de vues :

Dernières 24 heures : 3

7 derniers jours : 9

30 derniers jours : 43

Total : 17,432