Aller au contenu principal

Samsung Exhibit II 4G Midframe Replacement

Ce dont vous avez besoin

  1. Samsung Exhibit II 4G Midframe Replacement, Battery: étape 1, image 1 de 1
    • Insert plastic opening tool under back cover.

    • Apply pressure on tool while using a downward motion to pop off back cover.

  2. Samsung Exhibit II 4G Midframe Replacement: étape 2, image 1 de 1
    • Insert plastic opening tool under battery.

    • Pry battery out.

  3. Samsung Exhibit II 4G Midframe Replacement, Top Rear Housing Cover: étape 3, image 1 de 1
    • Insert plastic opening tool under back cover.

    • Pry the top cover upward to remove it from the phone.

  4. Samsung Exhibit II 4G Midframe Replacement: étape 4, image 1 de 1
    • Remove the top cover.

  5. Samsung Exhibit II 4G Midframe Replacement: étape 5, image 1 de 2 Samsung Exhibit II 4G Midframe Replacement: étape 5, image 2 de 2
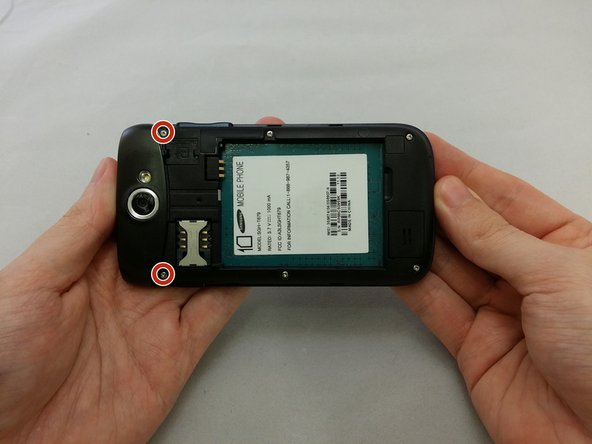
    • Remove the four 3.8mm Phillips #000 screws securing the top cover to the back assembly.

    • Two screws from top and two screws from back.

  6. Samsung Exhibit II 4G Midframe Replacement: étape 6, image 1 de 3 Samsung Exhibit II 4G Midframe Replacement: étape 6, image 2 de 3 Samsung Exhibit II 4G Midframe Replacement: étape 6, image 3 de 3
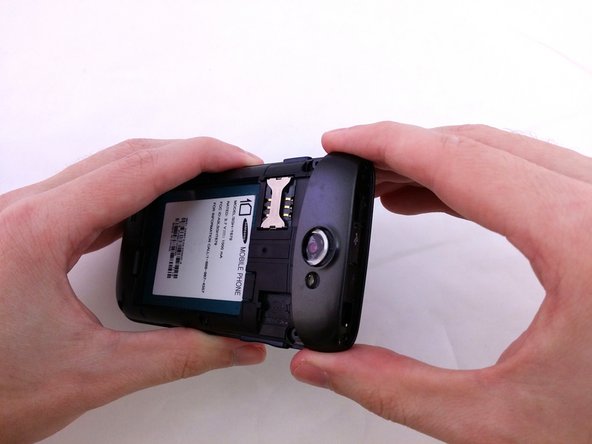
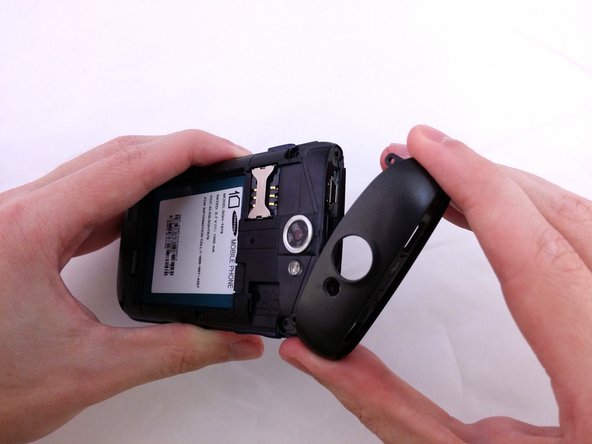
    • Insert plastic opening tool under top cover.

    • Using hand slide top cover away from phone.

  7. Samsung Exhibit II 4G Midframe Replacement, Midframe: étape 7, image 1 de 1
    • Remove the four 3.8mm Phillips #000 screws securing the back assembly to the phone.

  8. Samsung Exhibit II 4G Midframe Replacement: étape 8, image 1 de 1
    • Insert plastic opening tool between back assembly and phone.

    • Pry the back assembly away from phone.

  9. Samsung Exhibit II 4G Midframe Replacement: étape 9, image 1 de 1
    • With plastic opening tool continue prying around the edge of the back assembly.

  10. Samsung Exhibit II 4G Midframe Replacement: étape 10, image 1 de 1
    • Pull back panel assembly away from main body.

Conclusion

To reassemble your device, follow these instructions in reverse order.

Une autre personne a terminé cette réparation.

David R

Membre depuis le 07/20/15

1 152 Réputation

9 tutoriels rédigés

Équipe

0 commentaires

Ajouter un commentaire

Nombre de vues :

Dernières 24 heures : 0

7 derniers jours : 1

30 derniers jours : 1

Total : 252