Aller au contenu principal
Pour réparer ensemble - Je crée un compte

Samsung Fascinate Speaker Replacement

Ce dont vous avez besoin

  1. Samsung Fascinate Speaker Replacement, Back Case: étape 1, image 1 de 3 Samsung Fascinate Speaker Replacement, Back Case: étape 1, image 2 de 3 Samsung Fascinate Speaker Replacement, Back Case: étape 1, image 3 de 3
    • To remove the back case of the Samsung Galaxy S, you may need a spudger.

    • Identify the slit which is at the bottom edge of the phone.

    Demander à FixBot

    Ajouter un commentaire

  2. Samsung Fascinate Speaker Replacement: étape 2, image 1 de 2 Samsung Fascinate Speaker Replacement: étape 2, image 2 de 2
    • Insert the edge of the spudger into the slit and use it to pry the back case off of the phone.

    Demander à FixBot

    Ajouter un commentaire

  3. Samsung Fascinate Speaker Replacement, Battery: étape 3, image 1 de 2 Samsung Fascinate Speaker Replacement, Battery: étape 3, image 2 de 2
    • Insert the spudger into the space between the battery and the phone and pry the battery out as you slide it along the underside the battery.

    Demander à FixBot

    Ajouter un commentaire

  4. Samsung Fascinate Speaker Replacement, Speaker: étape 4, image 1 de 3 Samsung Fascinate Speaker Replacement, Speaker: étape 4, image 2 de 3 Samsung Fascinate Speaker Replacement, Speaker: étape 4, image 3 de 3
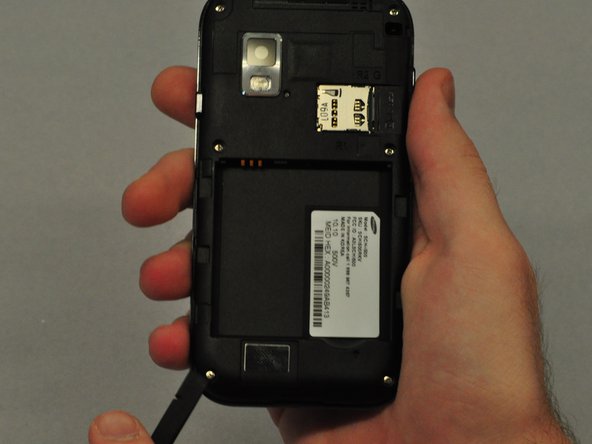
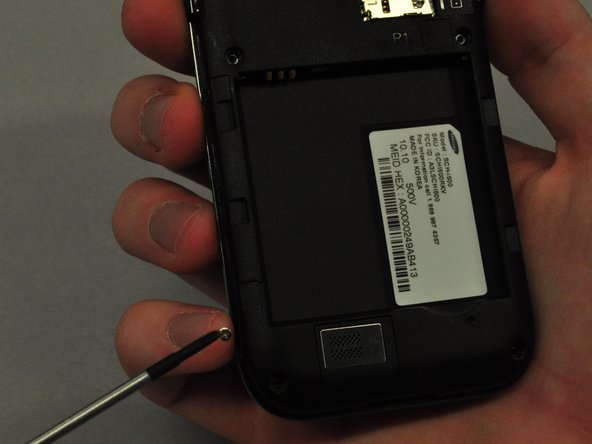
    • Use the screwdriver to unscrew each of the 6 silver screws holding the main case to the LCD touchscreen.

    • If the screws are stuck, use the spudger to pry them out.

    Demander à FixBot

    Ajouter un commentaire

  5. Samsung Fascinate Speaker Replacement: étape 5, image 1 de 3 Samsung Fascinate Speaker Replacement: étape 5, image 2 de 3 Samsung Fascinate Speaker Replacement: étape 5, image 3 de 3
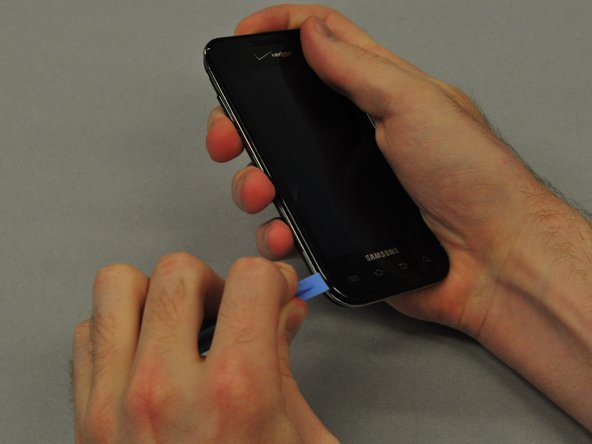
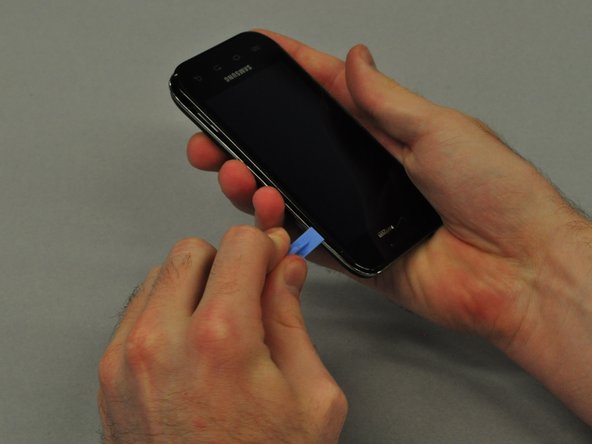
    • Use the plastic opening tool to pry the main case from the LCD touchscreen.

    • Insert the thin edge of the plastic opening tool into the groove between the silver edge and black edge.

    • Run the tool all the way around the edge of the phone until you hear each of the clips detach.

    Demander à FixBot

    Ajouter un commentaire

  6. Samsung Fascinate Speaker Replacement: étape 6, image 1 de 3 Samsung Fascinate Speaker Replacement: étape 6, image 2 de 3 Samsung Fascinate Speaker Replacement: étape 6, image 3 de 3
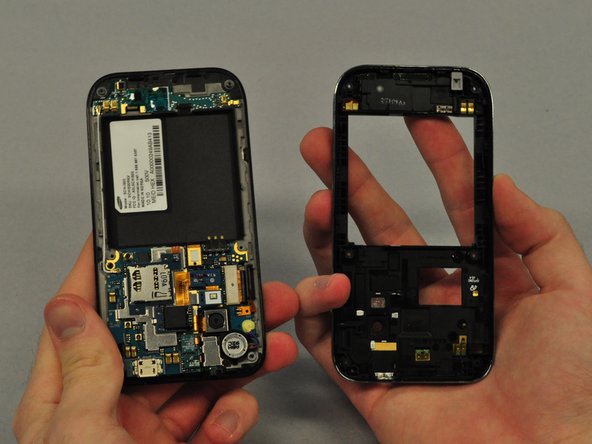
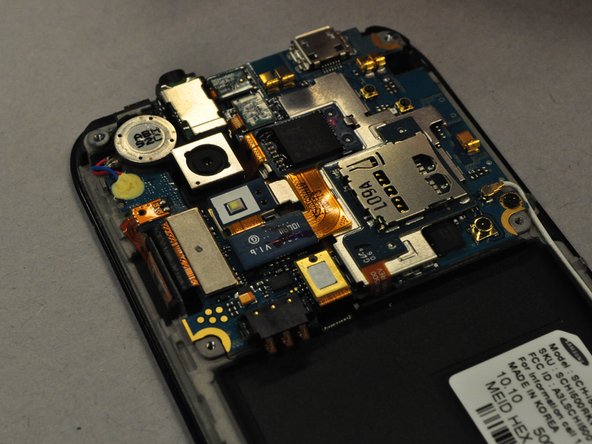
    • Once the clips are detached, separate the main case from the LCD touchscreen.

    Demander à FixBot

    Ajouter un commentaire

  7. Samsung Fascinate Speaker Replacement: étape 7, image 1 de 3 Samsung Fascinate Speaker Replacement: étape 7, image 2 de 3 Samsung Fascinate Speaker Replacement: étape 7, image 3 de 3
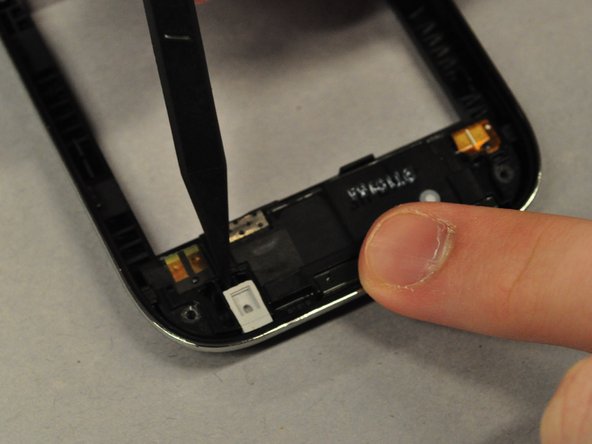
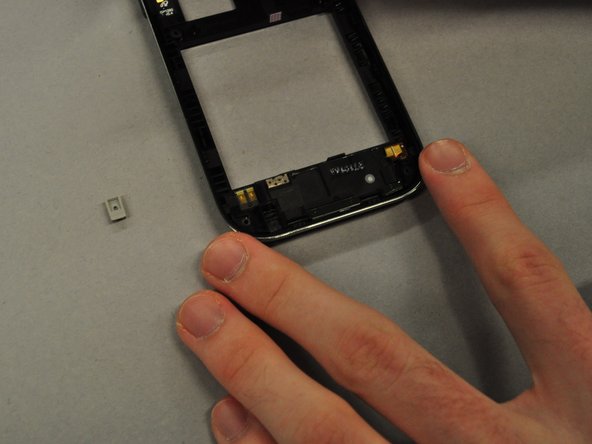
    • Use the spudger to pry out the grey rubber rectangular component from the main case.

    Demander à FixBot

    Ajouter un commentaire

  8. Samsung Fascinate Speaker Replacement: étape 8, image 1 de 3 Samsung Fascinate Speaker Replacement: étape 8, image 2 de 3 Samsung Fascinate Speaker Replacement: étape 8, image 3 de 3
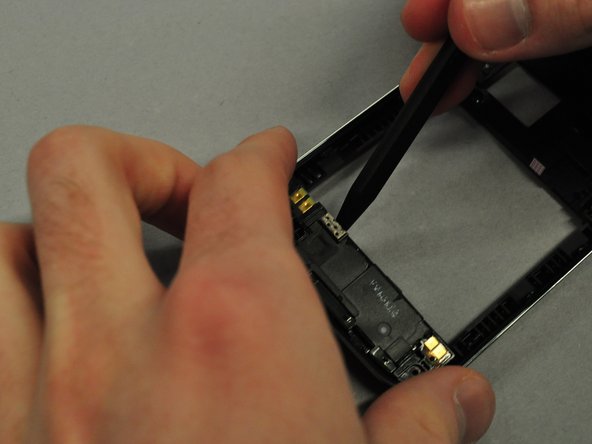
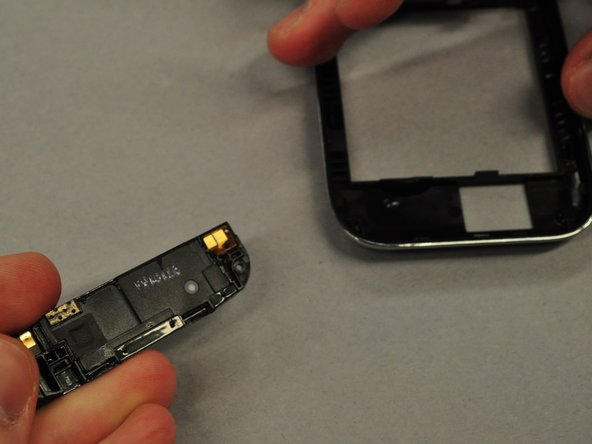
    • Use the spudger to pry along the groove between the speaker and the main case.

    • Once the speaker is unclipped it should pop out easily.

    Demander à FixBot

    Ajouter un commentaire

Conclusion

To reassemble your device, follow these instructions in reverse order.

Annulation : je n'ai pas terminé ce tutoriel.

2 autres ont terminé cette réparation.

Kevin Carlson

Membre depuis le 04/22/11

236 Réputation

6 tutoriels rédigés

Équipe

Cal Poly, Team 25-25, Garner Spring 2011 Membre de l'équipe Cal Poly, Team 25-25, Garner Spring 2011

CPSU-GARNER-S11S25G25

4 membres

18 tutoriels rédigés

0 commentaires de tutoriel

Ajouter un commentaire

Nombre de vues :

Dernières 24 heures : 1

7 derniers jours : 12

30 derniers jours : 54

Total : 5,913