Introduction
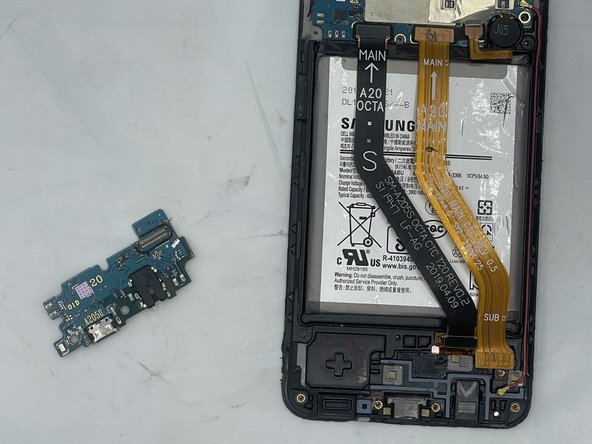
This guide will give detailed instructions on how to replace the board that holds the charging and headphone ports. It is most helpful if your device has experienced trauma, damaging this board. Additionally, it may be helpful if both your charging and headphone ports are malfunctioning.
Ce dont vous avez besoin
-
-
Remove the SIM card and the SIM card tray.
-
Use an iOpener or heat gun to warm the adhesive that secures the back cover.
-
Insert an opening pick in the seam between the back cover and chassis while the adhesive is warm.
-
Slide the pick around the entire perimeter.
-
Remove the back cover.
-
-
-
Remove all thirteen 3.6 mm Phillips screws that secure the midframe.
-
Use an opening pick to pry up and lift out the midframe.
-
-


To reassemble your device, follow these instructions in reverse order.
To reassemble your device, follow these instructions in reverse order.
Équipe

University of North Texas, Team 2-2, Kilpatrick Spring 2024 Membre de l'équipe University of North Texas, Team 2-2, Kilpatrick Spring 2024
UNT-KILPATRICK-S24S2G2
5 membres
5 tutoriels rédigés