Introduction
This guide will enable you to replace the screen in case of broken glass, failure to respond, etc. You will need a heat gun, Phillips #00 screwdriver, iFixit opening tool, and tweezers. Take care when using dangerous tools.
Ce dont vous avez besoin
-
-
-
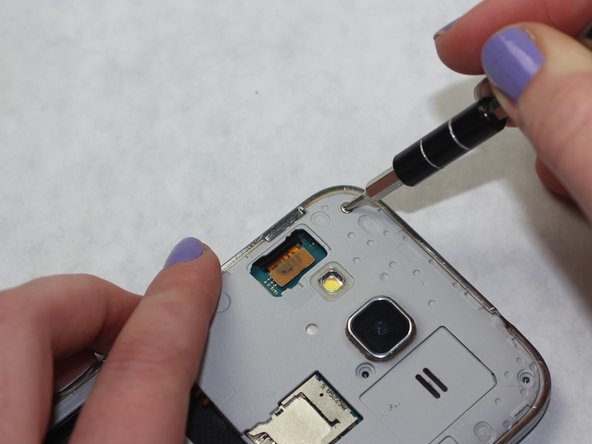
Use the Phillips #00 screwdriver to remove the eight 4 mm screws from the midframe.
-
-
-
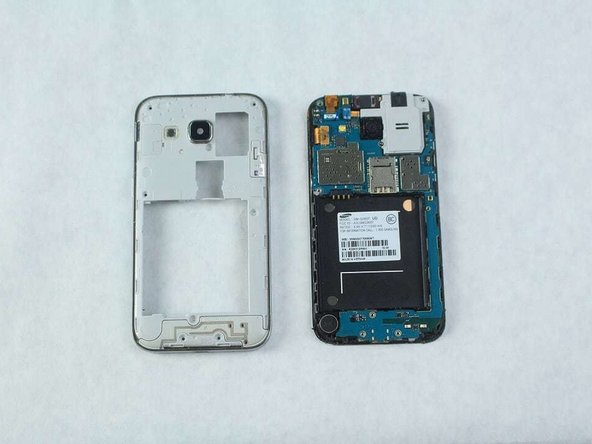
Use the iFixit Opening Tool to lift the frame.
-
-
-
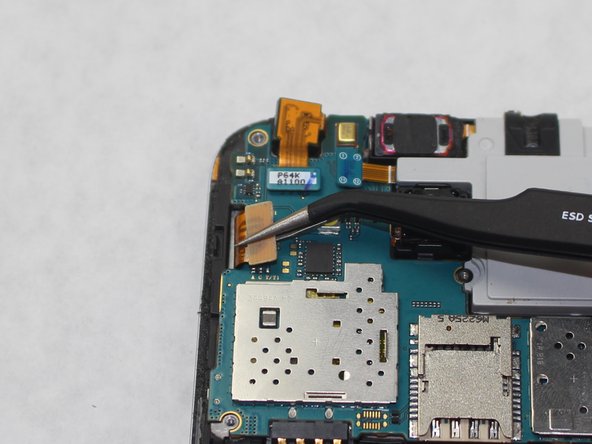
Use the iFixit Opening Tool to remove the mother board.
-
-
-
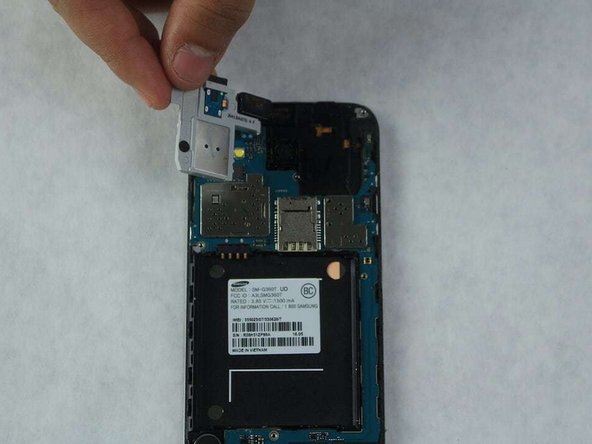
Lift the plastic panel that separates the digitizer and the motherboard with an iFixit Opening Tool
-
-
-
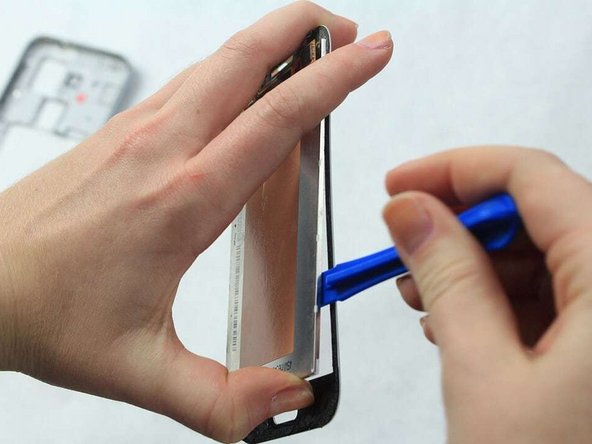
Use a heat gun and an iFixit Opening Tool tool to separate the screen from the digitizer.
-


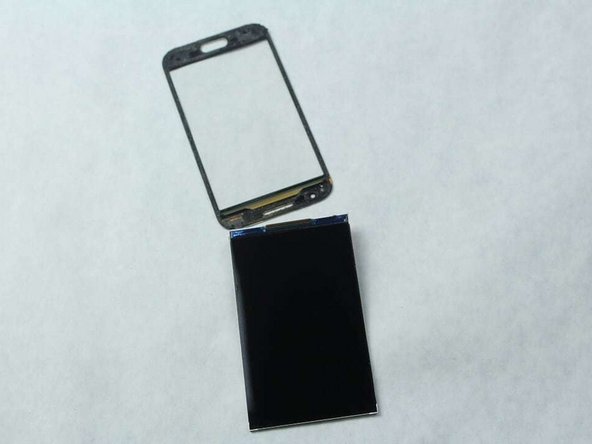


To reassemble your device, follow these instructions in reverse order.
To reassemble your device, follow these instructions in reverse order.
Annulation : je n'ai pas terminé ce tutoriel.
7 autres ont terminé cette réparation.
Équipe

Sam Houston State, Team S11-G2, Blackburne Fall 2018 Membre de l'équipe Sam Houston State, Team S11-G2, Blackburne Fall 2018
SHSU-BLACKBURNE-F18S11G2
4 membres
5 tutoriels rédigés