Aller au contenu principal
Pour réparer ensemble - Je crée un compte

Samsung Galaxy Fame S6812i LCD Screen Replacement

Ce dont vous avez besoin

  1. Samsung Galaxy Fame S6812i LCD Screen Replacement, Remove the Battery Cover: étape 1, image 1 de 2 Samsung Galaxy Fame S6812i LCD Screen Replacement, Remove the Battery Cover: étape 1, image 2 de 2
    • Locate the small indent in the top of the device and use your nails or the plastic opening tool to separate the cover from the mid-frame.

    Demander à FixBot

    Ajouter un commentaire

  2. Samsung Galaxy Fame S6812i LCD Screen Replacement, Remove the Battery: étape 2, image 1 de 2 Samsung Galaxy Fame S6812i LCD Screen Replacement, Remove the Battery: étape 2, image 2 de 2
    • Locate the indent on the bottom left corner of the battery compartment. Use your fingers or the plastic opening tool to lift the battery from the device.

    Demander à FixBot

    Ajouter un commentaire

  3. Samsung Galaxy Fame S6812i LCD Screen Replacement, Remove the Mid-Frame: étape 3, image 1 de 3 Samsung Galaxy Fame S6812i LCD Screen Replacement, Remove the Mid-Frame: étape 3, image 2 de 3 Samsung Galaxy Fame S6812i LCD Screen Replacement, Remove the Mid-Frame: étape 3, image 3 de 3
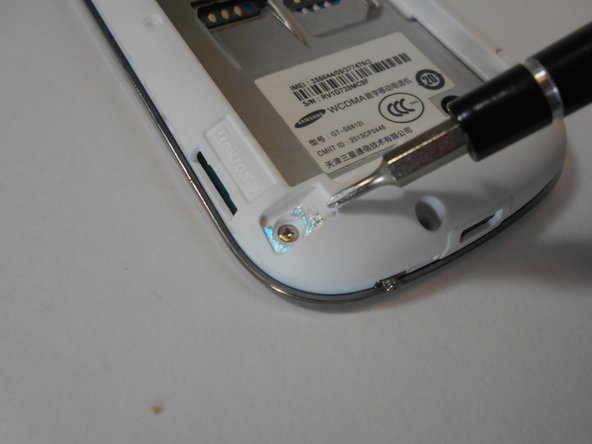
    • Remove the five 3mm screws along the top and bottom edges of the device with the Philips #00 screwdriver.

    • One of these will be hidden under a piece of reflective foil. Breaking this will void the warranty.

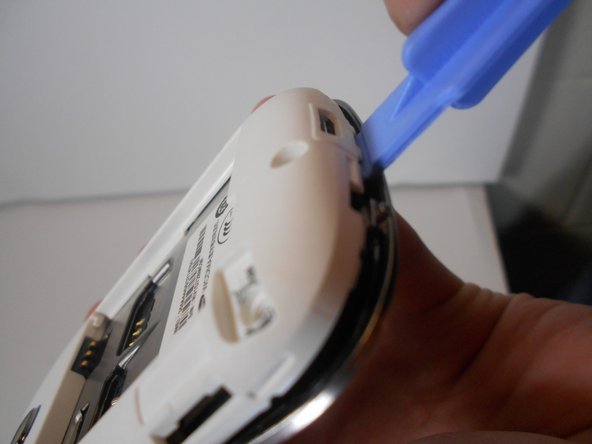
    • Use the plastic removal tool to work pry the mid-frame from the device.

    • This may take some effort, so try working around the edges slowly as to not break anything.

    Demander à FixBot

    Ajouter un commentaire

  4. Samsung Galaxy Fame S6812i LCD Screen Replacement, Unplug LCD Screen from the Motherboard: étape 4, image 1 de 3 Samsung Galaxy Fame S6812i LCD Screen Replacement, Unplug LCD Screen from the Motherboard: étape 4, image 2 de 3 Samsung Galaxy Fame S6812i LCD Screen Replacement, Unplug LCD Screen from the Motherboard: étape 4, image 3 de 3
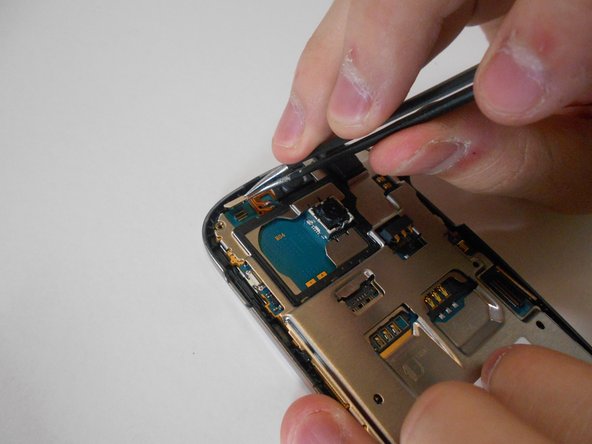
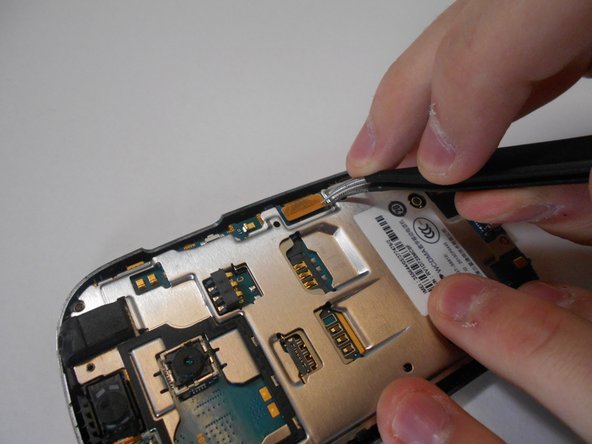
    • Carefully use the pointed end of the spudger to disconnect the ribbon connections on the motherboard.

    Demander à FixBot

    Ajouter un commentaire

  5. Samsung Galaxy Fame S6812i LCD Screen Replacement, Remove the Motherboard: étape 5, image 1 de 1
    • Wedge the plastic opening tool between the motherboard and front plate to dismount the motherboard and chassis from the front plate of the phone.

    Demander à FixBot

    Ajouter un commentaire

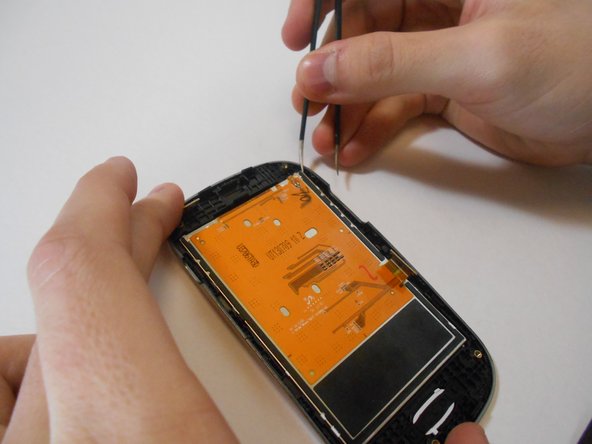
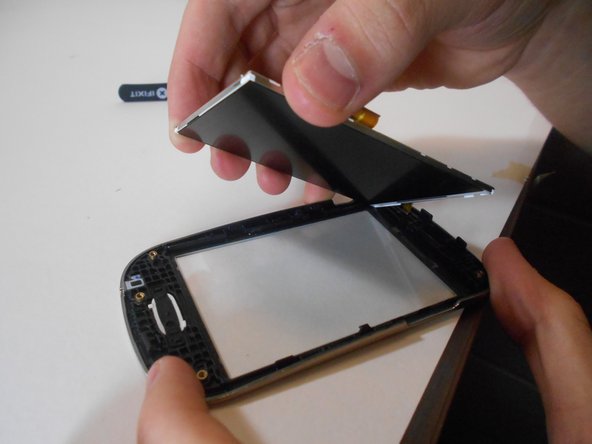
  6. Samsung Galaxy Fame S6812i LCD Screen Replacement, Remove Damaged LCD Screen: étape 6, image 1 de 3 Samsung Galaxy Fame S6812i LCD Screen Replacement, Remove Damaged LCD Screen: étape 6, image 2 de 3 Samsung Galaxy Fame S6812i LCD Screen Replacement, Remove Damaged LCD Screen: étape 6, image 3 de 3
    Outil utilisé dans cette étape :
    Tweezers
    $4.99
    • Use one side of the tweezers to pry the LCD off of the front plate of the phone.

    • Work in a clean environment and do not touch the inside of the plastic screen cover or the face of the new LCD Screen. These cannot be cleaned once the device is reassembled.

    Demander à FixBot

    Ajouter un commentaire

Conclusion

To reassemble your device, follow these instructions in reverse order.

Annulation : je n'ai pas terminé ce tutoriel.

8 autres ont terminé cette réparation.

Taylor

Membre depuis le 01/30/15

1 240 Réputation

5 tutoriels rédigés

Équipe

USF Tampa, Team 16-6, Watkins Winter 2015 Membre de l'équipe USF Tampa, Team 16-6, Watkins Winter 2015

USFT-WATKINS-W15S16G6

2 membres

9 tutoriels rédigés

0 commentaires de tutoriel

Ajouter un commentaire

Nombre de vues :

Dernières 24 heures : 1

7 derniers jours : 5

30 derniers jours : 33

Total : 2,299