Aller au contenu principal
Pour réparer ensemble - Je crée un compte

Samsung Galaxy Grand Prime Digitizer and LCD Replacement

Ce dont vous avez besoin

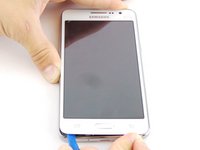
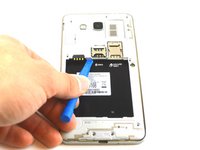
  1. Samsung Galaxy Grand Prime Digitizer and LCD Replacement, Battery: étape 1, image 1 de 3 Samsung Galaxy Grand Prime Digitizer and LCD Replacement, Battery: étape 1, image 2 de 3 Samsung Galaxy Grand Prime Digitizer and LCD Replacement, Battery: étape 1, image 3 de 3
    • Remove the back cover of phone by lifting up on the back cover tab with the blue plastic opening tool.

    • Go around the edge of the back cover to completely remove it.

    Demander à FixBot

    Ajouter un commentaire

  2. Samsung Galaxy Grand Prime Digitizer and LCD Replacement, Remove the battery.: étape 2, image 1 de 3 Samsung Galaxy Grand Prime Digitizer and LCD Replacement, Remove the battery.: étape 2, image 2 de 3 Samsung Galaxy Grand Prime Digitizer and LCD Replacement, Remove the battery.: étape 2, image 3 de 3
    • Remove the old battery by lifting up on the thumb tab.

    • Periodically clean the brass terminals on the battery and the phone. Place a minute amount of ISO on a Q-tip and gingerly clean the connections.

    Demander à FixBot

    Ajouter un commentaire

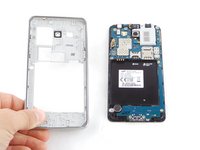
  3. Samsung Galaxy Grand Prime Digitizer and LCD Replacement, Midframe: étape 3, image 1 de 3 Samsung Galaxy Grand Prime Digitizer and LCD Replacement, Midframe: étape 3, image 2 de 3 Samsung Galaxy Grand Prime Digitizer and LCD Replacement, Midframe: étape 3, image 3 de 3
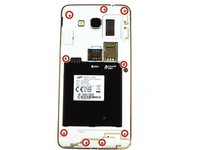
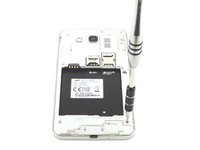
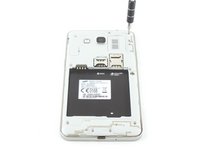
    • Remove the nine 4mm screws screws from the midframe with a Phillips #000 screwdriver.

    Demander à FixBot

    Ajouter un commentaire

  4. Samsung Galaxy Grand Prime Digitizer and LCD Replacement: étape 4, image 1 de 2 Samsung Galaxy Grand Prime Digitizer and LCD Replacement: étape 4, image 2 de 2
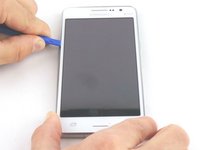
    • Wedge the blue plastic opening tool in between the front and side panel.

    • Move the blue plastic opening tool around the edges between the front and side panel.

    Demander à FixBot

    Ajouter un commentaire

  5. Samsung Galaxy Grand Prime Digitizer and LCD Replacement: étape 5, image 1 de 2 Samsung Galaxy Grand Prime Digitizer and LCD Replacement: étape 5, image 2 de 2
    • Make sure that you detach the mid-frame from the inside too.

    Demander à FixBot

    Ajouter un commentaire

  6. Samsung Galaxy Grand Prime Digitizer and LCD Replacement, Digitizer and LCD: étape 6, image 1 de 1
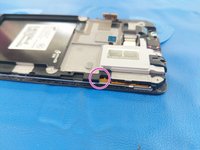
    • Disconnect all flex cables and remove the motherboard and the front-facing camera.

    • The display assembly is attached to the frame with adhesive.

    • Insert an opening pick between the glass and the frame in the gap above the front-facing camera bracket. Begin to slice through the adhesive on the top bezel of the phone.

    Demander à FixBot

    Ajouter un commentaire

  7. Samsung Galaxy Grand Prime Digitizer and LCD Replacement: étape 7, image 1 de 2 Samsung Galaxy Grand Prime Digitizer and LCD Replacement: étape 7, image 2 de 2
    • On the right corner, gently twist the pick up and down to further separate the adhesive, then insert it as shown between the LCD and the frame.

    • Insert a second pick into the gap between the frame and the display flex cable.

    • Move both picks towards the bottom of the phone to separate the adhesive on the sides of the screen.

    Demander à FixBot

    Ajouter un commentaire

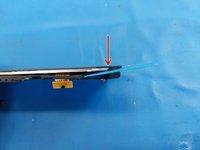
  8. Samsung Galaxy Grand Prime Digitizer and LCD Replacement: étape 8, image 1 de 1
    • Apply heat to the bottom bezel, then insert a pick between the frame and the digitizer.

    • To avoid damaging the home button, ensure the pick goes above it as shown.

    • The home button may fall out.

    Demander à FixBot

    Ajouter un commentaire

  9. Samsung Galaxy Grand Prime Digitizer and LCD Replacement, Removing the screen assembly: étape 9, image 1 de 1
    • Separate the adhesive on the bottom half of the phone, flip it around, and separate the frame from the screen assembly starting from the bottom.

    • Ensure the display cable can freely move through the hole in the frame.

    • The ear speaker grille may fall out.

    Demander à FixBot

    Ajouter un commentaire

  10. Samsung Galaxy Grand Prime Digitizer and LCD Replacement, Separating the LCD and digitizer: étape 10, image 1 de 2 Samsung Galaxy Grand Prime Digitizer and LCD Replacement, Separating the LCD and digitizer: étape 10, image 2 de 2
    • The LCD and digitizer are not glued together with LOCA glue, but just with adhesive around the edges of the digitizer.

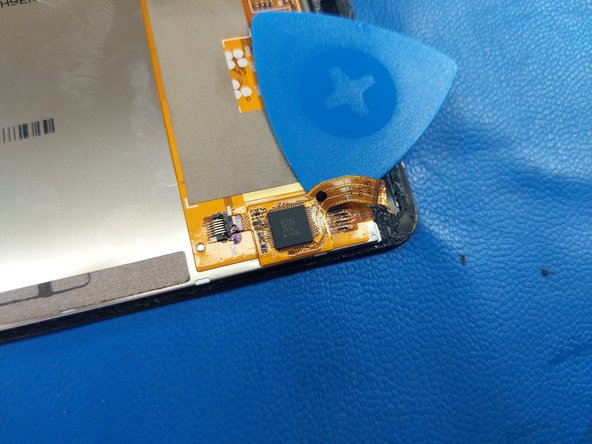
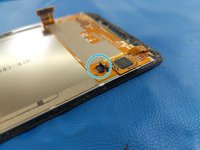
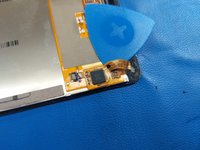
    • The digitizer is connected to the LCD with a flex cable. Flip up the bottom half of the connector.

    • Apply gentle heat to the IC. Insert a pick as shown and separate.

    • To separate the LCD and digitizer, apply gentle heat to the front of the assembly and gently slide picks along the edges of the LCD.

    Demander à FixBot

    Ajouter un commentaire

Conclusion

To reassemble your device, follow these instructions in reverse order.

Annulation : je n'ai pas terminé ce tutoriel.

6 autres ont terminé cette réparation.

Patrick

Membre depuis le 05/14/14

6 782 Réputation

21 tutoriels rédigés

0 commentaires de tutoriel

Ajouter un commentaire

Nombre de vues :

Dernières 24 heures : 3

7 derniers jours : 15

30 derniers jours : 48

Total : 2,799