Aller au contenu principal

Samsung Galaxy Media Player 5 Earpiece Speaker Replacement

Ce dont vous avez besoin

  1. Samsung Galaxy Media Player 5 Earpiece Speaker Replacement, Earpiece Speaker: étape 1, image 1 de 2 Samsung Galaxy Media Player 5 Earpiece Speaker Replacement, Earpiece Speaker: étape 1, image 2 de 2
    • Remove the SD Memory Card before working on the device.

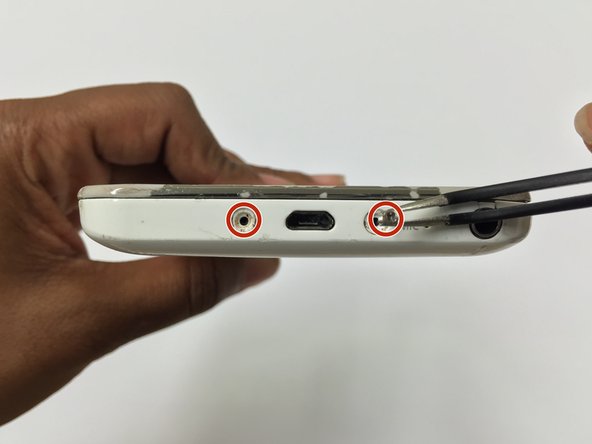
    • Use a Phillips screwdriver to remove the 10 mm screw near the SD Memory Card port.

  2. Samsung Galaxy Media Player 5 Earpiece Speaker Replacement: étape 2, image 1 de 1
    Outil utilisé dans cette étape :
    Tweezers
    $3.99
    J'achète
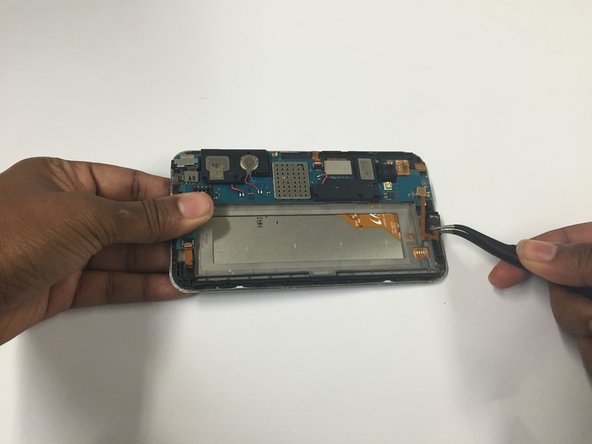
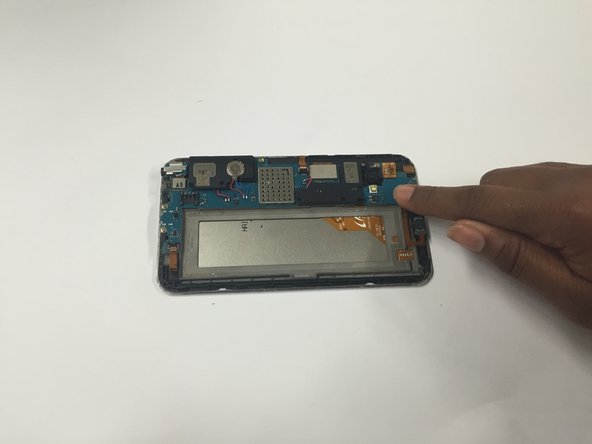
    • White caps cover screws on both sides of the charging port. Use the angled tweezers to remove them.

    • Use a blow dryer on low heat if necessary to loosen the adhesive.

  3. Samsung Galaxy Media Player 5 Earpiece Speaker Replacement: étape 3, image 1 de 2 Samsung Galaxy Media Player 5 Earpiece Speaker Replacement: étape 3, image 2 de 2
    • Using a Phillips head screwdriver, unscrew the two 10 mm screws located on either side of the charging port.

  4. Samsung Galaxy Media Player 5 Earpiece Speaker Replacement: étape 4, image 1 de 3 Samsung Galaxy Media Player 5 Earpiece Speaker Replacement: étape 4, image 2 de 3 Samsung Galaxy Media Player 5 Earpiece Speaker Replacement: étape 4, image 3 de 3
    • Using the opening pick, pry at the bottom and work around each edge of the device until the front cover and back cover housing is separated.

    • You will hear a popping sound to indicate the separation.

  5. Samsung Galaxy Media Player 5 Earpiece Speaker Replacement: étape 5, image 1 de 2 Samsung Galaxy Media Player 5 Earpiece Speaker Replacement: étape 5, image 2 de 2
    • Using the plastic opening tool, apply an upward force to detach the battery and the tab attached to it.

  6. Samsung Galaxy Media Player 5 Earpiece Speaker Replacement: étape 6, image 1 de 3 Samsung Galaxy Media Player 5 Earpiece Speaker Replacement: étape 6, image 2 de 3 Samsung Galaxy Media Player 5 Earpiece Speaker Replacement: étape 6, image 3 de 3
    • Using the plastic opening tool, apply an upward force to detach the speaker earpiece.

    • Use the tweezers to attach the new earpiece speaker in place of the original.

    • Use a blow dryer, on low heat settings, to loosen the adhesive on the speaker earpiece.

Conclusion

To reassemble your device, follow these instructions in reverse order.

2 autres ont terminé cette réparation.

China Ayala

Membre depuis le 03/05/15

584 Réputation

4 tutoriels rédigés

Équipe

Sam Houston State, Team 11-7, Blackburne Winter 2015 Membre de l'équipe Sam Houston State, Team 11-7, Blackburne Winter 2015

SHSU-BLACKBURNE-W15S11G7

3 membres

8 tutoriels rédigés

0 commentaires

Ajouter un commentaire

Nombre de vues :

Dernières 24 heures : 0

7 derniers jours : 2

30 derniers jours : 13

Total : 387