Aller au contenu principal
Pour réparer ensemble - Je crée un compte

Samsung Galaxy Nexus Main Display Glass Replacement

Ce dont vous avez besoin

  1. Samsung Galaxy Nexus Main Display Glass Replacement, Removing Back Cover: étape 1, image 1 de 1
    • Open the back cover of the phone with your fingers or use the plastic opening tools to pry the back cover off of the phone.

    • Remove the battery by prying it free from the divot at the bottom.

    • Store the back cover and the battery in a safe place, such as a bowl, until you are ready to re-install them.

    Demander à FixBot

    Ajouter un commentaire

  2. Samsung Galaxy Nexus Main Display Glass Replacement: étape 2, image 1 de 1
    • Remove the four 4.5 mm Phillips screws from the rear of the phone.

    Demander à FixBot

    Ajouter un commentaire

  3. Samsung Galaxy Nexus Main Display Glass Replacement: étape 3, image 1 de 2 Samsung Galaxy Nexus Main Display Glass Replacement: étape 3, image 2 de 2
    • Flip the phone over so that the screen faces upward.

    • Insert a plastic opening tool into the seam between the screen and the outer case. Work the plastic opening tool around the phone without removing it from the seam.

    • Slowly pry the outer case from the screen.

    • Work carefully. Excessive force can easily damage the case.

    Demander à FixBot

    Ajouter un commentaire

  4. Samsung Galaxy Nexus Main Display Glass Replacement: étape 4, image 1 de 3 Samsung Galaxy Nexus Main Display Glass Replacement: étape 4, image 2 de 3 Samsung Galaxy Nexus Main Display Glass Replacement: étape 4, image 3 de 3
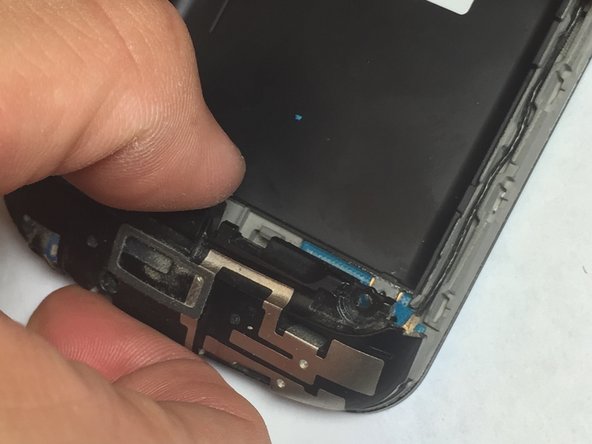
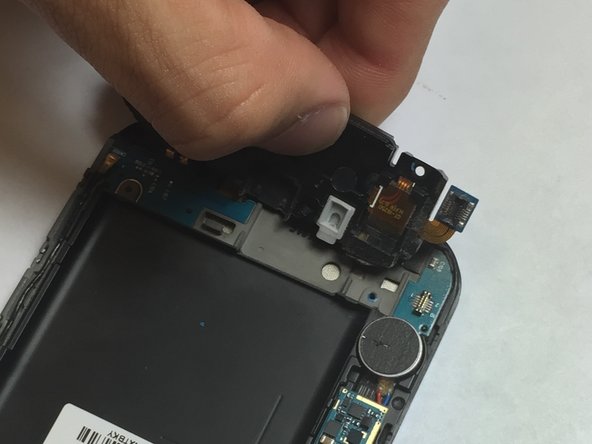
    • Remove a single 4 mm Phillips #00 screw from the bottom of the phone.

    • Lift up the flat connector from its socket on the motherboard.

    • Lift the entire headphone jack assembly from the phone.

    Demander à FixBot

    Ajouter un commentaire

  5. Samsung Galaxy Nexus Main Display Glass Replacement: étape 5, image 1 de 2 Samsung Galaxy Nexus Main Display Glass Replacement: étape 5, image 2 de 2
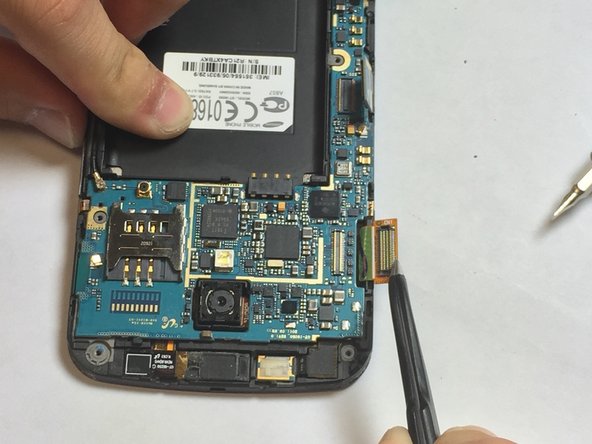
    • Disconnect the two ribbon cables from the motherboard.

    Demander à FixBot

    Ajouter un commentaire

  6. Samsung Galaxy Nexus Main Display Glass Replacement: étape 6, image 1 de 1
    Outil utilisé dans cette étape :
    Tweezers
    $4.99
    • Using tweezers or a spudger, lift the vibrator motor from its recess in the midframe.

    Demander à FixBot

    Ajouter un commentaire

  7. Samsung Galaxy Nexus Main Display Glass Replacement: étape 7, image 1 de 2 Samsung Galaxy Nexus Main Display Glass Replacement: étape 7, image 2 de 2
    • Using tweezers, gently disconnect the antenna cable from its socket on the motherboard.

    Demander à FixBot

    Ajouter un commentaire

  8. Samsung Galaxy Nexus Main Display Glass Replacement: étape 8, image 1 de 2 Samsung Galaxy Nexus Main Display Glass Replacement: étape 8, image 2 de 2
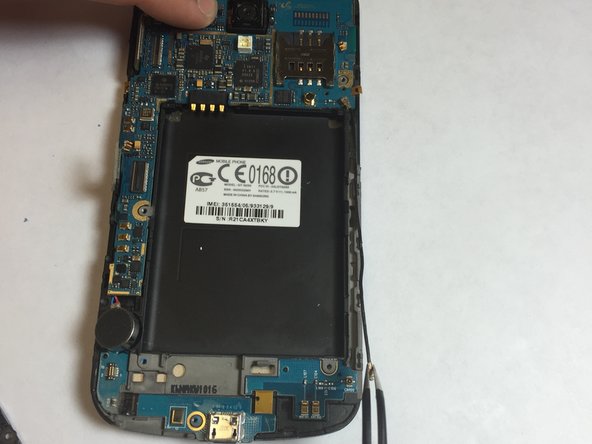
    • Use tweezers to pull the motherboard out of the phone.

    • Work carefully. Depending on the model, the underside of the motherboard may still have ribbon cables connecting it to the display assembly.

    Demander à FixBot

    Ajouter un commentaire

  9. Samsung Galaxy Nexus Main Display Glass Replacement: étape 9, image 1 de 3 Samsung Galaxy Nexus Main Display Glass Replacement: étape 9, image 2 de 3 Samsung Galaxy Nexus Main Display Glass Replacement: étape 9, image 3 de 3
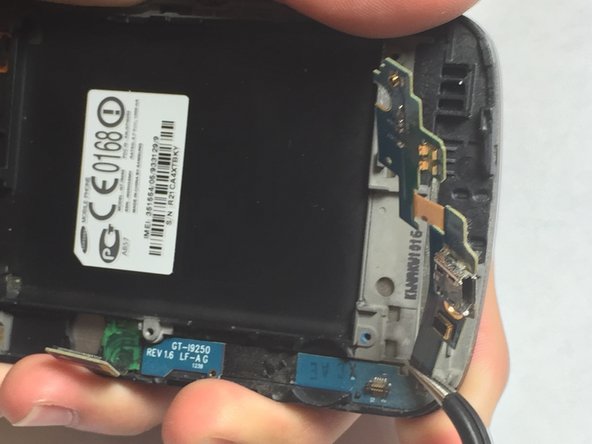
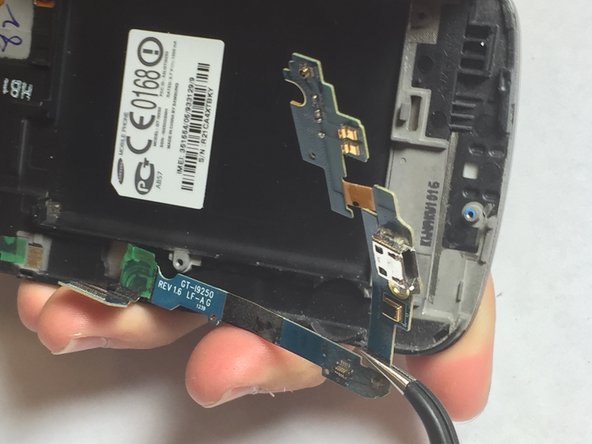
    • Starting near the USB port, use your tweezers to pull the small daughterboard from the phone.

    Demander à FixBot

    Ajouter un commentaire

Conclusion

To reassemble your device, follow these instructions in reverse order.

Annulation : je n'ai pas terminé ce tutoriel.

13 autres ont terminé cette réparation.

Carmine Tenaglia

Membre depuis le 09/15/13

320 Réputation

1 tutoriel rédigé

Équipe

Oakland University, Team 1-17, Ruszkiewicz Fall 2013 Membre de l'équipe Oakland University, Team 1-17, Ruszkiewicz Fall 2013

OAK-RUSZKIEWICZ-F13S1G17

1 membre

2 tutoriels rédigés

2 commentaires de tutoriel

with this guide , I found this repair easy to do. Thank you Tom G.

Thomas Giles - Réponse Partager

Deberían d3 poner los diagramas eléctricos para reparar gracias

manchadoshow - Réponse Partager

Ajouter un commentaire

Nombre de vues :

Dernières 24 heures : 2

7 derniers jours : 8

30 derniers jours : 45

Total : 21,240