Aller au contenu principal

Samsung Galaxy Note Edge Display Assembly Replacement

Ce dont vous avez besoin

Vidéo d'introduction

  1. Samsung Galaxy Note Edge Display Assembly Replacement, Remove the Galaxy Note Edge Battery: étape 1, image 1 de 3 Samsung Galaxy Note Edge Display Assembly Replacement, Remove the Galaxy Note Edge Battery: étape 1, image 2 de 3 Samsung Galaxy Note Edge Display Assembly Replacement, Remove the Galaxy Note Edge Battery: étape 1, image 3 de 3
    • Switch off the device.

    • Remove the back cover and the battery.

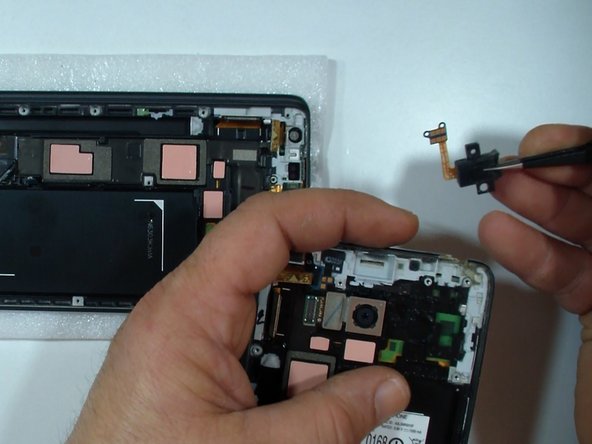
  2. Samsung Galaxy Note Edge Display Assembly Replacement, Remove the Galaxy Note Edge Rear Housing: étape 2, image 1 de 3 Samsung Galaxy Note Edge Display Assembly Replacement, Remove the Galaxy Note Edge Rear Housing: étape 2, image 2 de 3 Samsung Galaxy Note Edge Display Assembly Replacement, Remove the Galaxy Note Edge Rear Housing: étape 2, image 3 de 3
    • Remove the Memory card, the SIM card and the S Pen.

    • Remove the screws by using Screwdriver Phillips #00

    • With a plastic opening tool emove the Back Frame.

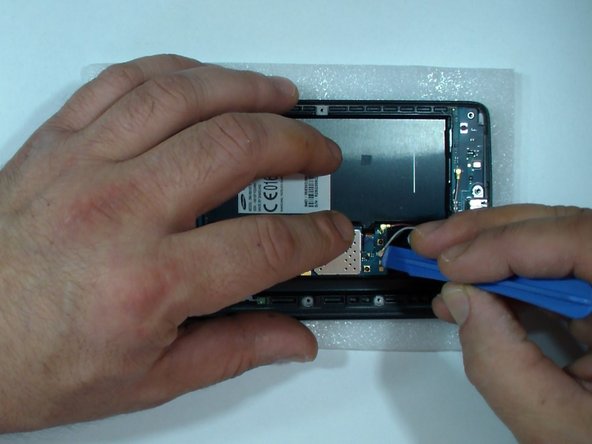
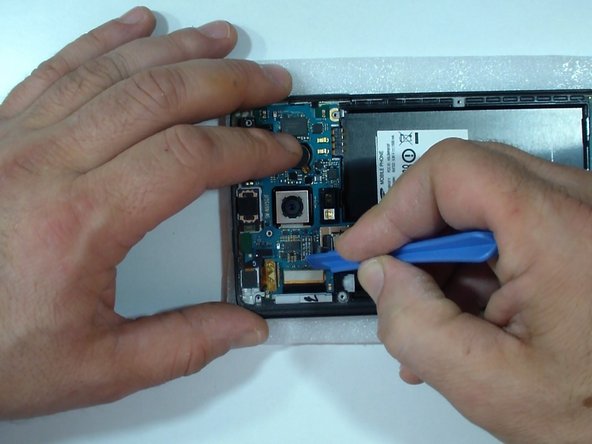
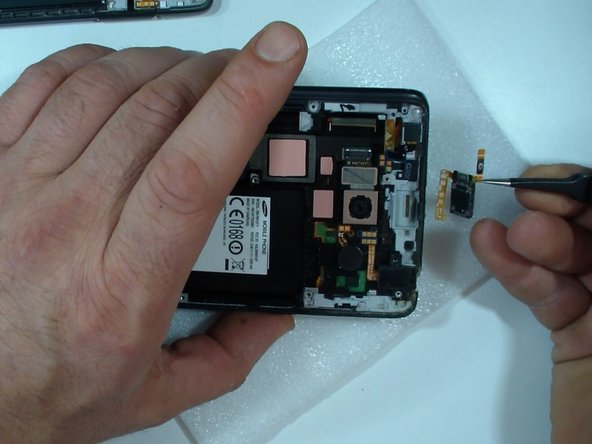
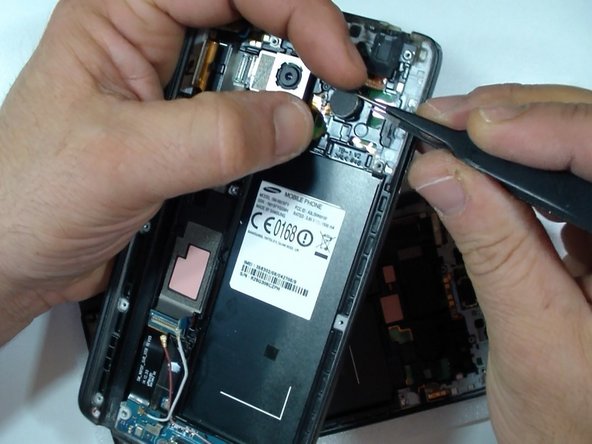
  3. Samsung Galaxy Note Edge Display Assembly Replacement, Remove the Galaxy Note Edge Motherboard 1: étape 3, image 1 de 3 Samsung Galaxy Note Edge Display Assembly Replacement, Remove the Galaxy Note Edge Motherboard 1: étape 3, image 2 de 3 Samsung Galaxy Note Edge Display Assembly Replacement, Remove the Galaxy Note Edge Motherboard 1: étape 3, image 3 de 3
    • Disconnect one by one:

    • Coaxial antenna cable (x2)

    • Home Button flex cable

    • Display Flex cable

    • Stylus Sensor flex cable

    • Front Camera flex cable

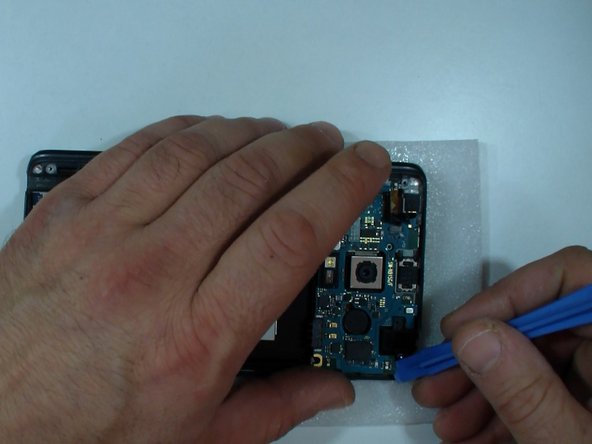
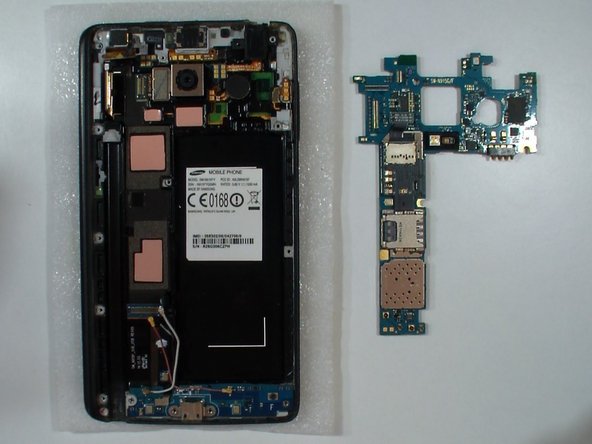
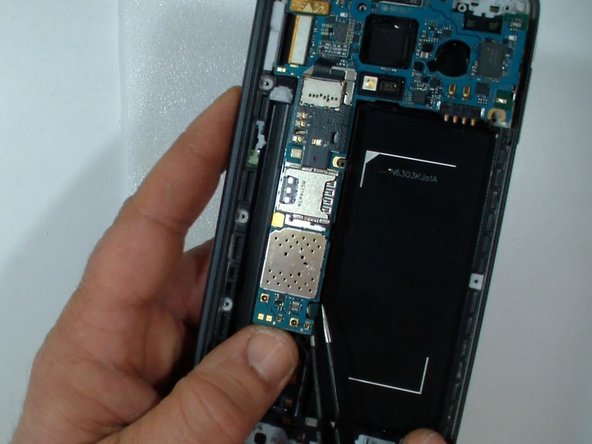
  4. Samsung Galaxy Note Edge Display Assembly Replacement, Remove the Galaxy Note Edge Motherboard 2: étape 4, image 1 de 3 Samsung Galaxy Note Edge Display Assembly Replacement, Remove the Galaxy Note Edge Motherboard 2: étape 4, image 2 de 3 Samsung Galaxy Note Edge Display Assembly Replacement, Remove the Galaxy Note Edge Motherboard 2: étape 4, image 3 de 3
    • Pry up the connector on the back of the board to release the bottom part of motherboard.

    • Gently remove the logic board.

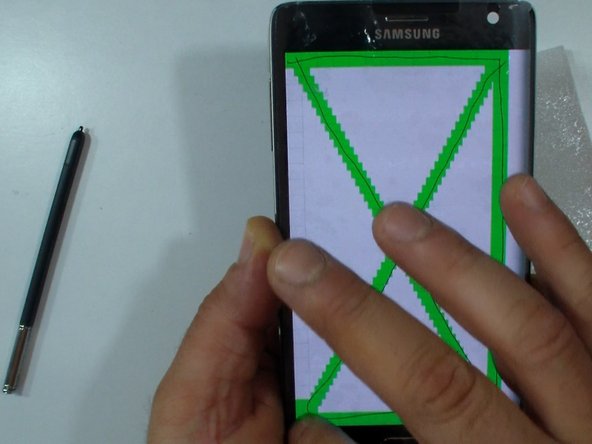
  5. Samsung Galaxy Note Edge Display Assembly Replacement, Test the new spare part: étape 5, image 1 de 3 Samsung Galaxy Note Edge Display Assembly Replacement, Test the new spare part: étape 5, image 2 de 3 Samsung Galaxy Note Edge Display Assembly Replacement, Test the new spare part: étape 5, image 3 de 3
    • I prefer to test the new spare part before install it.

    • Transfer the Power button / Loud speaker flex cable.

    • Install the mother board.

    • Test the display.

    • To prevent damage to the put back the back frame before the test.

  6. Samsung Galaxy Note Edge Display Assembly Replacement, Check the Thermal Pads: étape 6, image 1 de 1
    • Check the quality of the thermal pads (if the spare part is not original).

    • If its necessary use the thermal pads from the old assembly.

  7. Samsung Galaxy Note Edge Display Assembly Replacement, Transfer all the parts from the old Display assembly - Part 1: étape 7, image 1 de 3 Samsung Galaxy Note Edge Display Assembly Replacement, Transfer all the parts from the old Display assembly - Part 1: étape 7, image 2 de 3 Samsung Galaxy Note Edge Display Assembly Replacement, Transfer all the parts from the old Display assembly - Part 1: étape 7, image 3 de 3
    • Insert wisdom here.

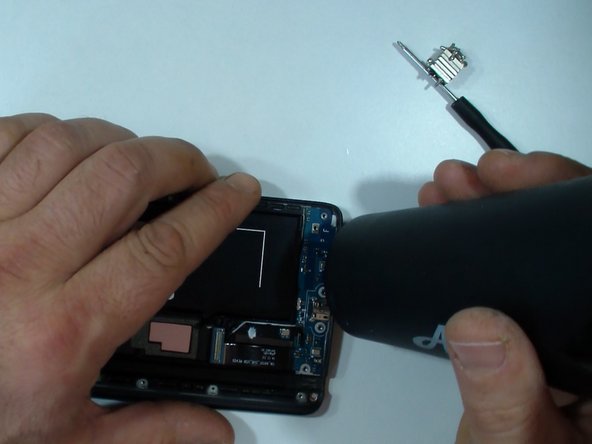
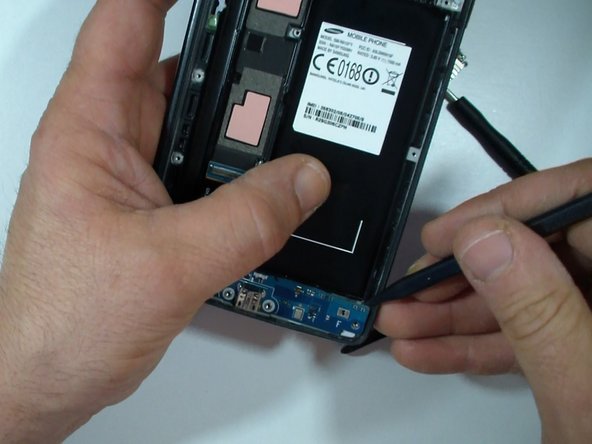
  8. Samsung Galaxy Note Edge Display Assembly Replacement, Remove the Galaxy Note Edge Charging Port Flex Assembly.: étape 8, image 1 de 3 Samsung Galaxy Note Edge Display Assembly Replacement, Remove the Galaxy Note Edge Charging Port Flex Assembly.: étape 8, image 2 de 3 Samsung Galaxy Note Edge Display Assembly Replacement, Remove the Galaxy Note Edge Charging Port Flex Assembly.: étape 8, image 3 de 3
    • Remove the black Phillips screw,

    • the the charging port plate,

    • disconnect the Home buttons flex cable

    • and the coaxial antenna cable (x2).

    • Use hot air and a plastic opening tool to remove the Charging Port flex assembly.

  9. Samsung Galaxy Note Edge Display Assembly Replacement, Reassembling: étape 9, image 1 de 1
    • To reassemble your device, follow these instructions in reverse order.

Conclusion

To reassemble your device, follow these instructions in reverse order.

2 autres ont terminé cette réparation.

ZFix

Membre depuis le 12/09/13

191 182 Réputation

330 tutoriels rédigés

Équipe

Master Techs Membre de l'équipe Master Techs

Community

322 membres

2 521 tutoriels rédigés

0 commentaires

Ajouter un commentaire

Nombre de vues :

Dernières 24 heures : 4

7 derniers jours : 8

30 derniers jours : 20

Total : 1,813