Aller au contenu principal

Samsung Galaxy Pocket Neo S5310 LCD Display, Touch screen Replacement

Ce dont vous avez besoin

Vidéo d'introduction

  1. Samsung Galaxy Pocket Neo S5310 LCD Display, Touch screen Replacement, Loudspeaker: étape 1, image 1 de 3 Samsung Galaxy Pocket Neo S5310 LCD Display, Touch screen Replacement, Loudspeaker: étape 1, image 2 de 3 Samsung Galaxy Pocket Neo S5310 LCD Display, Touch screen Replacement, Loudspeaker: étape 1, image 3 de 3
    • Remove any SIM and SD card.

    • Remove 7x Phillips screws.

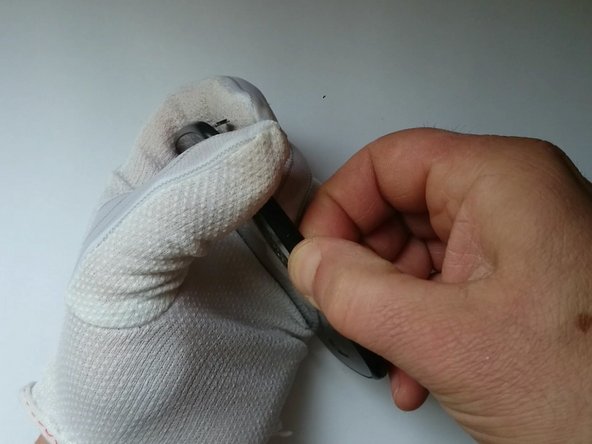
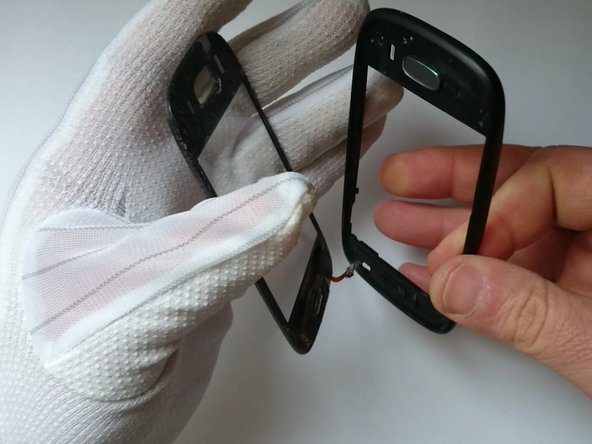
    • Use a plastic tool to disassemble the rear housing.

  2. Samsung Galaxy Pocket Neo S5310 LCD Display, Touch screen Replacement: étape 2, image 1 de 1
    • The Loudspeaker is located on the rear housing..

  3. Samsung Galaxy Pocket Neo S5310 LCD Display, Touch screen Replacement, Logic Board: étape 3, image 1 de 3 Samsung Galaxy Pocket Neo S5310 LCD Display, Touch screen Replacement, Logic Board: étape 3, image 2 de 3 Samsung Galaxy Pocket Neo S5310 LCD Display, Touch screen Replacement, Logic Board: étape 3, image 3 de 3
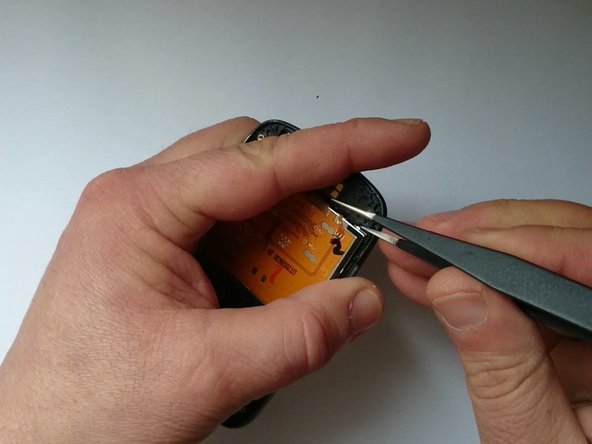
    • Disconnect the LCD Display flex cable.

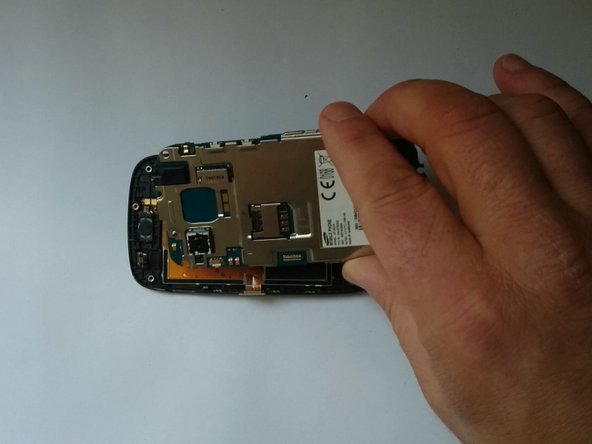
    • Lift up the board and disconnect the Touchscreen flex cable.

    • Now you can remove the Motherboard.

  4. Samsung Galaxy Pocket Neo S5310 LCD Display, Touch screen Replacement, Touchscreen, Digitizer Glass, LCD Display: étape 4, image 1 de 3 Samsung Galaxy Pocket Neo S5310 LCD Display, Touch screen Replacement, Touchscreen, Digitizer Glass, LCD Display: étape 4, image 2 de 3 Samsung Galaxy Pocket Neo S5310 LCD Display, Touch screen Replacement, Touchscreen, Digitizer Glass, LCD Display: étape 4, image 3 de 3
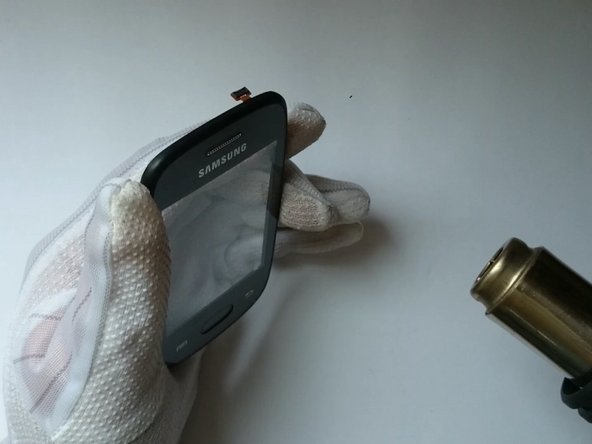
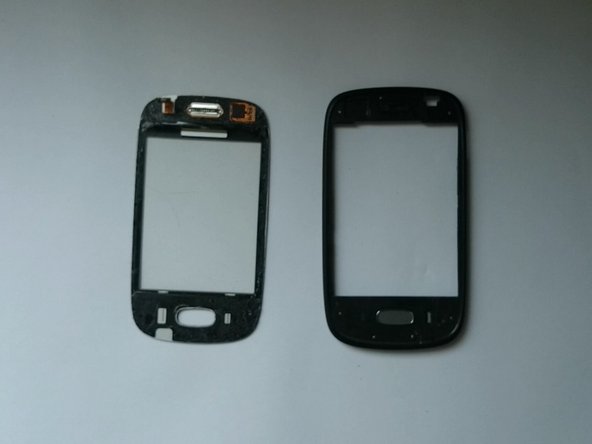
    • Warm the touchscreen to make separating the LCD Display more easy

    • For this manipulation you can use a hair drier.

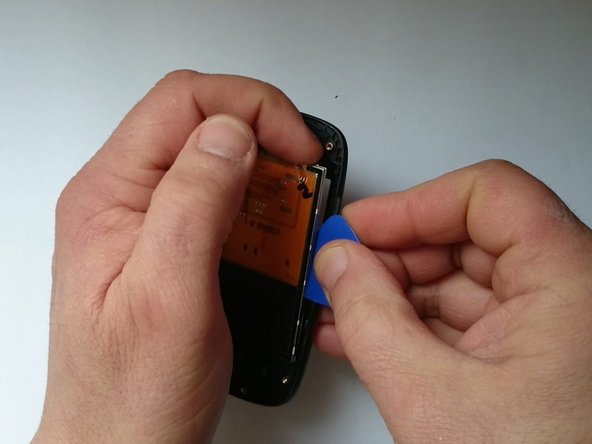
    • In the four corners of LCD display there are small metal plates. Use one of them to lift a little the LCD and put the plastic tool.

    • Be careful not to break the display.

  5. Samsung Galaxy Pocket Neo S5310 LCD Display, Touch screen Replacement: étape 5, image 1 de 3 Samsung Galaxy Pocket Neo S5310 LCD Display, Touch screen Replacement: étape 5, image 2 de 3 Samsung Galaxy Pocket Neo S5310 LCD Display, Touch screen Replacement: étape 5, image 3 de 3
    • After separating the LCD Display, again worm the Touchscreen.

    • If the glass is broken, put a transparent tape to prevent scattering.

  6. Samsung Galaxy Pocket Neo S5310 LCD Display, Touch screen Replacement: étape 6, image 1 de 3 Samsung Galaxy Pocket Neo S5310 LCD Display, Touch screen Replacement: étape 6, image 2 de 3 Samsung Galaxy Pocket Neo S5310 LCD Display, Touch screen Replacement: étape 6, image 3 de 3
    • Use plastic tools and slowly separate the touch screen from the front bezel.

  7. Samsung Galaxy Pocket Neo S5310 LCD Display, Touch screen Replacement: étape 7, image 1 de 3 Samsung Galaxy Pocket Neo S5310 LCD Display, Touch screen Replacement: étape 7, image 2 de 3 Samsung Galaxy Pocket Neo S5310 LCD Display, Touch screen Replacement: étape 7, image 3 de 3
    • If the new spare part has come without adhesive tape. you must put.

    • Reassemble your device, follow these instructions in reverse order.

  8. Samsung Galaxy Pocket Neo S5310 LCD Display, Touch screen Replacement: étape 8, image 1 de 1
    • Did you do it successfully?

Conclusion

To reassemble your device, follow these instructions in reverse order.

3 autres ont terminé cette réparation.

ZFix

Membre depuis le 12/09/13

191 341 Réputation

330 tutoriels rédigés

Équipe

Master Techs Membre de l'équipe Master Techs

Community

322 membres

2 541 tutoriels rédigés

0 commentaires

Ajouter un commentaire

Nombre de vues :

Dernières 24 heures : 2

7 derniers jours : 8

30 derniers jours : 12

Total : 7,457