Aller au contenu principal
Pour réparer ensemble - Je crée un compte

Samsung Galaxy S Blaze Display Assembly Replacement

Ce dont vous avez besoin

  1. Samsung Galaxy S Blaze Display Assembly Replacement, Power Button: étape 1, image 1 de 3 Samsung Galaxy S Blaze Display Assembly Replacement, Power Button: étape 1, image 2 de 3 Samsung Galaxy S Blaze Display Assembly Replacement, Power Button: étape 1, image 3 de 3
    • Start by removing the back plastic cover by lifting it up from the notch on the left side of the phone.

    Demander à FixBot

    Ajouter un commentaire

  2. Samsung Galaxy S Blaze Display Assembly Replacement: étape 2, image 1 de 1
    • Remove the battery, and use a small Phillips-head screwdriver to remove the marked up screws.

    Demander à FixBot

    Ajouter un commentaire

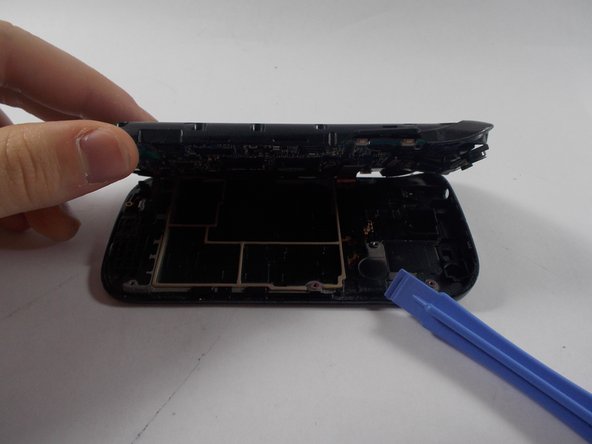
  3. Samsung Galaxy S Blaze Display Assembly Replacement: étape 3, image 1 de 2 Samsung Galaxy S Blaze Display Assembly Replacement: étape 3, image 2 de 2
    • Use a flat tool to pry the two plastic cases apart.

    • The latches are very strong, so don't be afraid to use force.

    Demander à FixBot

    Ajouter un commentaire

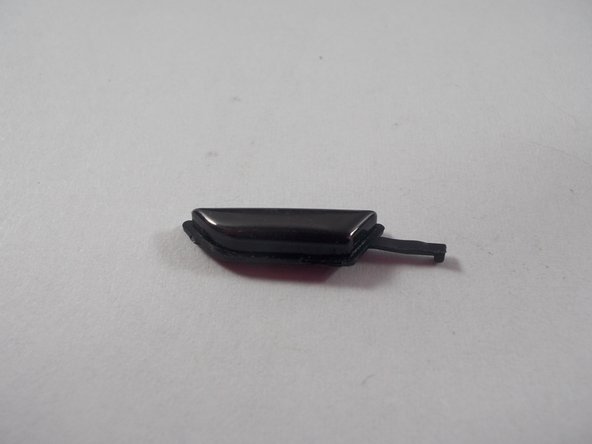
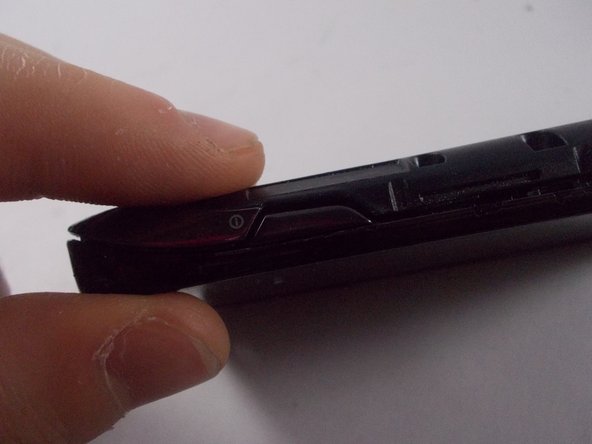
  4. Samsung Galaxy S Blaze Display Assembly Replacement: étape 4, image 1 de 3 Samsung Galaxy S Blaze Display Assembly Replacement: étape 4, image 2 de 3 Samsung Galaxy S Blaze Display Assembly Replacement: étape 4, image 3 de 3
    • Locate the missing button slot.

    • Place in replacement button, and close the plastic housing around it.

    • The button should be fully functional now. Repeat past steps to reassemble the phone.

    Demander à FixBot

    Ajouter un commentaire

  5. Samsung Galaxy S Blaze Display Assembly Replacement, Display Assembly: étape 5, image 1 de 1
    • Gently remove the 2 ribbon cables as shown.

    • Connect the new screen to the main motherboard just the same way it was connected before.

    • Be careful not to crimp or bend the ribbon cables, as this will ruin the replacement.

    Demander à FixBot

    Ajouter un commentaire

Conclusion

To reassemble your device, follow these instructions in reverse order.

Annulation : je n'ai pas terminé ce tutoriel.

2 autres ont terminé cette réparation.

Dustin

Membre depuis le 03/12/14

1 234 Réputation

6 tutoriels rédigés

Équipe

0 commentaires de tutoriel

Ajouter un commentaire

Nombre de vues :

Dernières 24 heures : 1

7 derniers jours : 3

30 derniers jours : 31

Total : 1,565