Aller au contenu principal

Samsung Galaxy S21 Screen Protector Replacement

Ce dont vous avez besoin

  1. Samsung Galaxy S21 Screen Protector Replacement, Screen Protector: étape 1, image 1 de 2 Samsung Galaxy S21 Screen Protector Replacement, Screen Protector: étape 1, image 2 de 2
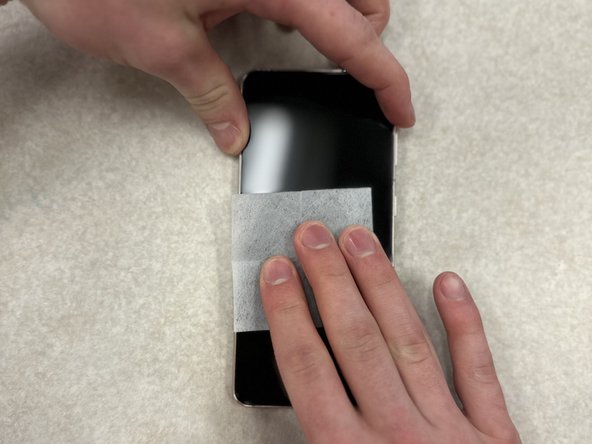
    • Remove the phone case and place phone on a flat, clean surface with the screen facing upward.

  2. Samsung Galaxy S21 Screen Protector Replacement: étape 2, image 1 de 1
    • Remove the damaged screen protector carefully.

    • Usually this can be done with fingernails, but a plastic credit card or ID can make removal easier.

  3. Samsung Galaxy S21 Screen Protector Replacement: étape 3, image 1 de 2 Samsung Galaxy S21 Screen Protector Replacement: étape 3, image 2 de 2
    • Clean the phone screen off with an alcohol wipe to remove any fingerprints and dust from the screen.

  4. Samsung Galaxy S21 Screen Protector Replacement: étape 4, image 1 de 1
    • Wipe and dry the phone screen with a microfiber cloth.

  5. Samsung Galaxy S21 Screen Protector Replacement: étape 5, image 1 de 2 Samsung Galaxy S21 Screen Protector Replacement: étape 5, image 2 de 2
    • Use stickers or tape to remove any dust particles that may have settled on the phone screen.

    • Have the new screen protector easily accessible during this step.

  6. Samsung Galaxy S21 Screen Protector Replacement: étape 6, image 1 de 2 Samsung Galaxy S21 Screen Protector Replacement: étape 6, image 2 de 2
    • Peel back the protective layer on the screen protector, and carefully line up the camera cutout with the front-facing camera, laying the top of the screen protector onto the phone screen.

  7. Samsung Galaxy S21 Screen Protector Replacement: étape 7, image 1 de 1
    • Let the rest of the screen protector fall onto the screen, ensuring that the screen protector is square with the phone screen.

  8. Samsung Galaxy S21 Screen Protector Replacement: étape 8, image 1 de 1
    • Press the screen protector into the screen with your fingers, starting in the middle of the screen and working outwards.

  9. Samsung Galaxy S21 Screen Protector Replacement: étape 9, image 1 de 1
    • Work out any bubbles with the scraper/card by applying firm pressure into the screen protector and slowly sliding towards the nearest edge.

Conclusion

Now you have a brand-new screen protector! Enjoy the fresh look.

Philip

Membre depuis le 02/22/24

169 Réputation

1 tutoriel rédigé

0 commentaires

Ajouter un commentaire

Nombre de vues :

Dernières 24 heures : 1

7 derniers jours : 10

30 derniers jours : 52

Total : 69