Cette version peut contenir des modifications incorrectes. Passez au dernier aperçu vérifié.
Ce dont vous avez besoin
-
Cette étape n’est pas traduite. Aidez à la traduire
-
Remove the rear case by using moderate force to pry the divot on the left of the rear facing camera with a plastic opening tool or your fingernail.
-
Continue to lift the case, working your way around the perimeter until the entire rear cover is removed.
-
-
Cette étape n’est pas traduite. Aidez à la traduire
-
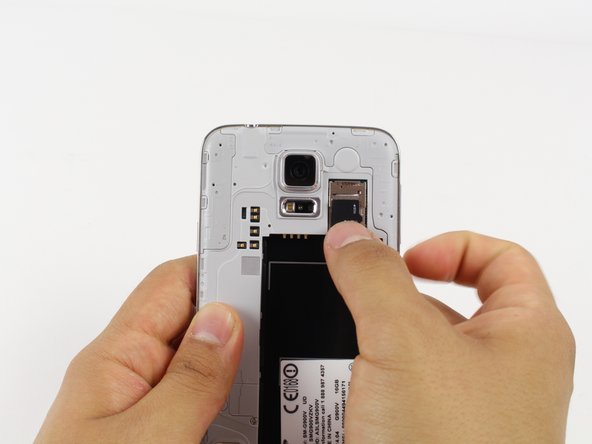
Lift the battery upward with your finger or plastic opening tool by pushing on the notch located on the bottom of the battery.
-
Remove the battery from the phone.
-
-
Cette étape n’est pas traduite. Aidez à la traduire
-
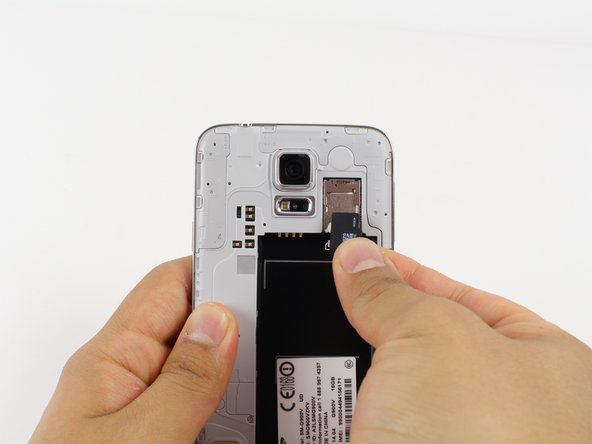
Gently slide out the SD card using your fingernail or a plastic opening tool.
-
-
Cette étape n’est pas traduite. Aidez à la traduire
-
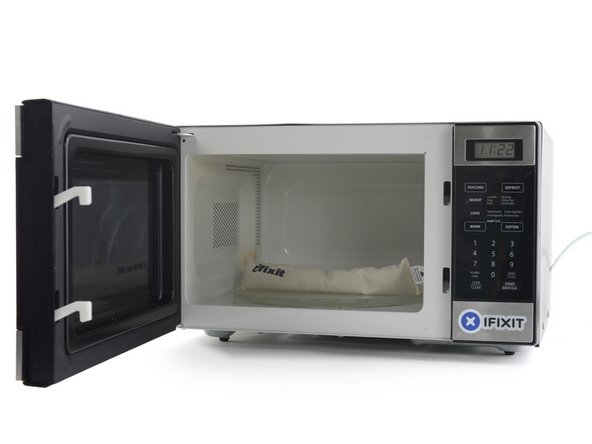
Place the iOpener in the center of the microwave.
-
-
-
Cette étape n’est pas traduite. Aidez à la traduire
-
Heat the iOpener for one minute on the highest power setting.
-
-
Cette étape n’est pas traduite. Aidez à la traduire
-
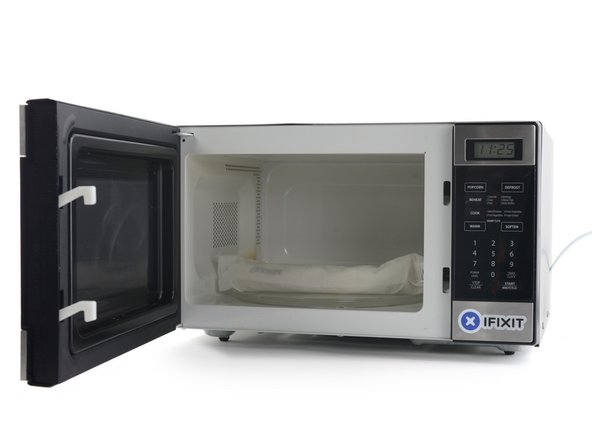
Remove the iOpener from the microwave, holding it by the printed tag.
-
-
Cette étape n’est pas traduite. Aidez à la traduire
-
Lay the iOpener flat on the bottom of the device, directly over the home button. Smooth the iOpener along the surface to ensure good contact with the device. Leave the bag on the device for around 90 seconds.
-
Repeat the process laying the bag on the left and right edge of the screen.
-
-
Cette étape n’est pas traduite. Aidez à la traduire
-
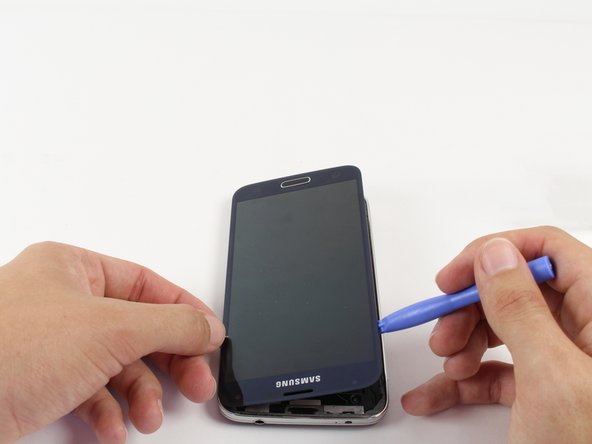
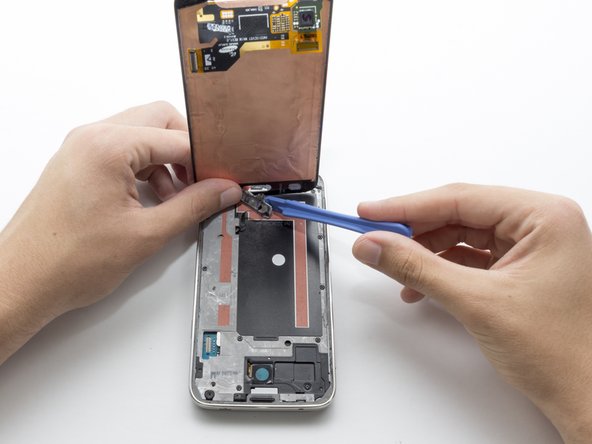
Use a light amount of force when removing the screen.
-
Starting at the top of the device, work the plastic opening tool under the screen. The top of the device has the Samsung logo and headphone port.
-
Start separating the screen from the glue. Work your way around the screen until the glue is no longer holding the screen in place.
-
-
Cette étape n’est pas traduite. Aidez à la traduire
-
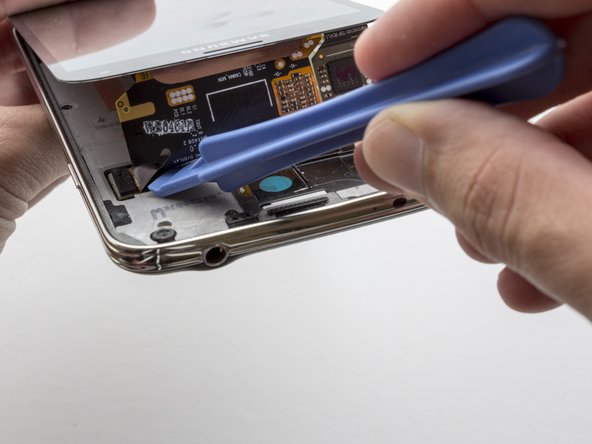
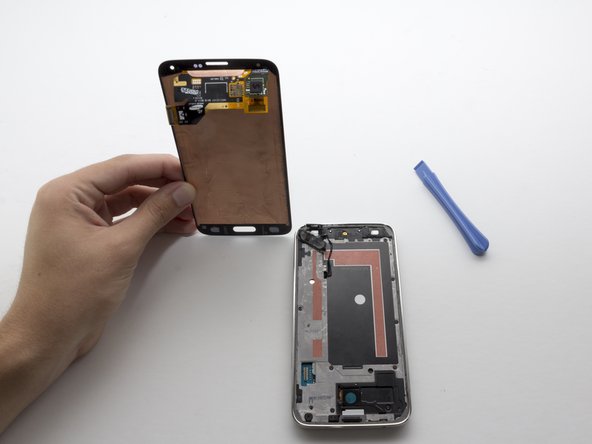
Start lifting the screen from the top. You will see a black ribbon cable attaching the display to the motherboard. Use the plastic opening tool to lightly detach the connector.
-
-
Cette étape n’est pas traduite. Aidez à la traduire
-
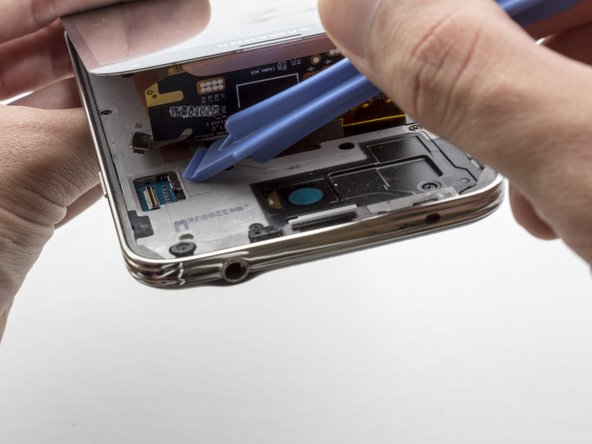
Continue to lift the display. You will notice a black cable connecting the home button to the motherboard.
-
Use the plastic opening tool to pry the home button off. Moderate force is required.
-


Annulation : je n'ai pas terminé ce tutoriel.
68 autres ont terminé cette réparation.

Équipe

Cal Poly, Team 10-57, Amido Spring 2014 Membre de l'équipe Cal Poly, Team 10-57, Amido Spring 2014
CPSU-AMIDO-S14S10G57
4 membres
9 tutoriels rédigés
11 commentaires
Or the galaxy S5 as well?
How do I get a new light to light up my screen as I'm hoping I can use it n just change the light
My S5 fell down and and after some hours there appears ink on the screen. Please what is wrong? Do I need to change the whole screen or is there a unit that brings out ink and have to change only that unit only?