Aller au contenu principal
Pour réparer ensemble - Je crée un compte

Samsung Galaxy S7 Active Front Camera Replacement

Ce dont vous avez besoin

  1. Samsung Galaxy S7 Active  Front Camera Replacement, Samsung Galaxy S7 Active Disassembly: étape 1, image 1 de 1
    • Melt the adhesive on the screen by applying a blow dryer directly on the screen.

    • Your phone is hot, please do not touch it with your bare hand.

    Demander à FixBot
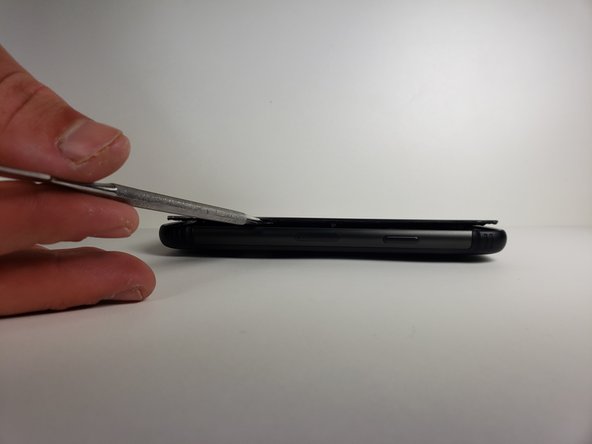
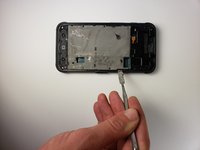
  2. Samsung Galaxy S7 Active  Front Camera Replacement: étape 2, image 1 de 1
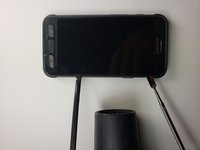
    • Wedge the metal spudger in between the screen and the frame to begin separating them.

    • It would be easier to separate the screen from the sealing adhesive on the frame if you do it with more than one metal spudger.

    • Your phone might no longer be watertight after you reassemble it.

    Demander à FixBot
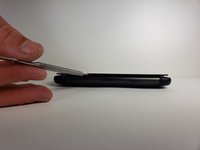
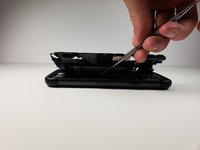
  3. Samsung Galaxy S7 Active  Front Camera Replacement: étape 3, image 1 de 2 Samsung Galaxy S7 Active  Front Camera Replacement: étape 3, image 2 de 2
    • Slide the metal spudger around the phone at least once.

    • It would be easier to slide your metal spudger if you apply the blow dryer to where you are currently sliding.

    Demander à FixBot
  4. Samsung Galaxy S7 Active  Front Camera Replacement: étape 4, image 1 de 1
    • Lift the screen up with your hands.

    • Please wash your hands thoroughly with hot water and soap after you finish.

    Demander à FixBot
  5. Samsung Galaxy S7 Active  Front Camera Replacement, Battery: étape 5, image 1 de 1
    • Use a Phillips #000 screwdriver to remove a single screw.

    Demander à FixBot
  6. Samsung Galaxy S7 Active  Front Camera Replacement: étape 6, image 1 de 1
    Outil utilisé dans cette étape :
    Tweezers
    $4.99
    • Use tweezers to remove the small plastic cover you just unscrewed.

    Demander à FixBot
  7. Samsung Galaxy S7 Active  Front Camera Replacement: étape 7, image 1 de 1
    • Use tweezers to remove the other small plastic cover.

    Demander à FixBot
  8. Samsung Galaxy S7 Active  Front Camera Replacement: étape 8, image 1 de 1
    • Use a Phillips head #000 to take out the eleven screws marked in the photo.

    Demander à FixBot
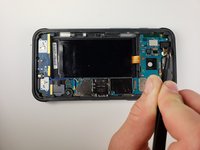
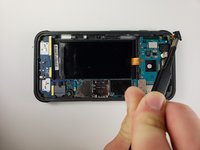
  9. Samsung Galaxy S7 Active  Front Camera Replacement: étape 9, image 1 de 1
    • Use tweezers to disconnect the marked pieces from the motherboard.

    Demander à FixBot
  10. Samsung Galaxy S7 Active  Front Camera Replacement: étape 10, image 1 de 1
    • Use tweezers to take out the middle button and its connection to the motherboard.

    Demander à FixBot
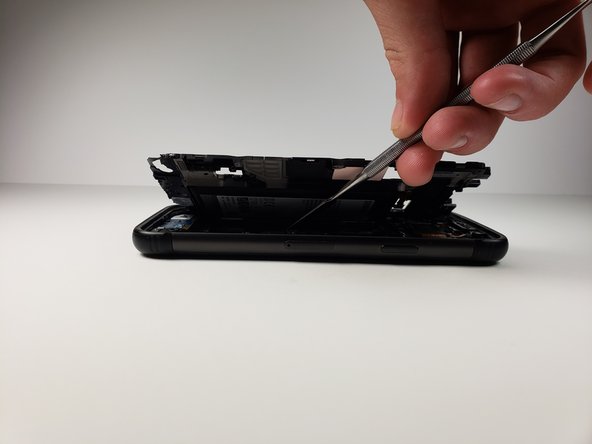
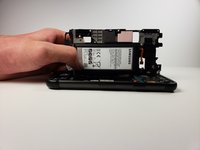
  11. Samsung Galaxy S7 Active  Front Camera Replacement: étape 11, image 1 de 3 Samsung Galaxy S7 Active  Front Camera Replacement: étape 11, image 2 de 3 Samsung Galaxy S7 Active  Front Camera Replacement: étape 11, image 3 de 3
    • Use a metal spudger to pull the mid frame and battery off of the motherboard.

    Demander à FixBot
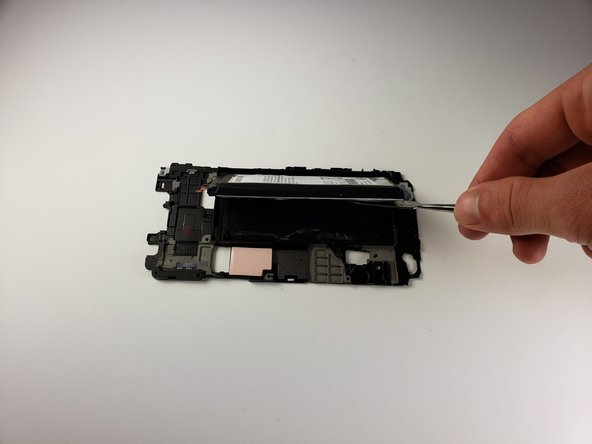
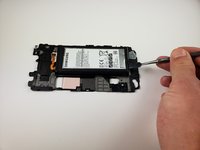
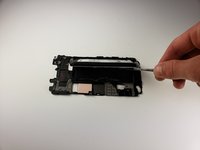
  12. Samsung Galaxy S7 Active  Front Camera Replacement: étape 12, image 1 de 2 Samsung Galaxy S7 Active  Front Camera Replacement: étape 12, image 2 de 2
    • Use a spudger to remove the battery from the midframe.

    • To install a new battery and adhesive, follow this guide.

    Demander à FixBot
  13. Samsung Galaxy S7 Active  Front Camera Replacement, Rear Camera: étape 13, image 1 de 1
    Outil utilisé dans cette étape :
    Tweezers
    $4.99
    • Use tweezers to disconnect the front camera from the battery.

    • The connector should unsnap similar to a lego piece.

    Demander à FixBot
  14. Samsung Galaxy S7 Active  Front Camera Replacement, Motherboard: étape 14, image 1 de 1
    • Use a Phillips 000 screwdriver to remove the screw covering the proximity sensor.

    Demander à FixBot
  15. Samsung Galaxy S7 Active  Front Camera Replacement: étape 15, image 1 de 2 Samsung Galaxy S7 Active  Front Camera Replacement: étape 15, image 2 de 2
    Outil utilisé dans cette étape :
    Tweezers
    $4.99
    • Use tweezers to remove the proximity sensor.

    • Set this aside for now.

    Demander à FixBot
  16. Samsung Galaxy S7 Active  Front Camera Replacement: étape 16, image 1 de 1
    • Use tweezers to disconnect the front mic and the two cables that have been marked in the photo.

    Demander à FixBot
  17. Samsung Galaxy S7 Active  Front Camera Replacement: étape 17, image 1 de 1
    • Use your hands and a metal spudger to lift the motherboard out of the phone.

    • Be gentle, as there is still a connection on the underside of the motherboard.

    • Use a metal spudger to remove this connection.

    Demander à FixBot
  18. Samsung Galaxy S7 Active  Front Camera Replacement, Front Camera: étape 18, image 1 de 1
    Outil utilisé dans cette étape :
    Tweezers
    $4.99
    • Use tweezers to remove the connection between the motherboard and the front camera.

    • In order to do this, the motherboard must be flipped over from its original position.

    Demander à FixBot
Conclusion

To reassemble your device, follow these instructions in reverse order.

Alexander Yazdani

Membre depuis le 04/18/18

846 Réputation

3 tutoriels rédigés

Équipe

Cal Poly, Team S18-G1, Livingston Spring 2018 Membre de l'équipe Cal Poly, Team S18-G1, Livingston Spring 2018

CPSU-LIVINGSTON-S18S18G1

4 membres

15 tutoriels rédigés

0 commentaires de tutoriel

Ajouter un commentaire

Nombre de vues :

Dernières 24 heures : 0

7 derniers jours : 8

30 derniers jours : 66

Total : 966