Introduction
If you cannot take pictures with your device, you may need to replace the camera.
In this guide, you will learn how to replace the front camera.
Caution: Some images display the steps using a metal spudger. Use the heavy-duty spudger instead to avoid damaging your circuits.
For more information on connectors, visit this page.
Ce dont vous avez besoin
-
-
Insert the plastic opening tool between the glass screen and the back cover so the curved end of the plastic opening tool is under the glass. Gently pry the back cover away from the glass screen.
-
Be sure to lift the entire display from the body and that you are not are lifting the glass from the display. You will need to reach down a little further for the correct removal.
-
Continue inserting the plastic opening tool around the whole device screen to completely separate the back cover from the glass screen.
-
-
-
-
Using your fingers, remove the green tape covering the battery connector.
-
-
-
Insert the flat end of the heavy-duty spudger between the wires and underneath the battery connector. Carefully lift the black battery connector up to disconnect it from the motherboard.
-
-
-
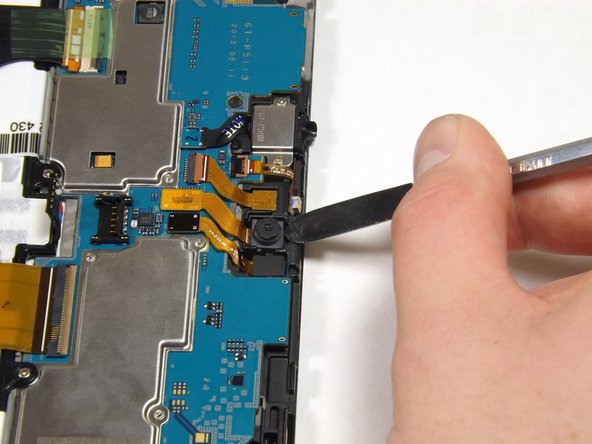
Gently lift the camera from its socket with the flat end of the heavy-duty spudger.
-


To reassemble your device, follow these instructions in reverse order.
To reassemble your device, follow these instructions in reverse order.
Annulation : je n'ai pas terminé ce tutoriel.
8 autres ont terminé cette réparation.

Équipe

Cal Poly, Team 6-26, Amido Winter 2015 Membre de l'équipe Cal Poly, Team 6-26, Amido Winter 2015
CPSU-AMIDO-W15S6G26
5 membres
14 tutoriels rédigés
2 commentaires
Batri chahiye
You choose the narrative.